There’s something magical about baking your own bread, especially when it’s sourdough.
The tangy flavor and chewy crust of sourdough bread make it a favorite among home bakers and bread enthusiasts alike.
I first fell in love with sourdough during a chilly autumn in San Francisco, where the aroma of freshly baked loaves filled the air.
This sourdough bread recipe is perfect for beginners, providing straightforward steps and delicious results.
Whether you’re new to baking or looking to perfect your technique, this recipe is designed to guide you through the process with ease.
The History and Cultural Significance
• Sourdough Bread Recipe traces its origins to Ancient Egypt, where it was originally created by accident when wild yeast fermented dough left out overnight.
• The dish evolved over decades as bakers refined their methods, eventually becoming the beloved version we know today with crispy crusts and airy interiors.
• In San Francisco, this dish traditionally appears at local markets and bakeries, symbolizing the city’s rich culinary heritage and innovation.
• While many variations exist across different regions, the authentic version maintains its characteristic tangy taste that sets it apart from imitations.
Recommended Products

【ALL-IN-ONE Sourdough Starter Kit for Beginners】Stop the Overwhelm & Start Baking! This complete sourdough starter kit has everything you need. Forget hunting for separate tools – just add flour & water. Includes 9&10 inch proofing baskets, 1000ml glass jar with thermometer, dough scraper, lame, whisk, brushes, and MORE. Perfect for beginners seeking an easy sourdough starter kit
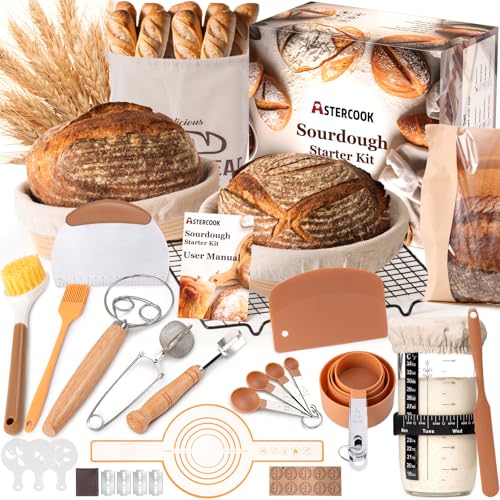
【All in One Sourdough Starter Kit】 Unlike basic sourdough proofing basket sets, this complete kit includes everything. You get a 9” round and a 10” oval banneton basket, bread sling, starter jar, scrapers, stencils, measuring tools, cooling rack, bread bags, and more. It covers every step from feeding your starter to baking and sharing.
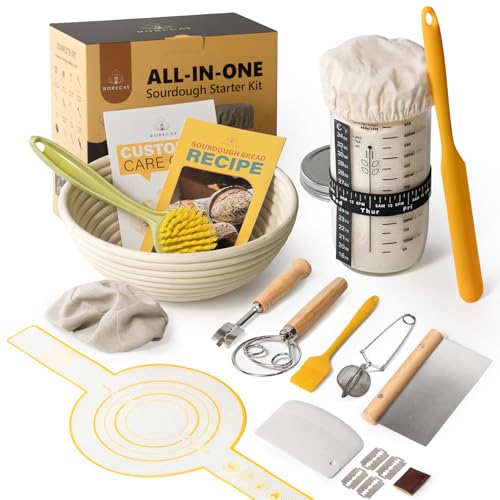
The All-in-One Sourdough Kit for Beginners: Never worry about missing tools again. As a beginners starting your sourdough journey. Our sour dough tools set has every tool you need for homemade bread baking, including a starter glass Jar, 9" round rattan banneton bread proofing basket, dough cutter, flour duster, cleaning brush, bread sling, bread lame, 5 blades, bowl scraper, silicone brush, dough whisk, linen cover, user manual & recipes. It seamlessly supports your entire sourdough journey.


Recipe Overview
Recommended Products

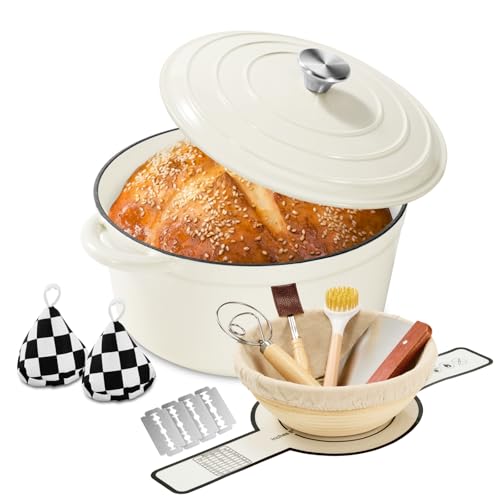
The Ultimate 9-in-1 Pro Bread Baking Kit – From Beginner to Artisan. This complete set is engineered for perfect homemade bread, covering the entire workflow: a 5QT Enameled Cast Iron Sourdough Bread Oven (with lid), 10inch Rattan Proofing Banneton, Stainless Steel Dough Scraper, Bread Sling, Dough Whisk, Bread Scoring Lame, Cleaning Brush, and Heat-Resistant Gloves. No need for extra purchases. Ideal for sourdough, no-knead, rustic bread, and even meatloaf.
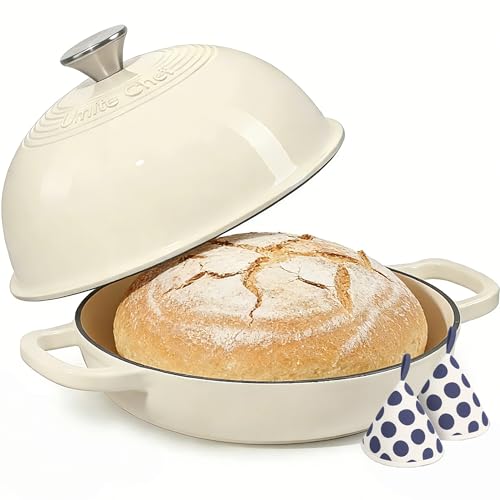
Achieve Professional Artisan Bread at Home - Expertly designed for bread baking, this 6 qt cast iron bread oven creates the ideal steam baking environment. Crafted from high-quality cast iron, it ensures superior heat retention for a crispy, golden crust and impressive oven spring—just like a bakery. The domed cloche lid traps moisture perfectly, guaranteeing delectable results every time

𝐃𝐨𝐦𝐞 𝐃𝐞𝐬𝐢𝐠𝐧: Perfect for Crusty Sourdough The AHJ pre-seasoned Dutch oven is ideal for sourdough baking. When used with the lid in the oven, it locks in steam—ensuring condensation drips down the lid walls without soggying the bread—for an ultra-crisp crust and soft, fluffy interior. The 5-quart large capacity easily accommodates big sourdough loaves, perfect for sharing with the whole family.
Nutritional Information (per serving)
Recommended Products
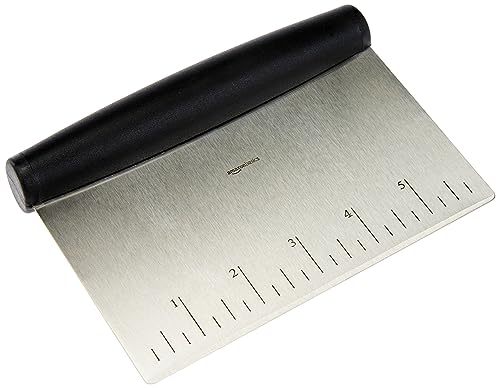
Multi-purpose scraper/chopper tool for portioning bread and pastry dough, chopping and measuring

👩🍳👩🍳👩🍳PERFECT WORK WITH VARIOUS KNEADING BOWLS --- Instead of traditional rigid PP plastic, These flexible dough scrapers are made of durable PE plastic which have better bendability. Because of this special material, these dough Scraper can perfectly match with various kneading bowls when mixing dough or prepare cake flour, And scraper little dough pieces from bowl corner perfectly when transfer wet dough from bowl. Size: 12x9.5cm/4.7x3.7''

[PRACTICAL SCRAPER SET]: Ecavria kitchen scraper set contains 1 pc 6.6*4.7 inches stainless steel bench scraper and 2 pcs BPA FREE & food grade PE plastic bowl scrapers, which offers novices or baking-masters an effective tool set for all kinds of kitchen use.
Essential Equipment Guide
Mixing Bowl: A large mixing bowl is essential for combining your ingredients and allowing the dough to rise. Look for a bowl with a smooth interior to prevent sticking. Stainless steel or glass bowls are ideal for maintaining a consistent temperature.
Bench Scraper: This tool is invaluable for handling sticky dough and ensuring a clean work surface. A plastic bench scraper is versatile and easy to clean.
Dutch Oven: A heavy-duty Dutch oven is key to achieving a perfectly crispy crust. Its ability to trap steam creates the ideal baking environment. If you don’t have one, a covered baking dish can work as an alternative.
Recommended Products

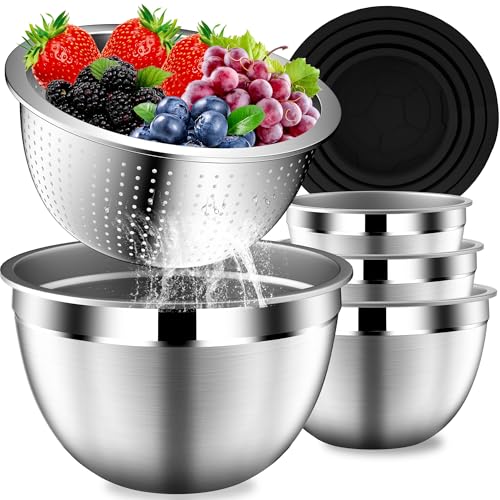
Stainless steel durable construction for years of work

Comprehensive Size Variety: Elevate your culinary skills with our complete set of 5 stainless steel mixing bowls with lids set, ranging in size from 1.5 to 5 quarts. Whatever the task you'll find the perfect size for every task.

Ingredients
Recommended Products

High Protein Flour: 12.7% protein - a full point more than other national brands, King Arthur flour ensures stronger rise and perfectly textured loaves. This organic unbleached flour is key to achieving beautiful yeasted breads with impressive flavor


One 5 pound bag of Enriched Bread Flour, Unbleached
For the Dough
|
| Amount | Ingredient | Notes |
|---|---|---|
| 3 cups | bread flour | provides structure |
| 1 1/2 cups | water | room temperature |
| 1/2 cup | sourdough starter | adds flavor and rise |
| 2 teaspoons | salt | enhances flavor |
Preparation Methods
Autolyse: This technique involves mixing flour and water before adding the starter or salt. It's crucial for developing gluten and creating a more elastic dough. Let the mixture rest for 30 minutes to one hour for optimal results.
Folding: Instead of traditional kneading, folding helps strengthen the dough without deflating it. Gently stretch and fold the dough over itself in the bowl every 30 minutes during the first two hours of rising.
Scoring: Scoring the dough allows for controlled expansion and a decorative finish. Use a sharp blade to make shallow cuts on the surface of the dough just before baking.
Recommended Products

🍞GET MORE FOR LESS - BEST VALUE SOURDOUGH KIT! Including Round Proofing Basket (9 Inch) X 1, Oval Proofing Basket (10 Inch) × 1, Sourdough Jar × 1, Silicone Spatula X 1, Dough Whisk X 1, Bread Lame X 1, Blade X 5, Blade Cover × 1, Bowl Scraper × 1, Stainless Steel Scraper X 1, Flour Duster X 1, Silicone Bread Sling X 1, Cleaning Brush × 1, Cooking Brush × 1, Bread Stencil X 4, Bread Bag X 10, Reusable Bread Bag X 1, User Manual X 1. Use these bread making accessories sour dough kit to start your journey to delicious bread.

Complete Sourdough Starter Kit: Everything you need to bake delicious, homemade sourdough bread is right here. Includes a 24 oz starter jar, 9" banneton proofing basket, essential baking tools, a printed recipe book, and a user manual—perfect for beginners and experienced bakers alike.

Start baking with a sourdough starter kit right out of the box: This sourdough kit includes banneton proofing basket, sour dough starter jars, and essential sourdough tool—13 pieces total for easy homemade bread


Step 1: Prepare Ingredients
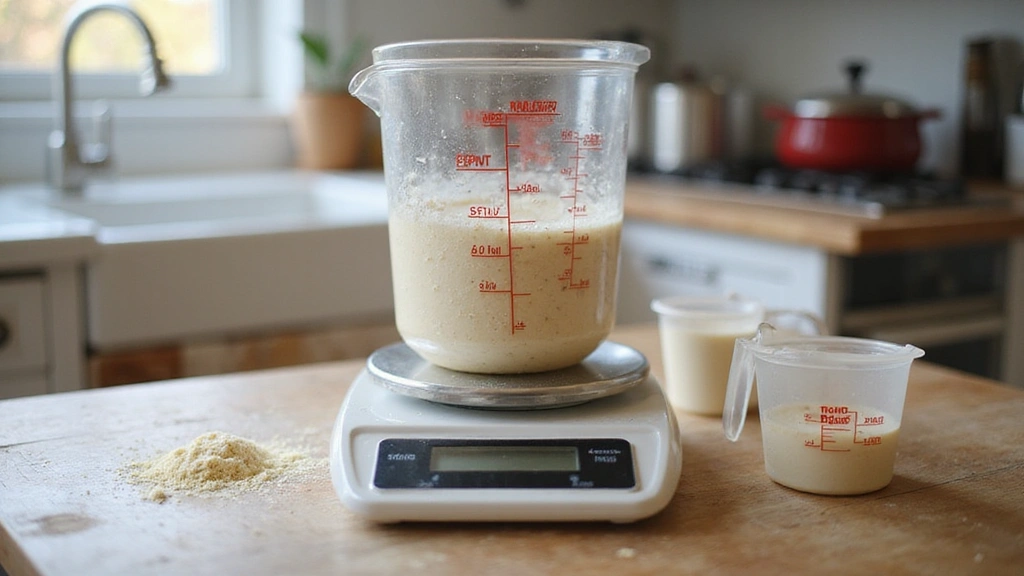
Measure all the ingredients accurately.
Ensure your sourdough starter is active and bubbly.
Use a digital scale for precision, especially with flour and water.
Room temperature water helps the dough develop properly.
Recommended Products
【For Effortless Cooking & Easy Cleaning 】Featuring a seven-layer design, this Dutch oven ensures even heat distribution and retention. The enamel coating resists sticking, and facilitates easy cleanup, saving you time and effort in the kitchen

Achieve Professional Artisan Bread at Home - Expertly designed for bread baking, this 6 qt cast iron bread oven creates the ideal steam baking environment. Crafted from high-quality cast iron, it ensures superior heat retention for a crispy, golden crust and impressive oven spring—just like a bakery. The domed cloche lid traps moisture perfectly, guaranteeing delectable results every time This explicitly states that this is a premium, delicate kitchen item that requires careful handling to maintain its beauty and durability

Superior Cast Iron Craftsmanship, Designed for Dutch Oven for Bread Baking This 6-quart dome-shaped cast iron bread pot ensures even heat distribution, perfectly suited for dutch oven for bread baking, allowing you to effortlessly bake bread with a crispy exterior and soft interior
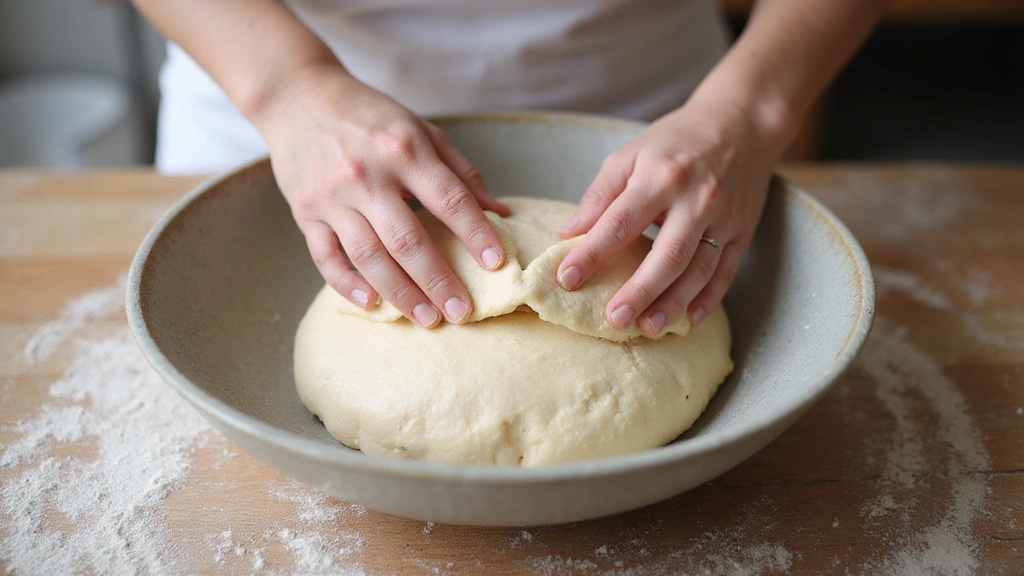
Step 2: Mix the Dough
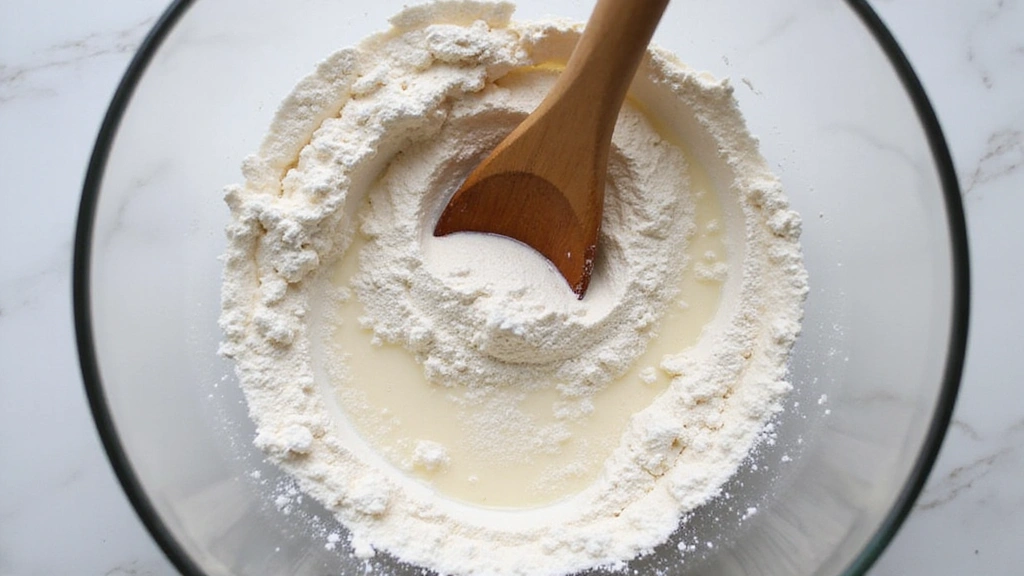
Combine flour and water in a mixing bowl.
Mix until no dry flour remains.
Cover and let the mixture rest for an autolyse.
This rest period helps develop gluten structure.
Recommended Products

【Simple and Modern style】Pizz cutter/Dough scraper/Dough Cutter designed to scrape and split bread dough,So it's easy to use and make your baking more effective and No worry about hand and wrist fatigue!

✅𝐃𝐄𝐒𝐂𝐑𝐈𝐏𝐓𝐈𝐎𝐍 -The white bowl scrapers were created to meet your different culinary and baking needs. This silicone scraper is flexible and can be bent to fit various of uses. These are intended for cutting pastry dough and pie crusts, and are a versatile tool. The sturdy and round surface edge of our plastic dough scraper gets the scraping done like a dream.

【Sturdy Material】These flexible dough scrapers are not traditional hard PP plastic, but are made of premium PE plastic, which is tougher and softer, and can fit perfectly with various kneading bowls very easily, scraping away without residue small dough pieces


Step 3: Add Starter and Salt
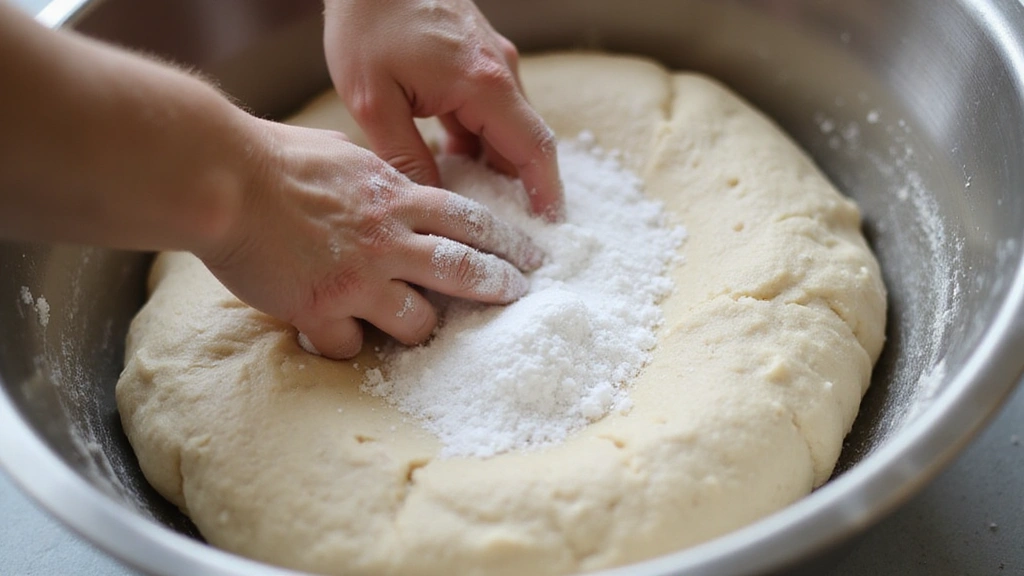
After the autolyse, add the sourdough starter.
Sprinkle salt evenly over the dough.
Mix thoroughly until well incorporated.
The dough should be sticky and cohesive.
Recommended Products

Generous Capacity: This 8 qt mixing bowl provides ample space for big mixing tasks; perfect as a giant mixing bowl for commercial kitchens, bread mixing bowl for dough preparation, or kimchi bowl for fermentation projects

PERFECT 3 QUART MEDIUM SIZE: This medium stainless steel mixing bowl provides 3.5 quart capacity for mixing cookie dough whisking sauces and preparing family meals without taking up excessive counter space

DURABLE STAINLESS STEEL CONSTRUCTION: Made from high‑quality stainless steel. Built for everyday mixing, whisking, and food prep without retaining flavors.

Step 4: Begin Folding the Dough
Perform the first round of folding.
Lift one side of the dough and fold it over itself.
Rotate the bowl and repeat for all sides.
This strengthens the dough without kneading.
Recommended Products

MORE SOURDOUGH STARTER PER SACHET: Get 21.6 g of dehydrated organic sourdough starter in every sachet for reliable baking results and more homemade creations. This dried sourdough starter provides the perfect base for artisan sourdough bread, pizza dough, muffins, focaccia, and pastries while staying fresh in your pantry for longer-lasting use.

This premium flour is milled from high-protein, us-grown wheat and mixed with just the right amount of malted barley flour, which helps yeast breads rise

AN EASY START FOR ANY HOME BAKER: Our freeze dried sourdough starter is simple to use and ideal for first-time bakers. With clear instructions included, you’ll have a bubbling, ready-to-use culture in just days. It’s the best sourdough starter to begin your artisan baking journey at home.


Step 5: Bulk Fermentation
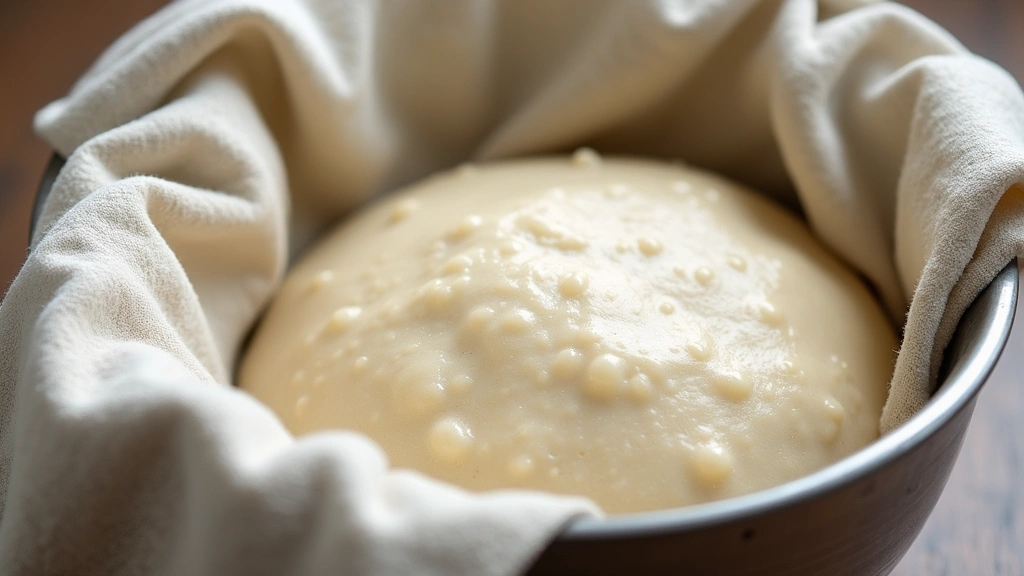
Cover the bowl and let the dough rise.
Perform additional folds every 30 minutes for two hours.
The dough should double in size.
Look for bubbles on the surface as a sign of fermentation.


Step 6: Shape the Dough
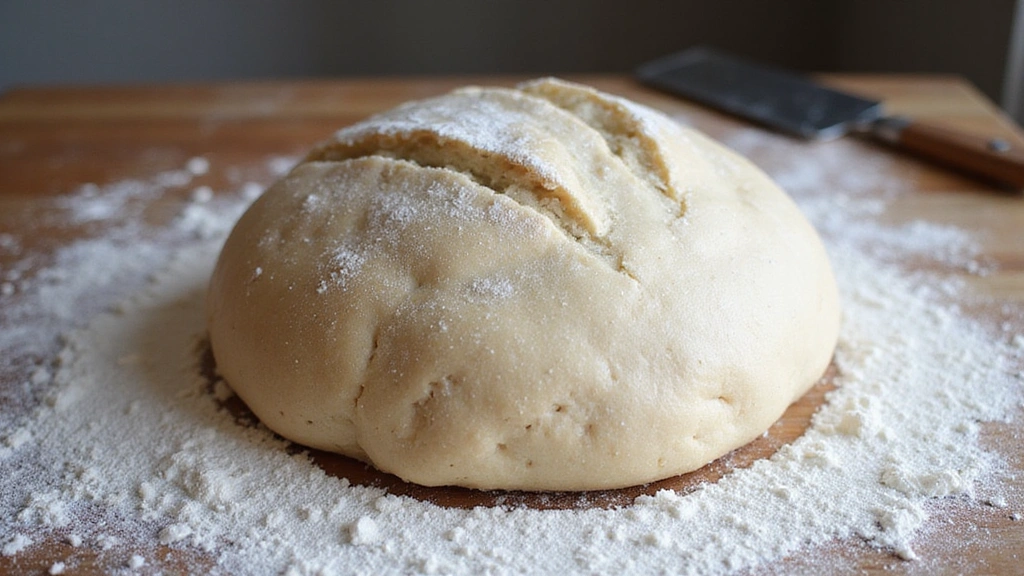
Turn the dough onto a lightly floured surface.
Shape it into a round or oval loaf by tucking edges under.
Use a bench scraper to assist in shaping.
The dough should have a smooth, taut surface.
Step 7: Final Proof
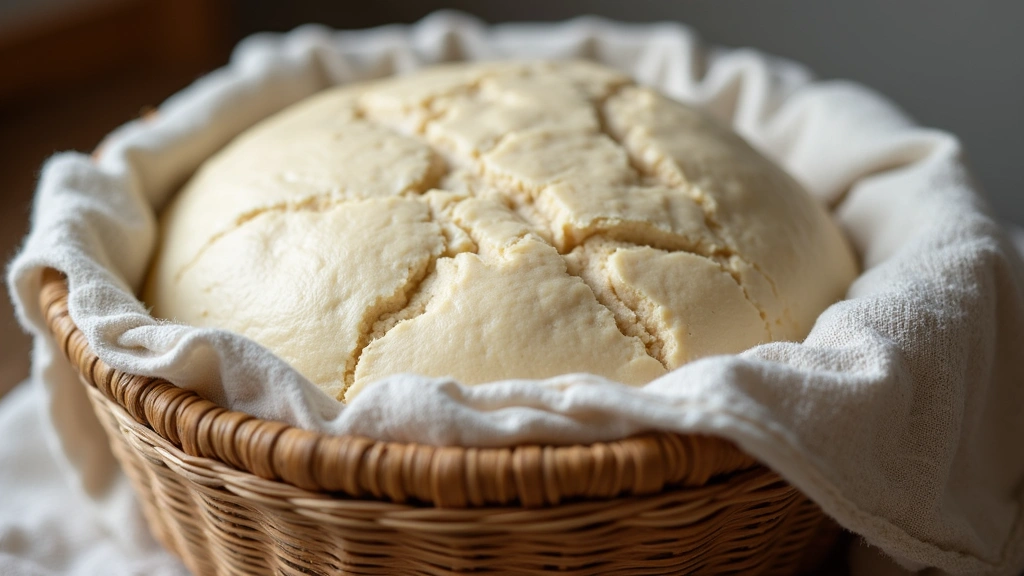
Transfer the dough to a proofing basket.
Cover and let it rise until slightly puffy.
This can take 1-2 hours depending on room temperature.
The dough should spring back slowly when pressed.
Step 8: Preheat the Oven

Place a Dutch oven in the oven and preheat to 450°F (230°C).
Preheating ensures a hot baking environment.
Allow the Dutch oven to heat for at least 30 minutes.
This step is crucial for achieving a crispy crust.


Step 9: Score the Dough
Carefully turn the dough onto a parchment paper.
Use a sharp blade to score the surface.
Make a few shallow cuts to control expansion.
Scoring adds a decorative finish and helps expansion.
Step 10: Bake the Bread
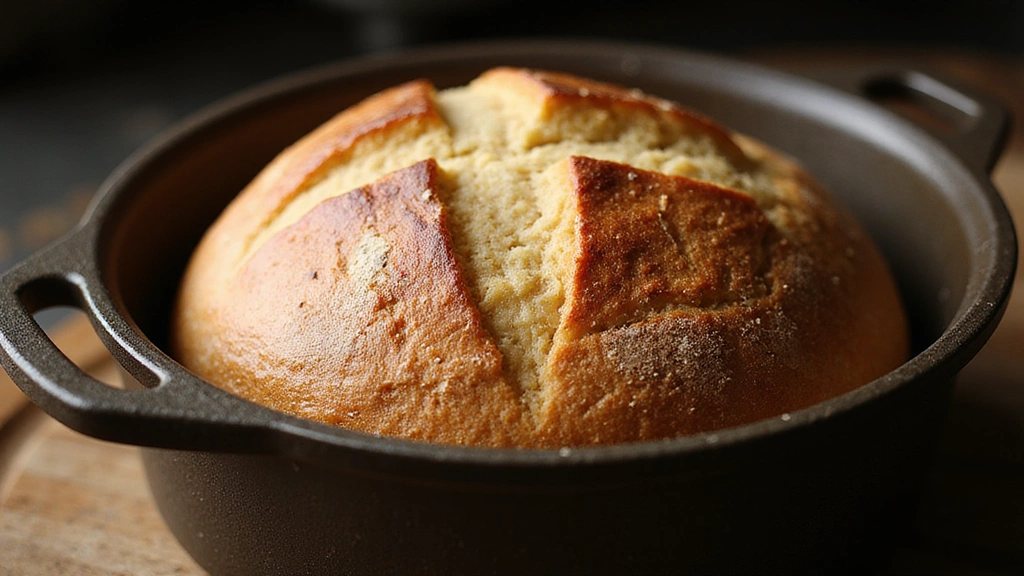
Place the scored dough into the preheated Dutch oven.
Cover with the lid and bake for 20 minutes.
Remove the lid and bake for an additional 20 minutes.
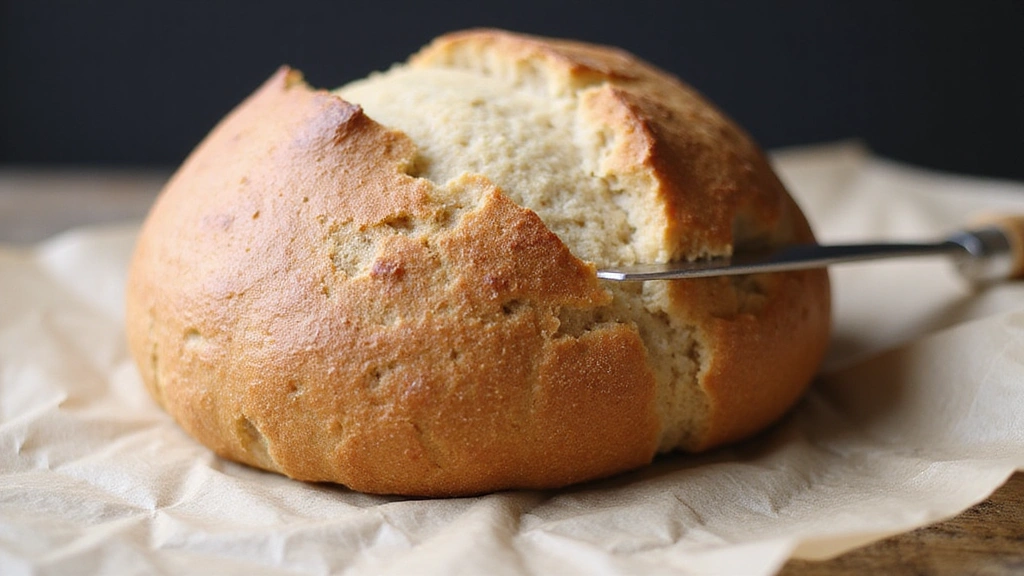
The bread is done when it has a deep golden brown color.


Critical Timing and Temperature Guide
Autolyse: Let the flour and water rest for 30-60 minutes at room temperature to allow gluten development. Avoid rushing; this step is crucial for dough strength.
Baking: Bake at 450°F (230°C) for 40 minutes total, removing the lid halfway through. Look for a deep golden crust to indicate doneness.
Final Proof: Allow 1-2 hours at room temperature for the final proof. The dough should be slightly puffy and pass the poke test, where it springs back slowly.
Pro Tips for Sourdough Bread Recipe
• Ingredient Selection: Use high-quality bread flour for the best gluten development. A strong flour makes a noticeable difference in texture.
• Preparation Secret: Let your sourdough starter reach peak activity before using it in the dough. This ensures maximum fermentation power.
• Temperature Management: Keep your kitchen warm during fermentation. A consistent temperature helps the dough rise evenly.
• Texture Enhancement: Use the folding technique instead of kneading to maintain a light and airy crumb structure.
• Flavor Layering: Extend the bulk fermentation to develop a deeper flavor. The longer the fermentation, the more complex the taste.
• Make-Ahead Strategies: Prepare the dough a day ahead and let it proof overnight in the refrigerator for enhanced flavor.
• Restaurant-Quality Finishing Touches: Brush the loaf with water before baking for an extra crisp crust.
• Equipment Optimization: If you lack a Dutch oven, use a baking stone with a metal bowl to trap steam.
Troubleshooting Common Issues
• Texture Too Dense: Often caused by under-proofing. Ensure the dough doubles in size during the bulk fermentation stage. If not, let it rise longer.
• Flavors Unbalanced: Overpowering sourness can result from over-fermentation. Ensure your starter is not too acidic before using.
• Crust Too Hard: Baking with too high of a temperature or too long can cause this. Check your oven's accuracy and adjust as needed.
• Insufficient Rise: Weak starter or cold temperatures can hinder rise. Ensure your starter is active and the environment is warm.
• Uneven Crumb: Inconsistent folding can lead to uneven crumb structure. Ensure even folds and full incorporation during mixing.


Variations and Regional Differences
• San Francisco Style: Known for its extra tangy flavor, this version uses a specific local starter and often involves longer fermentation times.
• French Country Style: Incorporates a mix of whole wheat and rye flours for a denser crumb and more rustic appearance.
• Nordic Style: Often includes seeds and grains for added texture and flavor, reflecting a hearty, wholesome tradition.
• Italian Pane Sourdough: Features olive oil and herbs in the dough, creating a softer crumb with Mediterranean influences.
Food Science Behind the Recipe
• Wild Yeast Fermentation: The natural yeasts and bacteria in the sourdough starter create lactic acid, contributing to the bread's tangy flavor and extended shelf life.
• Gluten Development: The autolyse and folding techniques help align gluten strands, providing structure and elasticity to the dough.
• Steam Baking: Trapping steam in the Dutch oven creates a moist environment that allows the bread to expand fully before forming a crust.
Frequently Asked Questions
What's the most common mistake people make when preparing sourdough bread? The most common mistake is not allowing enough time for fermentation. Patience is key to developing the right flavor and texture.
Can I use all-purpose flour instead of bread flour? Yes, but bread flour is recommended for its higher protein content, which results in better gluten development.
How do I know when my sourdough starter is ready to use? A ready starter should be bubbly and double in size a few hours after feeding. It should also float in water.
What if my dough doesn't rise? Ensure your starter is active and your ingredients are at room temperature. A warm environment is crucial for fermentation.
How can I store leftover sourdough bread? Store it in a paper bag at room temperature for a few days. For longer storage, freeze slices in an airtight container.
Why did my bread turn out flat? Over-proofing or weak gluten structure can cause flat loaves. Stick to recommended proofing times and ensure proper folding.
Do I need a proofing basket? While not essential, a proofing basket supports the dough shape during the final rise, leading to a better-formed loaf.
Serving and Presentation Guide
• Traditional Presentation: Serve sourdough bread on a wooden board, sliced thickly, to highlight its rustic appeal.
• Modern Plating: Pair slices with a selection of artisanal cheeses and cured meats for a sophisticated appetizer.
• Breakfast Option: Toast slices and top with avocado or poached eggs for a hearty, nutritious breakfast.
• Gourmet Touch: Drizzle with olive oil and sprinkle with sea salt for a simple yet elegant starter.


Conclusion
Baking sourdough bread at home is a rewarding experience that combines tradition with culinary creativity.
This beginner-friendly recipe provides all the guidance you need for delicious results.
Give it a try and enjoy the satisfaction of homemade bread that delights the senses.