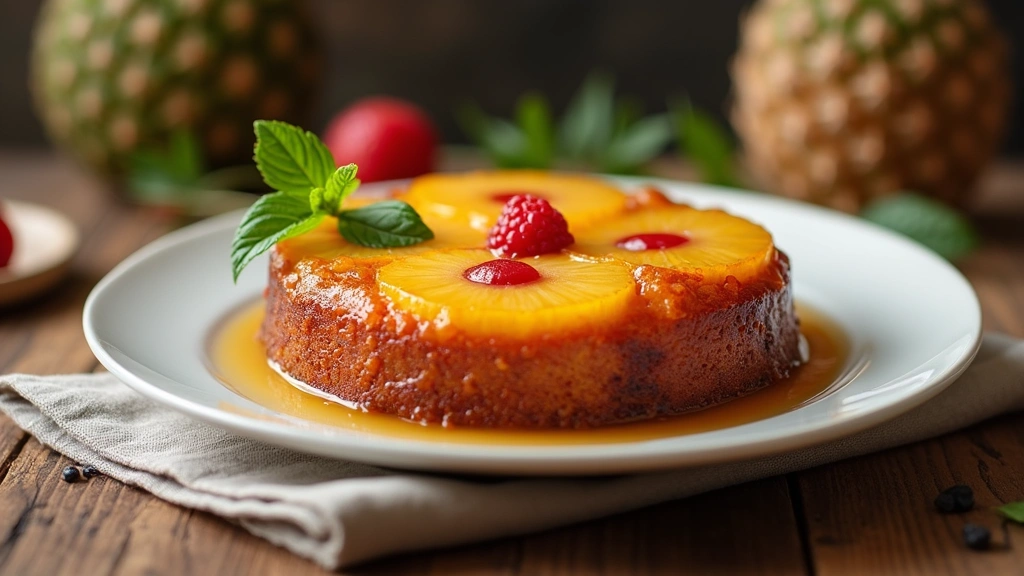
This classic Pineapple Upside-Down Cake brings together the tropical sweetness of pineapple with the rich caramelization of brown sugar.
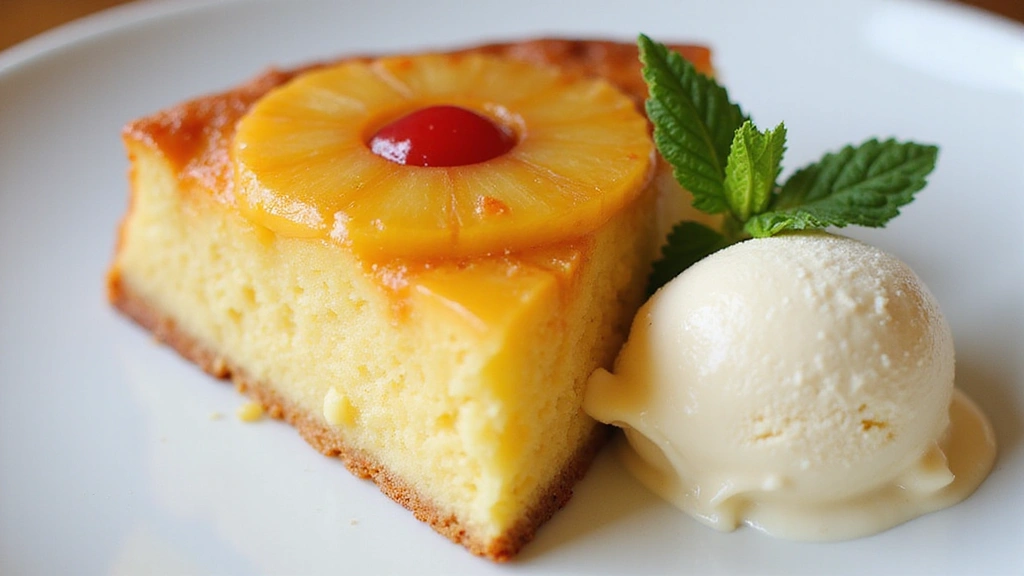
Its iconic presentation is a showstopper, with glistening pineapple rings and cherries crowning a moist, buttery cake.
The harmonious blend of tart pineapples and the tender crumb creates a nostalgic dessert that’s perfect for any occasion.
I first tasted this delightful cake at a family gathering, where its beautiful simplicity won everyone over instantly.
Whether you’re preparing it for a summer picnic or a cozy winter evening, this cake is sure to impress with its retro charm and delicious flavor.
Embrace the tradition and enjoy the warm memories this cake brings to the table.
The History and Cultural Significance
• Pineapple Upside-Down Cake traces its origins to early 20th-century America, where it was originally created by homemakers using cast-iron skillets.
• The dish evolved over decades as canned pineapples became widely available, eventually becoming the beloved version we know today.
• In American culture, this dish traditionally appears at potlucks and family gatherings, symbolizing comfort and nostalgia.
• While many variations exist across different regions, the authentic version maintains its characteristic caramelized topping that sets it apart from imitations.
Recommended Products

This Southern classic pineapple upside down cake never goes out of style

Ideal for Large Gatherings: This 10x10-inch pineapple upside-down cake pan creates up to 8 generous servings, perfect for family celebrations, holidays, or parties. Effortlessly impress guests with a stunning centerpiece dessert that feeds a crowd.

CLASSIC PINEAPPLE UPSIDE-DOWN CAKE Have you ever heard of the tropical pineapple upside-down cake? Compared with traditional cakes, this homemade dessert is decorated with pineapple slices on the top and has the unique fruit flavor. It is very popular at summer parties

Recipe Overview
Recommended Products

Homemade Favorites: The Lodge Seasoned Cast Iron Baker’s Skillet is designed for rolls, cobblers, breads, and everyday recipes fresh from the oven

With divided compartments, this scone pan allows you to bake multiple loaves of bread at once, saving you time and effort in the kitchen. Create the most delicious chocolate fudge, cookies, cupcake, apple pie, brownies, muffins, and scones using this pre-seasoned cast iron baking pan
Nutritional Information (per serving)
Recommended Products

PINEAPPLE RINGS: Vidal pineapple rings gummy candy are soft, chewy treats shaped like rings, with a vibrant, tangy, slightly sour pineapple flavor. They have a bright yellow color, mimicking the tropical fruit's appearance. Each piece is coated in sugar, adding an extra layer of sweetness and texture.

Fruidles Pineapple Gummy Rings are a sweet, soft sugared candy. Our mouthwatering long-lasting flavors make these Pineapple Gummies a Unique Treat for students, customers at the doctor's office or bank, and even yourself

Shape and Size: Gummy rings are circular in shape, resembling miniature rings or donuts. They come in various sizes, but they are generally small and bite-sized.
Essential Equipment Guide
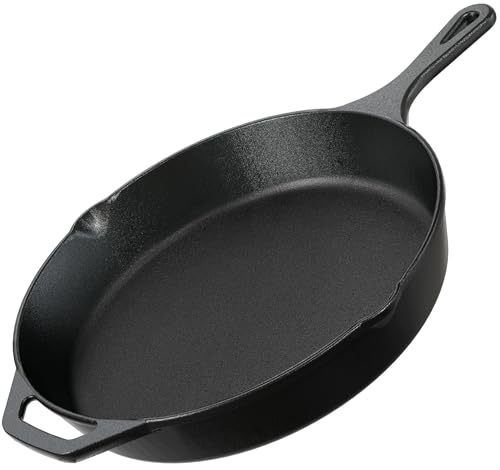
Cast-Iron Skillet: A cast-iron skillet is crucial for achieving the deep caramelization and even cooking that defines a great Pineapple Upside-Down Cake. While non-stick pans can be used, they may not provide the same heat retention and depth of flavor. Look for a well-seasoned skillet to prevent sticking.
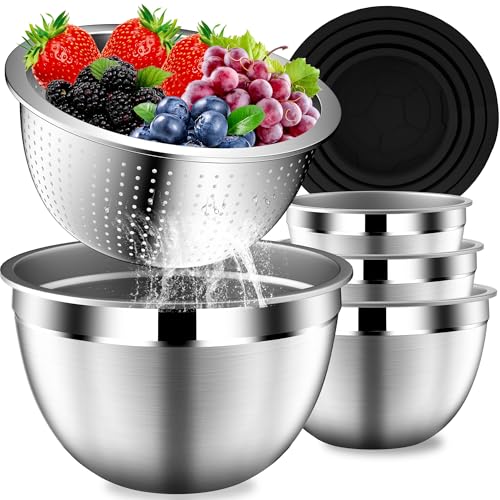
Mixing Bowls: Using a set of mixing bowls allows for organized preparation and prevents cross-contamination of ingredients. Alternatives like stand mixer bowls work, but ensure they are large enough to handle all ingredients comfortably.
Cooling Rack: A cooling rack ensures that the cake cools evenly, preventing soggy bottoms. If unavailable, a makeshift rack can be created using a baking sheet and a wire rack from the oven.
Recommended Products
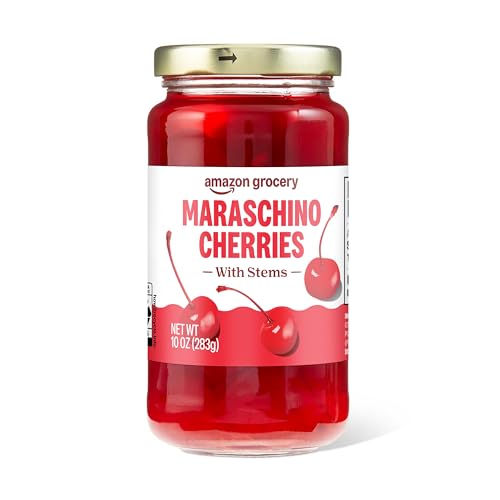
One 10 ounce jar of Maraschino Cherries with stems

Perfect Cocktail Cherries – Haddar Cocktail Cherries are the ideal garnish for classic drinks like Old Fashioneds, Manhattans, and other bourbon-based cocktails. These sweet, juicy cherries add just the right finishing touch to your favorite drinks.

Great for restaurants, catering, or home use


Ingredients
Recommended Products

The information below is per-pack only

One 15.25 oz box of Duncan Hines Signature Perfectly Moist Pineapple Supreme Cake Mix

For the Topping
|
| Amount | Ingredient | Notes |
|---|---|---|
| 1/2 cup | unsalted butter | melted, for caramelization |
| 1 cup | brown sugar | packed, for sweetness |
| 1 can | pineapple rings | drained, for topping |
| 10 pieces | maraschino cherries | for color and flavor |
For the Cake
| Amount | Ingredient | Notes |
|---|---|---|
| 1 1/2 cups | all-purpose flour | sifted, for light texture |
| 1 cup | granulated sugar | for sweetness |
| 1/2 cup | unsalted butter | softened, for richness |
| 2 large | eggs | at room temperature, for structure |
| 1 teaspoon | vanilla extract | for flavor |
| 1 1/2 teaspoons | baking powder | for rise |
| 1/4 teaspoon | salt | enhances flavor |
| 1/2 cup | milk | at room temperature, for moisture |
Preparation Methods
Caramelizing Sugar: Caramelizing sugar involves gently melting sugar until it turns a golden brown, which adds a rich depth of flavor. This technique is essential for creating the sticky, sweet topping that defines a Pineapple Upside-Down Cake. Practice patience, as rushing can lead to burning.
Room Temperature Ingredients: Ensuring that ingredients like eggs and butter are at room temperature helps them incorporate more smoothly into the batter, resulting in a more even texture. Take ingredients out of the fridge about an hour before starting.
Inverting the Cake: Inverting the cake while it's still warm ensures that the toppings release from the pan and remain intact. Use a confident, swift motion to flip the cake onto a plate or cooling rack, and be cautious of any hot caramel.
Recommended Products
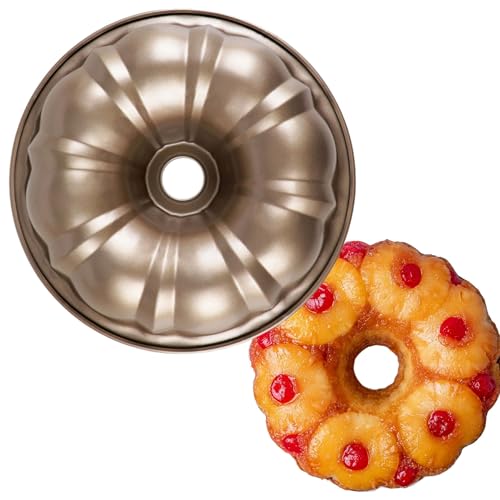
Center Tube, Even Bake The center tube drives heat through the middle for uniform doneness—ideal for a pineapple upside-down cake pan flip.
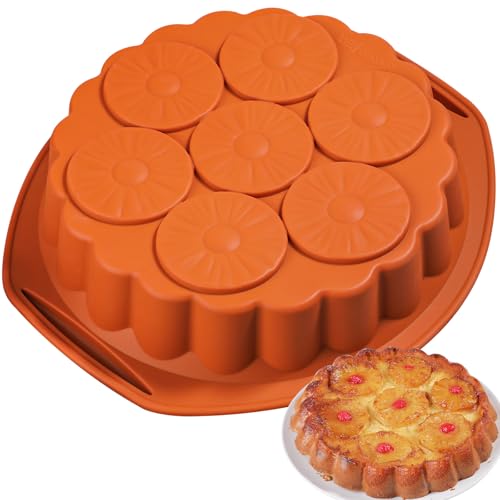
Food Grade Silicone: Kamehame silicone pineapple upside down cake pan is made of premium food grade silicone. Heat resistant from -40℉ to 450℉, safe for oven, microwave, freezer and dishwasher. BPA Free.

PRACTICAL SIZE: The round cake pan features a 9.5” outer diameter,9” inner diameter, and a 3” height, making it perfect for sharing with friends, family, or guests.The pound cake pan is suitable for most ovens. With its narrow base, straight sides, and extra-large center tube, this buntz cake pan non stick is a must-have kitchen essential. Made from professional-weight formed bakeware, this tube cake pan is a fantastic addition to any kitchen.


Step 1: Prepare the Topping
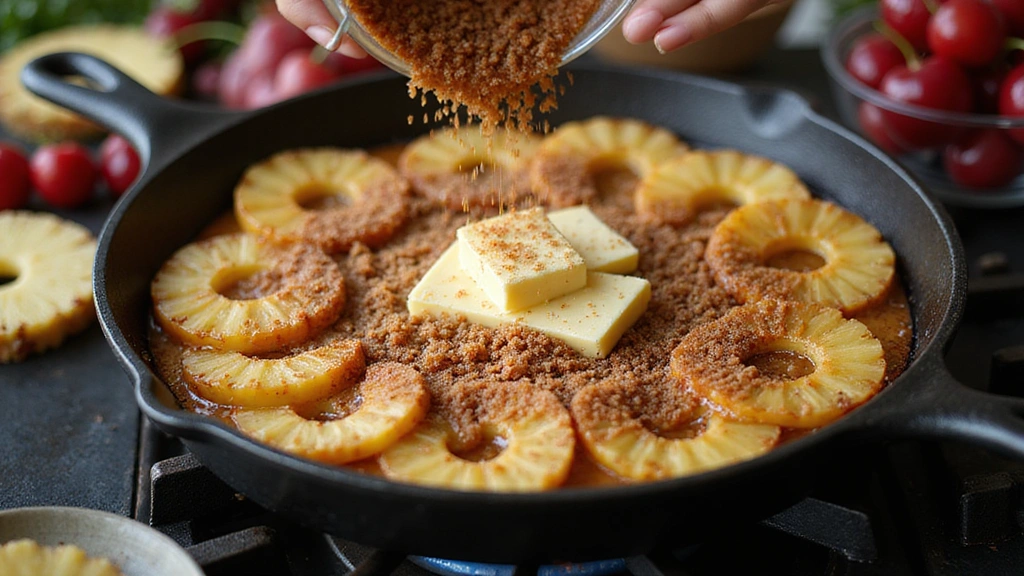
Melt the butter in a cast-iron skillet over medium heat.
Sprinkle the brown sugar evenly over the melted butter.
Arrange the pineapple rings and cherries in a decorative pattern.
Ensure the sugar is evenly distributed for consistent caramelization.
Recommended Products

Set Includes: 6 Pc Mini Skillets

MINI MEALS: BIG IMPRESSIONS. This classic kit combines four identical 3.5-inch Cast Iron Skillets to amplify the possibilities in your personal meals, side dishes, and decorative desserts.

CAST IRON RAMEKINS - These cast iron ramekins are perfect for baking, stove top cooking, and serving up delicious dishes.


Step 2: Preheat the Oven
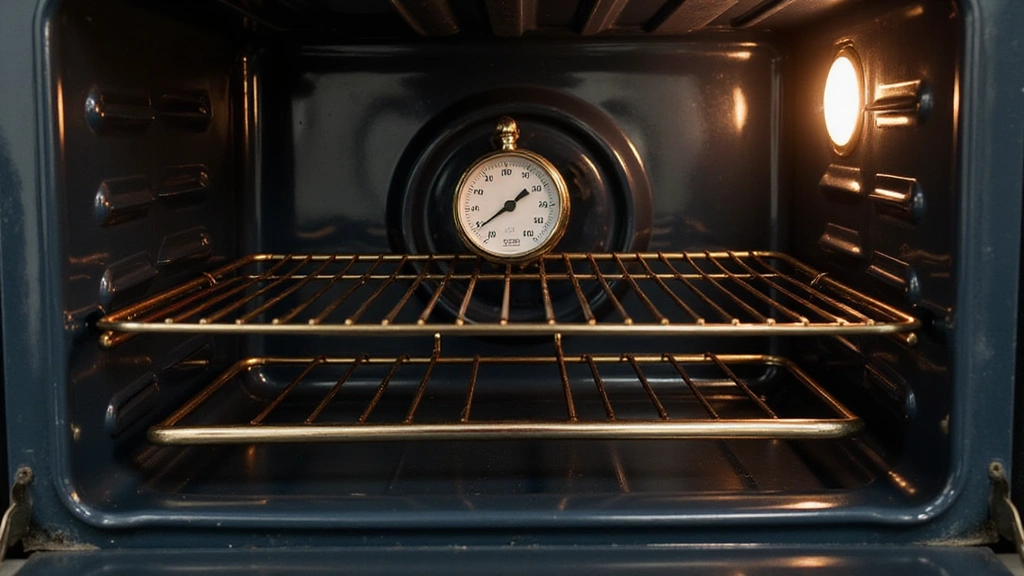
Preheat your oven to 350°F (175°C).
Ensure the rack is positioned in the center for even baking.
Double-check that the oven is at the correct temperature with an oven thermometer.
This step is crucial for proper cake rise and texture.
Step 3: Mix Dry Ingredients
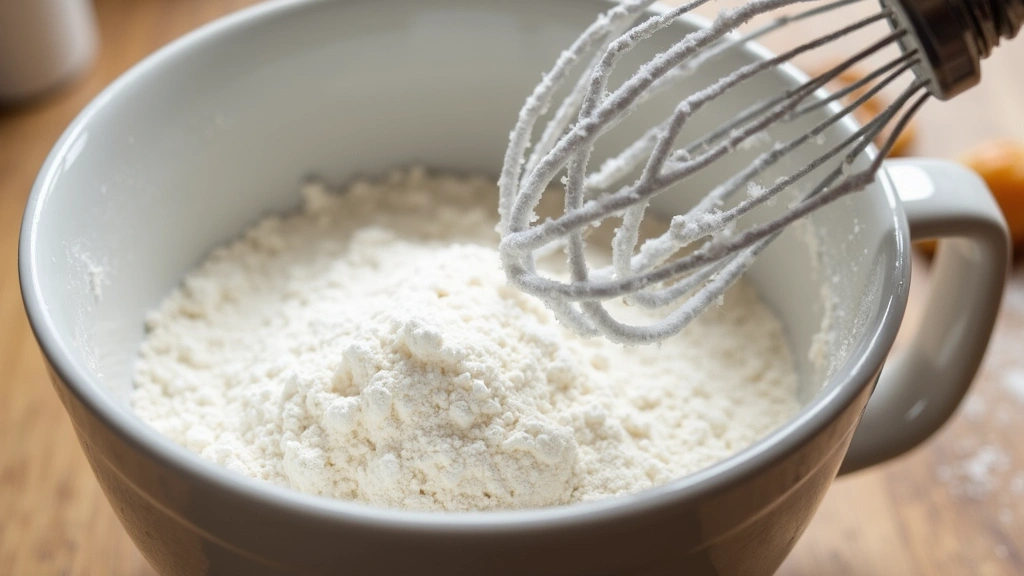
In a medium bowl, sift the flour, baking powder, and salt together.
Whisk gently to combine.
Ensure no lumps remain for a smooth batter.
This mixture will provide the cake's structure.
Recommended Products

Candied fruit not just for fruitcake

Marasca cherries that have been candied and simmered in a syrup made of cherry juice and sugar are known as Maraschino Cherries. They are kosher, vegan, non-GMO, and gluten-free.

Reese Maraschino Cherries can be used in a variety of ways. From garnishing cocktails, to topping milkshakes, these cherries are great for any recipe
Step 4: Cream Butter and Sugar
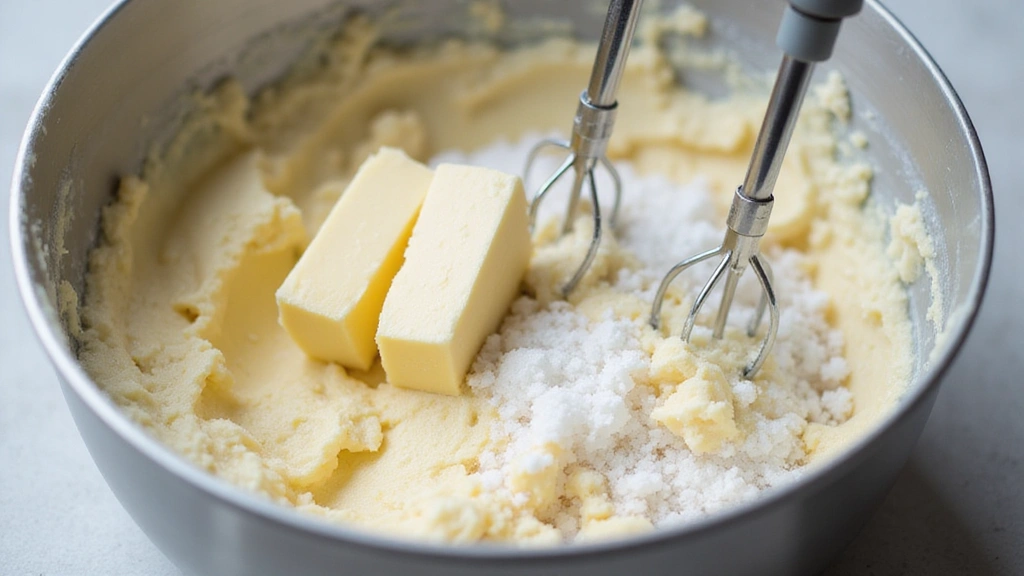
In a large mixing bowl, cream together the softened butter and granulated sugar until light and fluffy.
Use a hand mixer on medium speed for about 3 minutes.
The mixture should become pale and increase in volume.
Proper creaming is key for a tender cake crumb.
Recommended Products
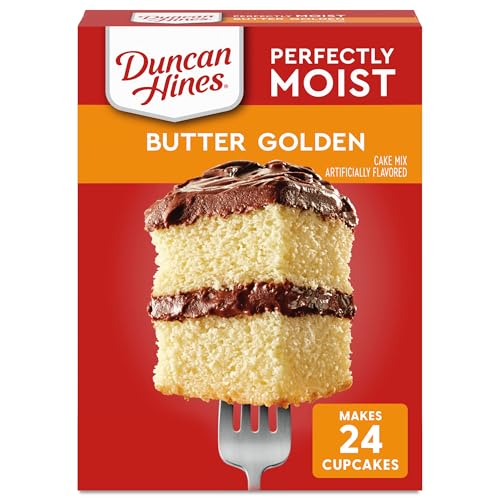
One 15.25 oz box of Duncan Hines Perfectly Moist Butter Golden Cake Mix

BETTY CROCKER CAKE MIX: French vanilla naturally and artificially flavored cake mix with pudding in the mix, from Betty Crocker; It's America's #1 Cake Mix brand (based on 52 weeks of Nielsen sales data for dry cake mixes ending 4/05/25)


Step 5: Add Eggs and Vanilla
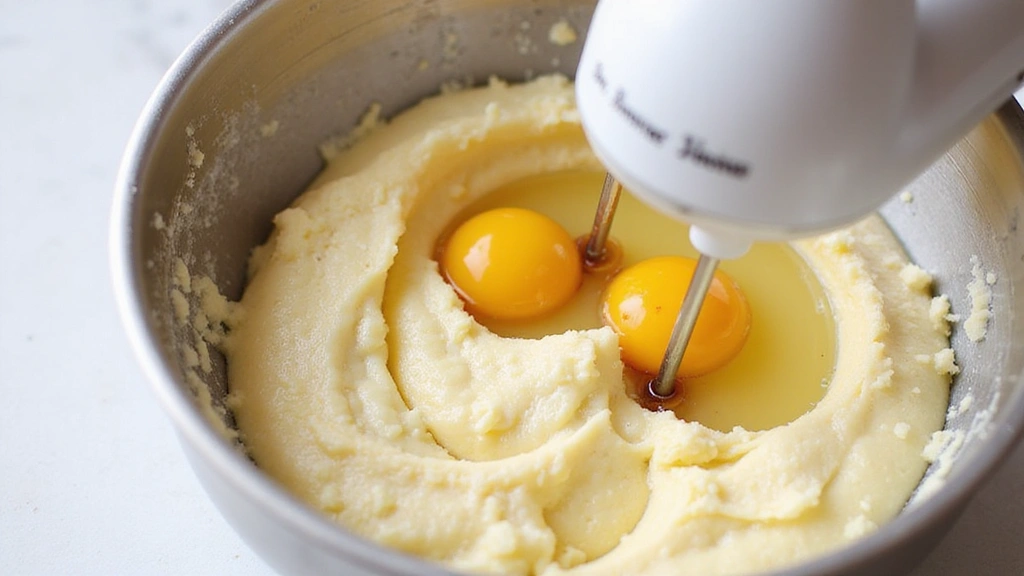
Beat in the eggs, one at a time, to the creamed mixture.
Add the vanilla extract and mix until fully incorporated.
Scrape down the sides of the bowl to ensure even mixing.
This step adds structure and flavor to the cake.


Step 6: Combine Wet and Dry Ingredients
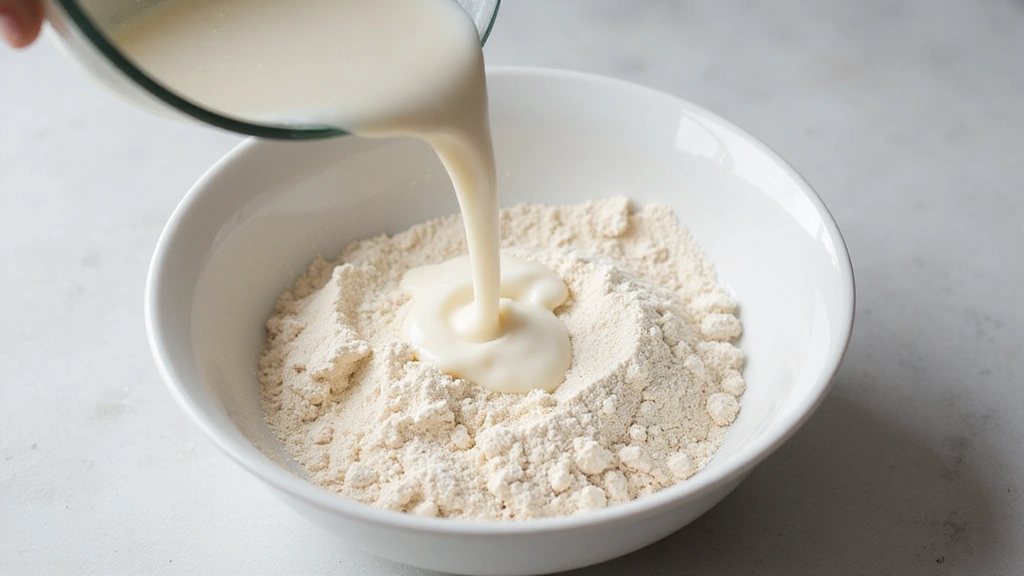
Gradually add the dry ingredients to the wet mixture, alternating with milk.
Mix on low speed until just combined.
Avoid overmixing to prevent a dense cake texture.
The batter should be smooth and slightly thick.
Step 7: Pour Batter Over Topping
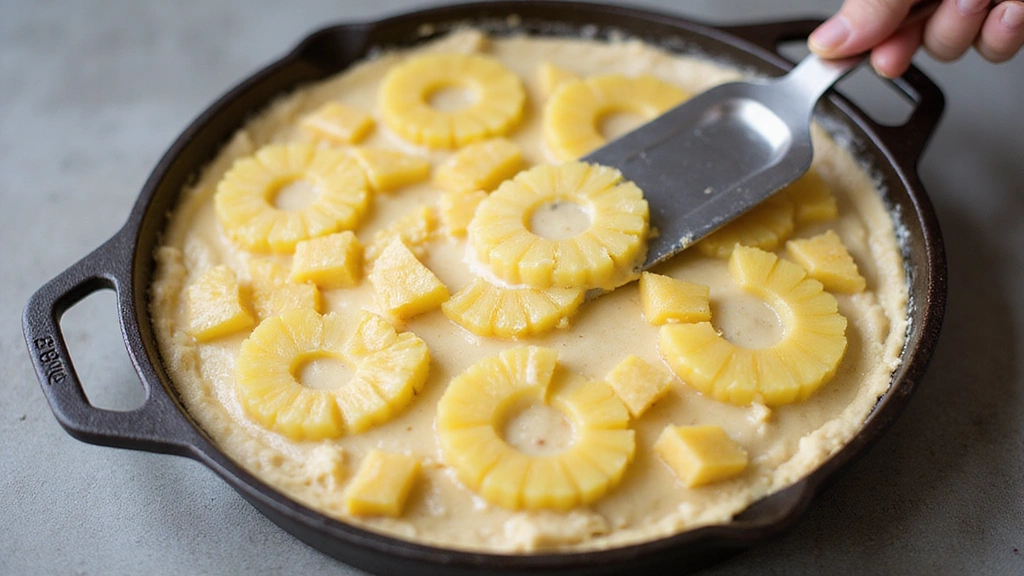
Carefully pour the cake batter over the prepared pineapple topping.
Use a spatula to spread the batter evenly.
Ensure the batter reaches all edges of the skillet.
This step sets the stage for the cake's classic presentation.


Step 8: Bake the Cake
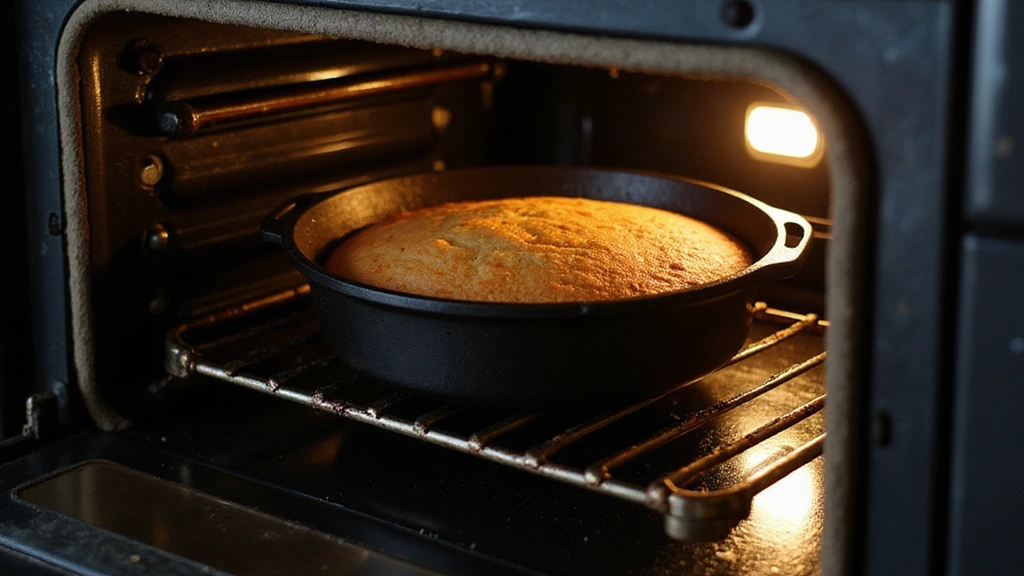
Place the skillet in the preheated oven.
Bake for 40-45 minutes or until a toothpick inserted into the center comes out clean.
The cake should be golden brown and pulling away from the edges.
Proper baking ensures a moist, tender crumb.


Step 9: Cool and Invert the Cake
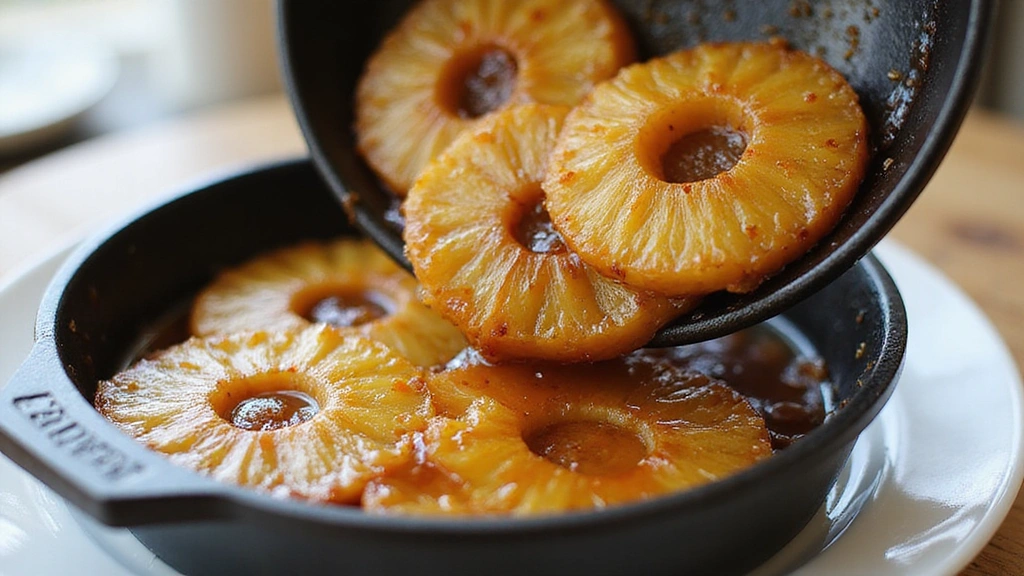
Allow the cake to cool in the skillet for 10 minutes.
Run a knife around the edges to loosen it.
Place a plate over the skillet and invert the cake.
This step reveals the beautifully caramelized top.
Step 10: Serve and Enjoy
Slice the cake into wedges using a sharp knife.
Serve warm for the best texture and flavor.
Optionally, add a scoop of vanilla ice cream on the side.
Enjoy the perfect balance of sweet and tart flavors.


Critical Timing and Temperature Guide
Caramelization Process: Caramelize the butter and sugar over medium heat until the sugar is fully dissolved and golden in color. Avoid burning the sugar by stirring constantly and monitoring the heat.
Baking the Cake: Bake at 350°F for 40-45 minutes. The cake is done when a toothpick inserted into the center comes out clean. Overbaking can lead to a dry cake, so check for doneness at the 40-minute mark.
Cooling and Inverting: Let the cake cool for 10 minutes before inverting. If cooled too long, the caramel may harden and stick to the skillet. Use a knife to loosen the edges for a clean release.
Pro Tips for Pineapple Upside-Down Cake
• Ingredient Selection: Choose canned pineapples packed in juice rather than syrup for a less sweet, more balanced flavor.
• Preparation Secret: Add a pinch of salt to the caramel to enhance the sweetness and add depth to the flavor.
• Temperature Management: Ensure all ingredients are at room temperature for a smooth batter that bakes evenly.
• Texture Enhancement: Sift the flour before measuring to prevent lumps and create a lighter cake.
• Flavor Layering: Add a dash of cinnamon or nutmeg to the batter for a subtle spice note that complements the pineapple.
• Make-Ahead Strategies: Prepare the batter and topping separately and refrigerate for up to a day before assembling and baking.
• Restaurant-Quality Finishing Touches: Brush the finished cake with a light glaze of apricot preserves for a glossy finish.
• Equipment Optimization: Use a well-seasoned cast-iron skillet for the best caramelization and flavor depth.

Troubleshooting Common Issues
• Dense Texture: Caused by overmixing the batter or using cold ingredients. Ensure room temperature ingredients and mix until just combined.
• Unbalanced Flavors: Too much sugar can overpower the pineapple. Use pineapples in juice and adjust sugar to taste.
• Sticking to the Pan: If the cake sticks, ensure the skillet is well-greased and run a knife around the edges before inverting.
• Uneven Baking: Uneven baking can result from a miscalibrated oven. Use an oven thermometer to verify the correct temperature.
• Caramel Hardening: If the caramel hardens, it may have been overcooked. Cook just until the sugar dissolves and turns golden.
• Soggy Bottom: A soggy bottom can occur if the cake cools in the pan too long. Invert after 10 minutes of cooling to prevent this.


Variations and Regional Differences
• Hawaiian Style: This version incorporates crushed macadamia nuts into the caramel topping for added crunch and a tropical flair.
• Southern Variation: Brown butter is used in the topping for a deeper, nuttier flavor, and pecans are added for texture.
• French Tarte Tatin Inspired: Incorporates a puff pastry base instead of cake, with apples replacing pineapple for a European twist.
• Vegan Adaptation: Uses coconut oil and almond milk in place of butter and milk, and flax eggs as a binding agent, for a plant-based version.
Food Science Behind the Recipe
• Caramelization: The Maillard reaction during caramelization develops complex flavors and aromas by browning the sugar, enhancing the cake's overall taste.
• Leavening Agents: Baking powder releases carbon dioxide when heated, causing the cake to rise and creating a light, airy texture.
• Emulsification: Creaming butter and sugar creates an emulsion that traps air, contributing to the cake's structure and fluffiness.


Frequently Asked Questions
What's the most common mistake people make when preparing Pineapple Upside-Down Cake? Overmixing the batter is a common mistake, leading to a dense cake. Mix until ingredients are just combined.
Can I use fresh pineapple instead of canned? Yes, fresh pineapple can be used, but ensure it's fully ripe and cut into uniform slices for even cooking.
How can I make the cake less sweet? Use pineapples packed in juice instead of syrup and reduce the amount of sugar in the topping.
What's the best way to store leftovers? Store the cake in an airtight container at room temperature for up to two days or refrigerate for up to a week.
Can I freeze Pineapple Upside-Down Cake? Yes, wrap the cake tightly in plastic wrap and foil before freezing for up to three months. Thaw at room temperature before serving.
How do I prevent the cake from sticking to the pan? Ensure the skillet is well-greased, and use a non-stick or well-seasoned cast-iron skillet.
Why did my cake sink in the middle? The cake may sink if the oven temperature is too low or if it was not baked long enough. Ensure the oven is preheated and the cake is fully baked before removing.
Serving and Presentation Guide
• Traditional Presentation: Serve the cake on a round platter, with the caramelized pineapple and cherries on top, for a classic look.
• Modern Twist: Cut the cake into individual servings and serve each slice with a dollop of whipped cream and a mint leaf for elegance.
• Casual Gathering: Serve directly from the skillet with a large serving spoon, allowing guests to help themselves.
• Festive Occasion: Dust the edges with powdered sugar and garnish with fresh pineapple wedges or edible flowers for a celebratory touch.


Conclusion
Pineapple Upside-Down Cake is a delightful dessert that captures the essence of retro charm with its sweet, caramelized topping and moist cake.
Its simplicity and bold flavors make it a versatile choice for any occasion, from casual get-togethers to formal celebrations.
Give this classic recipe a try, and enjoy the timeless appeal it brings to your table.