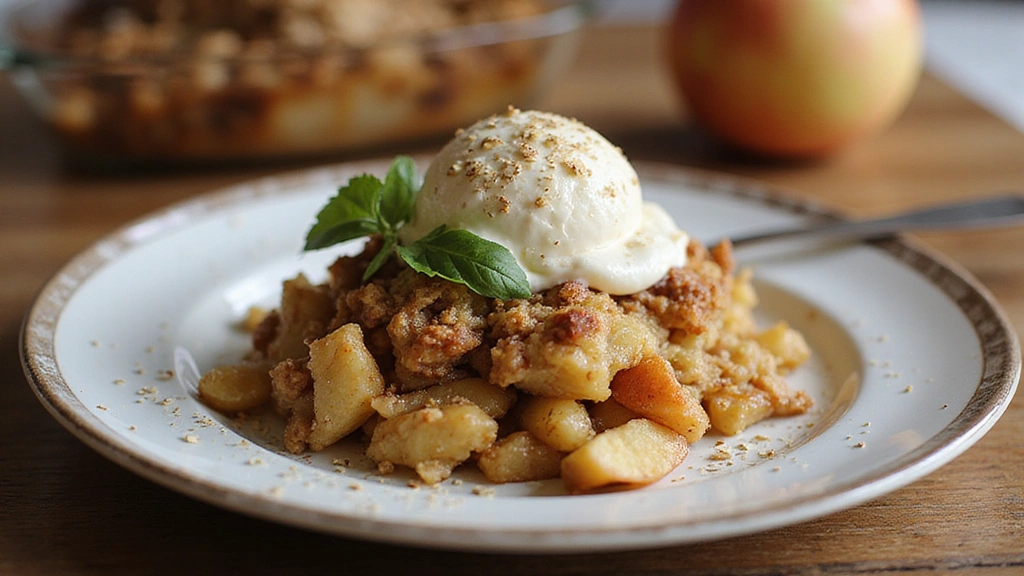
As the leaves turn golden and the air becomes crisp, there’s nothing more comforting than a warm Apple Crisp with Oats.
This delightful dessert combines the tartness of fresh apples with a crunchy oat topping, creating a symphony of flavors and textures that evoke memories of cozy autumn evenings.
Whether enjoyed as a finishing touch to a hearty meal or as a sweet indulgence with a scoop of vanilla ice cream, Apple Crisp with Oats is a must-try treat this season.
Simple to make and universally loved, it’s the perfect balance of sweetness and spice, warmth and crunch.
Once you try it, you’ll find yourself reaching for this recipe time and time again, especially when apples are in abundance.
The History and Cultural Significance
• Apple Crisp traces its origins to the United Kingdom in the early 20th century, where it was originally created as a simple yet satisfying dessert.
• The dish evolved over decades as oats and cinnamon were incorporated, eventually becoming the beloved version we know today.
• In American culture, this dish traditionally appears at Thanksgiving and harvest festivals, symbolizing abundance and gratitude.
• While many variations exist across different regions, the authentic version maintains a perfectly balanced topping of oats and butter that sets it apart from imitations.
Recommended Products

IT’S TIME TO HIT PAUSE AND BAKE: This is more than a pie pan. Mora is Latin for "Pause", acting as a reminder to slow down in your amazing life. You are always being told to do more, to go faster, to be better, but it's time for you to slow down every once in a while and hit pause. Your Mora pans can help you do that. No matter what you're baking, every time you use a Mora pan it is a reminder to hit pause, give yourself some me time, and practice mindfulness.

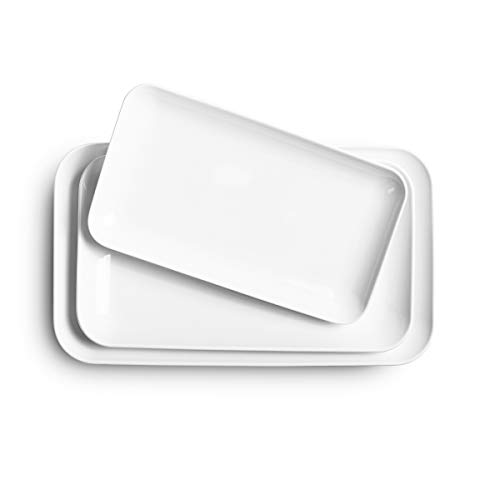
Casseroles, Crisps & More: Perfect for cooking up personal pot pies, stews, pastas, and we especially love using them to serve fruit crumbles.


Recipe Overview
Recommended Products

100 calories per serving

APPLE CINNAMON STEEL CUT OATS: Contains six (6) 12.3 oz boxes of Better Oats Steel Cut Apples & Cinnamon oatmeal with 10 pouches per box, packed with hearty steel cut oats and flax seeds

ZERO MORNING PREP - Mix one pack of Oats Overnight with your choice of milk substitute (or traditional milk) the night before and place in the fridge so you can grab and go in the morning. Ditch the spoon and enjoy this premium oatmeal directly from the shaker bottle (sold seperately), perfect for your morning commute.
Nutritional Information (per serving)
Recommended Products
WARM AUTUMN FLAVOR: Tart apple and warm spiced flavor for fall-inspired dishes and recipes.

Perfectly Balanced Flavor – Experience the magic of perfectly blended bold cinnamon and sweet-tart apple, creating a burst of fall-inspired flavor in every sprinkle. Whether you're baking, cooking, or crafting drinks, this sugar transforms ordinary moments into extraordinary culinary experiences.

Organic cinnamon applesauce
Essential Equipment Guide
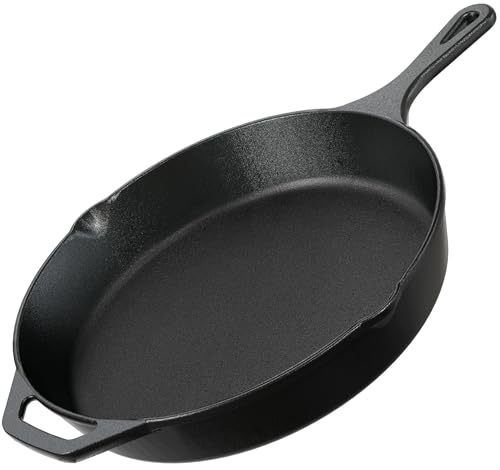
Baking Dish: A good-quality ceramic or glass baking dish ensures even heat distribution and is essential for achieving a perfectly cooked apple base. Alternatives include cast iron skillets, which can add a rustic touch. Look for a dish that is deep enough to accommodate the layers comfortably.
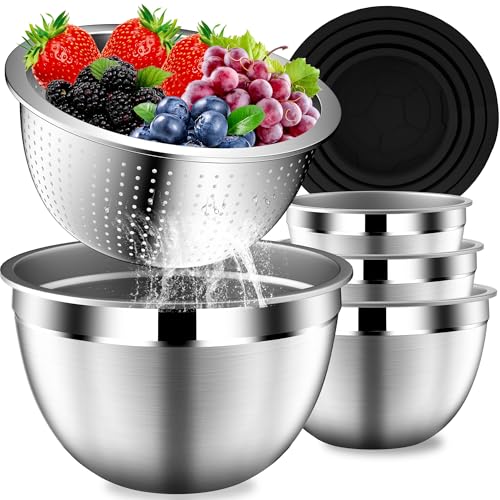
Mixing Bowls: Having several mixing bowls of different sizes allows you to prepare different components separately without mixing flavors prematurely. Stainless steel or glass bowls are preferable for easy cleaning and non-reactivity.
Pastry Cutter: This tool is critical for cutting butter into the flour and oats mixture for the topping, creating the perfect crumbly texture. A fork can be used as an alternative, but a pastry cutter provides more even results and is easier on the hands.
Recommended Products

Ideal for Baking - Stainless steel blades easily cut butter and shortening into dry ingredients

UNIQUE DESIGN - Our classic cutting wheel make it easy for you to create delicious fresh ravioli and pasta at home. The fluted edges of the ravioli cutter can easily press out clear patterns.MHJKUBOYEEYHJK

UNIQUE FLUTED PASTRY WHEEL DESIGN: This fluted pastry wheel cutter is designed to help you easily make fresh ravioli, pasta, and decorative dough at home. The sharp scalloped edges of the ravioli cutter wheel create clean, professional patterns with minimal effort


Ingredients
Recommended Products

Made from Tempered Glass: NUTRIUPS square baking dish can withstand temperatures between 482° F and -4° F. Cook in the oven, store in the refrigerator & reheat in the microwave. Perfect dish for make ahead meals and for transporting meals to events.
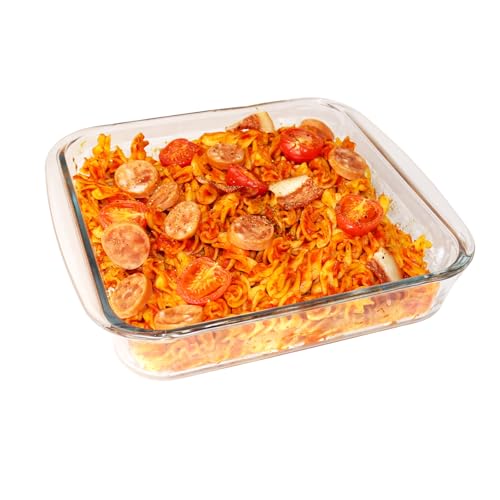
【Premium Tempered Glass】: Made from durable tempered glass, withstands -4°F to 482°F. Perfect for oven roasting, freezer storage, microwave reheating and dishwasher safe. Ideal for meal prep, baking, and transporting dishes.

Multifunction Square Baking Pan - This small baking pan (not including the size of handles) is 8 inches (length) x 8 inches (width) x 2.3 inches (height), suitable for lasagna, casseroles, enchiladas, gratin, roasted meat, brownies. A good partner for baking lovers.
For the Filling
| Amount | Ingredient | Notes |
|---|---|---|
| 6 cups | apples | peeled, cored, and sliced |
| 2 tablespoons | lemon juice | prevents browning |
| 1 teaspoon | cinnamon | adds warmth |
| 1/2 cup | granulated sugar | sweetens the apples |
For the Topping
| Amount | Ingredient | Notes |
|---|---|---|
| 1 cup | rolled oats | provides crunch |
| 1 cup | all-purpose flour | binds the topping |
| 1 cup | brown sugar | gives a caramel flavor |
| 1/2 cup | unsalted butter | cut into cubes |
| 1/4 teaspoon | salt | enhances flavor |
Preparation Methods
Peeling and Slicing Apples: Use a sharp knife or a dedicated apple peeler to remove the skin without losing much fruit. Slicing the apples uniformly ensures even cooking and a consistent texture in the filling.
Cutting in Butter: This technique involves mixing butter into flour and oats until the mixture resembles coarse crumbs. It's crucial for a crisp topping, as it creates pockets of butter that melt and create flakiness.
Layering Ingredients: Properly layering the apples and topping ensures that the juices from the apples soak into the topping while still allowing it to crisp up. This technique is essential for the textural contrast that defines a great apple crisp.
Recommended Products

✔ NO MORE SOGGY BOTTOMS ON TARTS, QUICHES & PIES - This custom designed pie pan / tart pan by Jean Lemond has ingenious perforated holes that allow hot air to circulate not just on the top of your pastry but the base and the sides also giving you the crispest, the most delicious, the most melt in your mouth crusts of all!
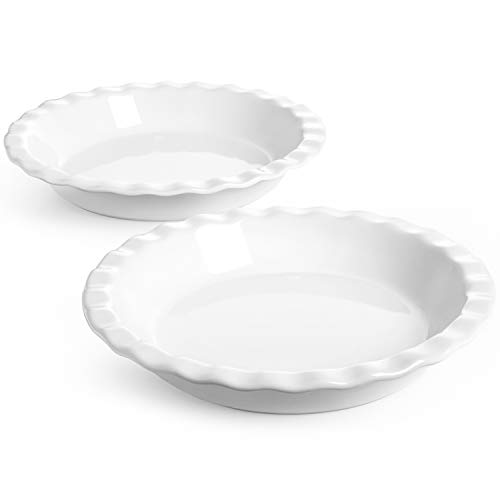
A Versatile Dish You Worth It: 9 inch in diameter, 1.7-inch in height; Our fluted stoneware pie dish not just for home-made baking fruit pies, pot pies, crisps, quiches, but also fits the regular 9-inch pie crust bought in the grocery store; So you can save time preparing pie

【Size & Versatility】: The round quiche baking dish measures 10.8 x 10.8 x 1.5 inches and has a capacity of 47 ounces. It is designed specifically for various dishes, such as meats pie, pizza, creamy cheesecake, dessert pies, quiche, casserole, and baked macaroni. It is especially suitable for use as a holiday pie pan.


Step 1: Prepare the Apples
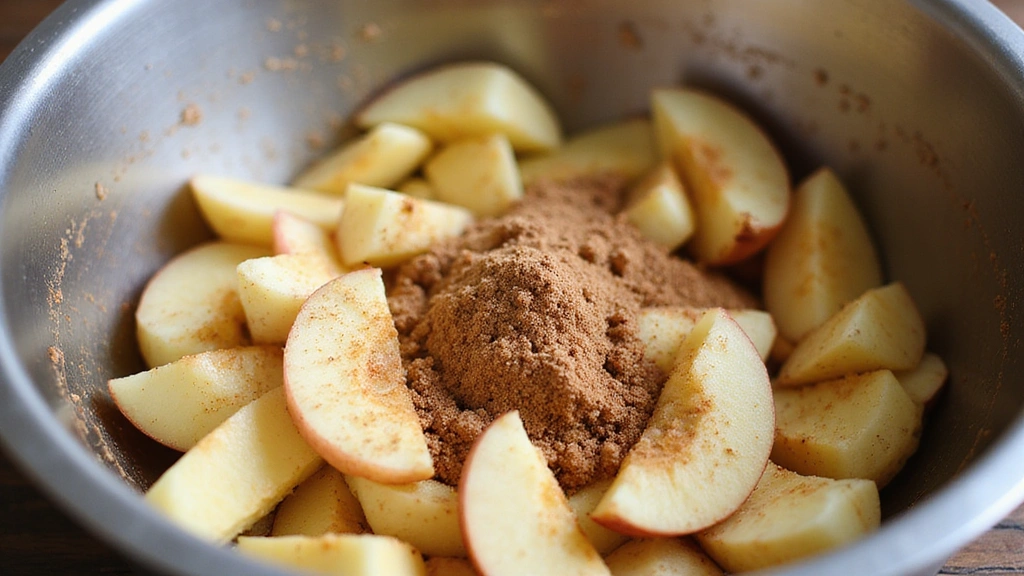
Peel, core, and slice the apples into even pieces.
Toss the apples with lemon juice to prevent browning.
Add cinnamon and sugar to the apples, mixing well until coated.
Set the apple mixture aside to allow flavors to meld.
Recommended Products

One 16 oz resealable tub of Better Oats Organic Old Fashioned Oats, Organic Rolled Oats

Irresistibly Crunchy & Delicious: Oven-baked for the perfect crunch dogs love, these tasty granola inspired bites make treating time extra exciting.

BREAKFAST OATMEAL WITH CRISP APPLE FLAVOR: Wholesome rolled oats meet sweet, crisp apple — the kind of satisfying morning bite that makes your dog's tail wag before the cup even opens.


Step 2: Preheat the Oven

Preheat your oven to 350 degrees Fahrenheit.
Ensure the oven rack is positioned in the middle for even baking.
Use an oven thermometer to check for accurate temperature.
This step is crucial for achieving the right texture in the crisp.
Recommended Products

Rich cinnamon blended with just the right amount of sugar


3.9 OZ CLEAR CUPS: Clear cups are a great addition to lunchboxes and a perfect snack on the go
Step 3: Prepare the Topping
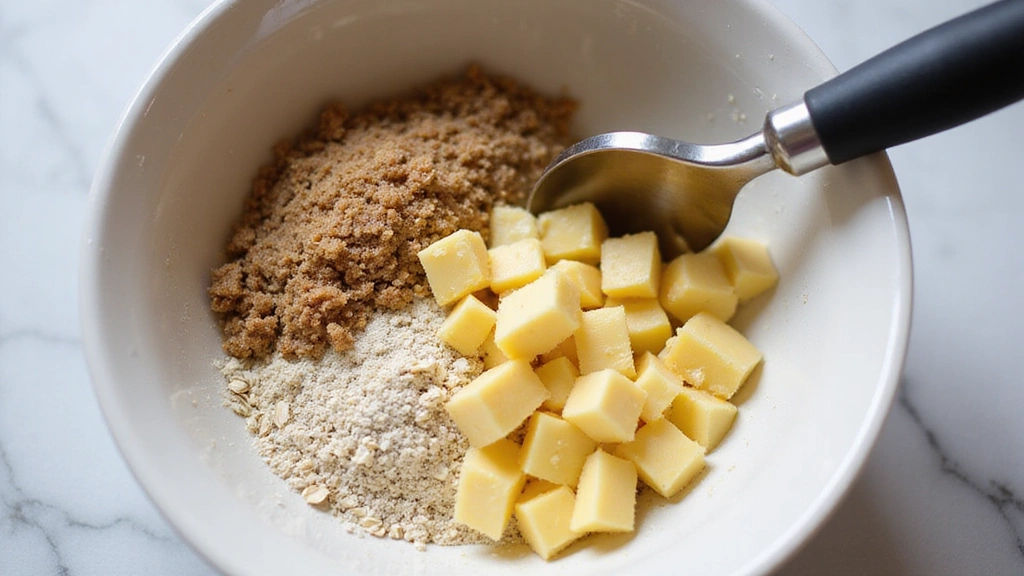
In a large mixing bowl, combine rolled oats, flour, brown sugar, and salt.
Add the cubed butter into the mixture.
Use a pastry cutter to cut the butter into the dry ingredients until the mixture resembles coarse crumbs.
Ensure the butter is evenly distributed for a consistent topping texture.
Recommended Products

Unrivaled Quality: This Dough & Pastry Blender comes with high-quality, durable metal blades,guaranteeing longevity and top-tier performance. Your baking experience is about to be upgraded.

Stainless steel blades easily cut butter and shortening into dry ingredients

12 PIECES ROUND CUTTER SETS - 12 Pieces different size stainless steel circle cutters,with the largest measuring a great 4.4” (11.3cm) and the smallest a miniature 1” (2.6cm), you’ll find a cutter for every dish.Come complete with a tin storage box to reduce clutter in your kitchen drawer.


Step 4: Assemble the Crisp

Spread the apple mixture evenly into a greased baking dish.
Ensure the apples are in an even layer for uniform baking.
Sprinkle the prepared oat topping over the apples.
Gently pat the topping to adhere it to the apples without compacting too much.
Recommended Products

8x8 Inch Baking Dish: With dimensions of 10.3 x 8.9 x 2.9 inches (including the handle), this baking dish is perfect for preparing lasagna, casseroles, desserts, gratins, brownies, and more. Perfect for small families or individuals, it typically caters to the needs of 2-4 people, making it ideal for cooking small portions or serving as a container for a single dish.

Excellent material:Made of high quality borosilicate glass, This Glass Baking Dish is high temperature resistant, explosion proof, can withstand temperatures ranging from -4°F to 752°F(-20°C to 400°C),even if you take it out of the refrigerator and put it directly into the microwave to heat it up, you don't have to worry about it blowing up.

【2-in-1 Design – Lid Doubles as Baking Dish】 The rectangular glass lid also serves as a shallow baking dish, adding extra versatility to your kitchen. Use it to steam vegetables, heat leftovers in the microwave, or bake a quiche – then go straight from the microwave to the dining table with the same dish.

Step 5: Bake the Crisp

Place the baking dish in the preheated oven.
Bake for 45 minutes or until the topping is golden brown and apples are tender.
Rotate the dish halfway through baking for even heat exposure.
Check for bubbling around the edges as a sign of doneness.


Step 6: Cool the Crisp
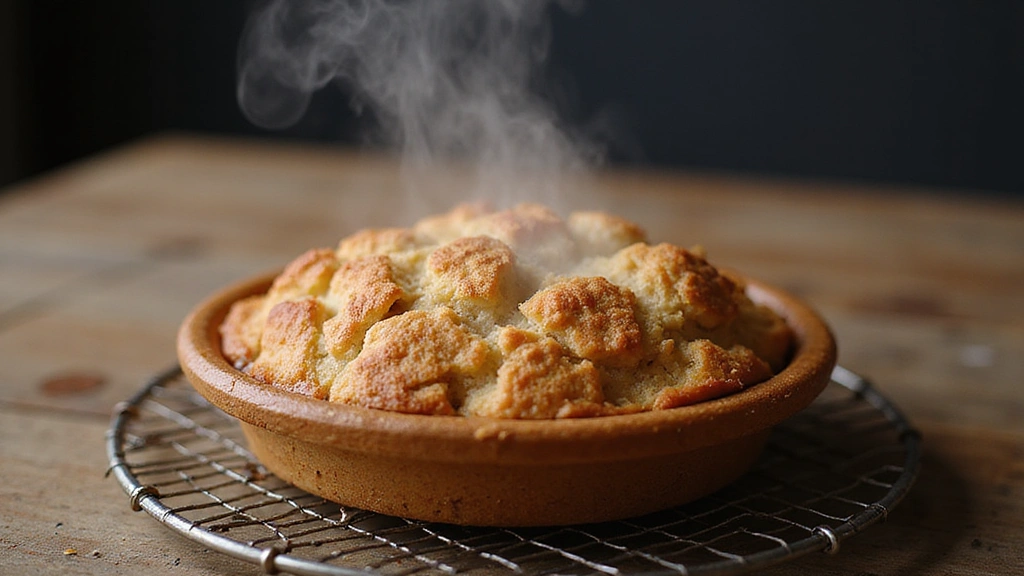
Remove the apple crisp from the oven and place it on a wire rack.
Allow it to cool for at least 10 minutes before serving.
This resting time allows the juices to settle and the crisp to firm up.
Ensure the topping remains crisp by avoiding covering it while cooling.
Step 7: Serve the Apple Crisp
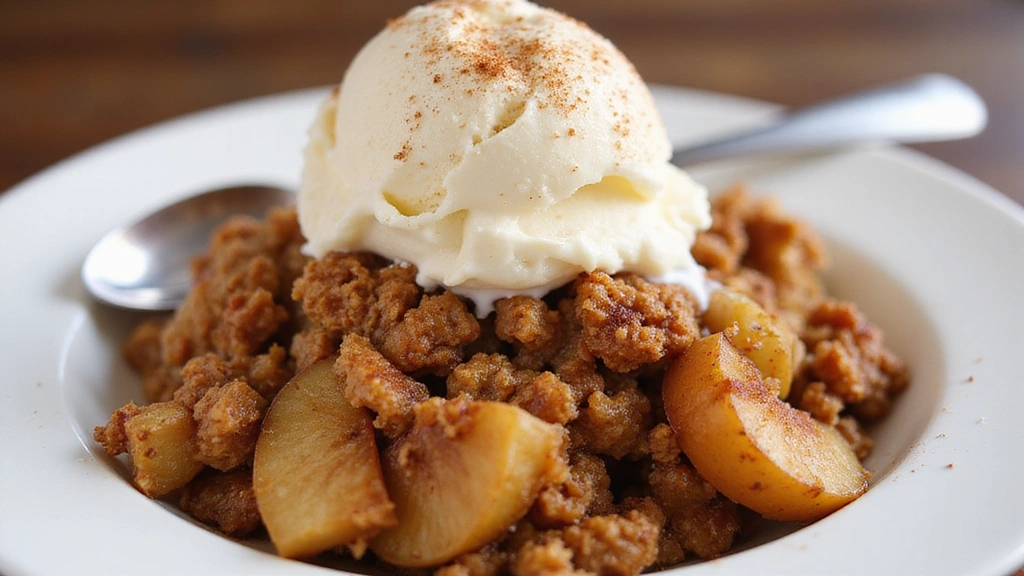
Scoop the apple crisp into individual serving bowls.
For an added treat, top each serving with a scoop of vanilla ice cream or whipped cream.
The contrast of warm crisp and cold ice cream enhances the experience.
Garnish with a sprinkle of cinnamon for extra flavor.


Step 8: Store Leftovers
Transfer any leftover apple crisp to an airtight container.
Store in the refrigerator for up to 3 days.
Reheat individual portions in the microwave or oven before serving.
Ensure the topping remains crisp by reheating uncovered.
Critical Timing and Temperature Guide
Baking the Crisp: Bake at 350 degrees Fahrenheit for 45 minutes, checking for a golden brown topping and bubbling edges. Avoid opening the oven frequently to maintain consistent temperature.
Cooling Period: Allow the crisp to cool for at least 10 minutes on a wire rack. This rest time is essential for setting the filling and preventing a runny texture.
Reheating Leftovers: Reheat in an oven preheated to 350 degrees Fahrenheit for 10-15 minutes. Avoid microwaving for long durations to prevent sogginess.
Pro Tips for Apple Crisp with Oats
• Ingredient Selection: Choose tart, firm apples like Granny Smith or Honeycrisp for the best flavor and texture. The balance of tartness and sweetness is crucial.
• Preparation Secret: Let the apple mixture sit for at least 10 minutes before adding the topping. This allows the flavors to meld and the sugar to draw out the apple juices.
• Temperature Management: Use cold butter for the topping to ensure it cuts into the dry ingredients properly, creating a flaky texture.
• Texture Enhancement: Ensure the oat topping is evenly distributed and not pressed down too firmly, which can hinder crispiness.
• Flavor Layering: Add a pinch of nutmeg or cloves to the apple mixture for a deeper spice profile.
• Make-Ahead Strategies: Prepare the apple filling and topping separately, storing them in the refrigerator for up to 24 hours before assembling and baking.
• Restaurant-Quality Finishing Touches: Dust the finished crisp with powdered sugar or drizzle with caramel sauce for an elegant presentation.
• Equipment Optimization: Use a quality baking dish with even heat distribution to ensure the apples cook uniformly and the topping crisps without burning.


Troubleshooting Common Issues
• Texture Too Dense: This issue often arises from over-mixing the topping or using warm butter. Ensure butter is cold and cut in until just crumbly.
• Soggy Topping: A soggy topping may result from covering the crisp while cooling. Ensure it cools uncovered to maintain crispness.
• Flavors Unbalanced: If the dish is too sweet, try using tart apples and reducing sugar in the filling. Taste-test before baking and adjust spice levels as needed.
• Apples Undercooked: If apples are not tender, ensure they are sliced thinly and baked at the correct temperature. Extending the bake time slightly may help.
• Topping Too Brown: Excessive browning can occur from baking too long or at too high a temperature. Cover with foil if it browns too quickly.
• Filling Too Runny: Adding a tablespoon of flour or cornstarch to the apple mixture can help thicken the juices during baking.


Variations and Regional Differences
• New England Style: This version includes cranberries mixed into the apple filling, adding tartness and color, often enjoyed during holiday celebrations.
• Southern Twist: Incorporates pecans into the oat topping for added richness and a nutty flavor, reflecting the Southern love for pecans in desserts.
• British Crumble: Similar to apple crisp but typically without oats, using only flour and sugar in the topping, highlighting the simplicity of British cuisine.
• French Clafoutis: Though not a crisp, it's a related baked fruit dessert with a custard-like batter, showcasing the French flair for combining textures.


Food Science Behind the Recipe
• The Maillard Reaction: Responsible for the browning and flavor development in the oat topping, it occurs as the sugars and proteins react during baking.
• Starch Gelatinization: As the apples bake, their natural starches gelatinize, thickening the filling and creating a pleasant mouthfeel.
• Sugar's Role: Sugar helps draw moisture from the apples, creating a syrupy filling. It also contributes to the crisp's golden color and caramel notes.


Frequently Asked Questions
What's the most common mistake people make when preparing Apple Crisp with Oats? Overmixing the topping or using warm butter, which prevents the topping from becoming crumbly and crisp.
Can I use different types of apples? Yes, but it's best to use a mix of tart and sweet varieties for a balanced flavor.
How do I prevent the topping from getting soggy? Ensure the crisp cools uncovered and store leftovers in an airtight container.
Is it possible to make this dish gluten-free? Absolutely, substitute the flour with a gluten-free blend and ensure oats are certified gluten-free.
What is the best way to reheat leftovers? Reheat in an oven at 350 degrees Fahrenheit for best results, maintaining the crisp texture.
Can I prepare this dish in advance? Yes, assemble it a few hours ahead and refrigerate, then bake just before serving.
Why is my apple crisp too watery? This can happen if the apples aren't baked long enough or if there's excess liquid. Adding a thickening agent like flour can help.
Serving and Presentation Guide
• Traditional Presentation: Serve directly from the baking dish with a large spoon, ensuring each serving has both apple and topping.
• Gourmet Touch: Plate each portion individually, adding a scoop of vanilla ice cream and a drizzle of caramel sauce.
• Rustic Appeal: Present in a cast iron skillet for a homestyle, rustic look, perfect for casual gatherings.
• Elegant Display: Use small ramekins for individual servings, ideal for formal dinners or as part of a dessert buffet.


Conclusion
There's no better way to celebrate the flavors of fall than with a homemade Apple Crisp with Oats.
This recipe is sure to become a family favorite, perfect for any occasion and easy to prepare.
Gather your ingredients and enjoy the delightful aroma of apples and spices filling your kitchen.
Don't wait for a special occasion; this comforting dessert is perfect for any day of the week.