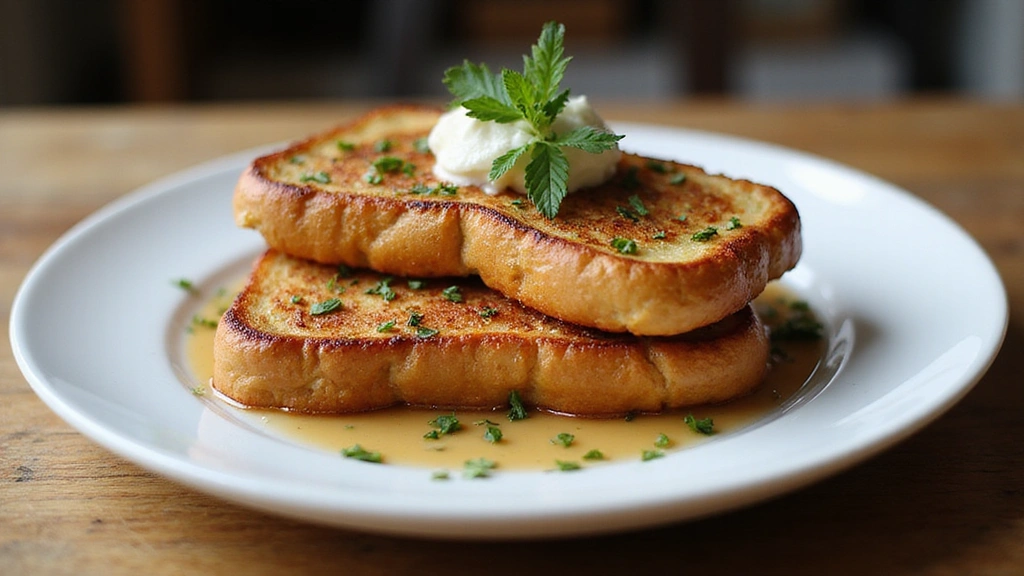
There’s something wonderfully nostalgic about waking up to the smell of French Toast sizzling in the kitchen.
This Easy French Toast recipe offers the perfect balance of textures, with a crispy exterior and a soft, flavorful interior.
I first fell in love with this dish during a cozy winter brunch with family, where its warmth and sweetness brightened a chilly morning.
The combination of cinnamon and vanilla creates a delightful aroma that fills the room and makes everyone eager to gather around the breakfast table.
Whether you’re cooking for a lazy Sunday morning or a special occasion, this recipe is sure to impress with its straightforward preparation and delicious results.
The History and Cultural Significance
• French Toast traces its origins to ancient Rome, where it was originally created as a way to use up stale bread.
• The dish evolved over decades as ingredients like eggs, milk, and spices were added, eventually becoming the beloved version we know today.
• In France, this dish traditionally appears at Christmas and New Year’s celebrations, symbolizing comfort and indulgence.
• While many variations exist across different regions, the authentic version maintains the essential combination of eggs, milk, and bread that sets it apart from imitations.
Recommended Products

【Eco-Friendly Non-Stick Granite Frying Pan】The gold frying pan combines the natural texture and durability of marble to create a high quality granite stone frying pan. The non stick pan has superior nonstick performance,The eggs slide over smoothly from the surface of frying pan without effort with a minimal amount of oil or butter. Let us say goodbye to fume, gives us a less oil and healthy diet life

Superior Non-Stick - TUV certified reinforced coating, it is free of intentionally added PFOA, PFOS, lead and cadmium. Eggs & pancakes slide effortlessly with 80% less oil.

SUPER NONSTICK - The surface is smooth and super nonstick, eggs can just slide right off the pan without effort, which makes cooking easier and the food much more flavorable with less oil!


Recipe Overview
Recommended Products

★FOOD GRADE STAINLESS STEEL – The rotating whisk is made of food grade stainless steel, so it’s antirust and durable, The semi automatic whisk has a long service life, which can save your time and effort.

Flat top of whisk makes it great for getting in the corners of pots
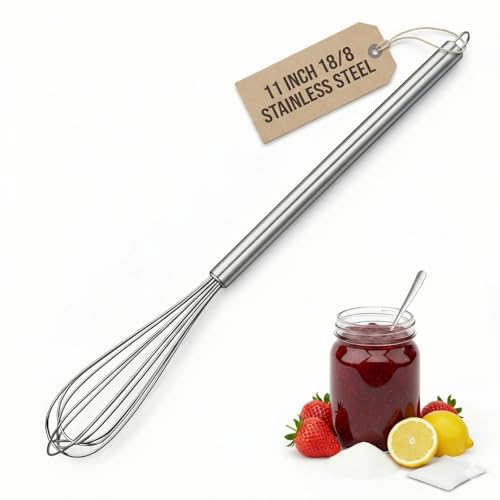
THE "GO-ANYWHERE" 1-INCH HEAD:Stop struggling with bulky balloon whisks that don't fit. With a slim 1-inch wide head, this whisk slides effortlessly into narrow containers like Mason jars, tumblers, protein shakers, and carafes. It reaches deep into corners to mix every last bit of powder or liquid without clanking against the sides or spilling over
Nutritional Information (per serving)
Recommended Products

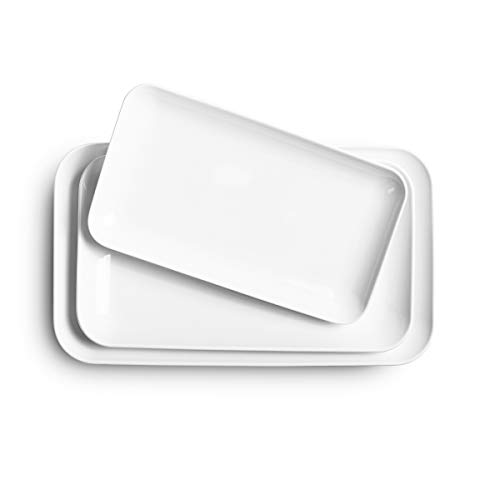
Cutting guide grooves allow for beautifully slanted slices

Perfect Dipping Bowls for Every Occasion – These bread dipping bowls are ideal for serving olive oil, sauces, or condiments. Their shallow, round design is perfect for individual portions and elegant table presentation

Package includes 40 pack dipping bowls in 4 different color (blue, red, green, beige), 10 pack dipping bowls of each color. Easy to clean and lasting clean without the residual odor of the food. Can be cleaned by dishwasher directly or simply washed by hand with soap and hot water.
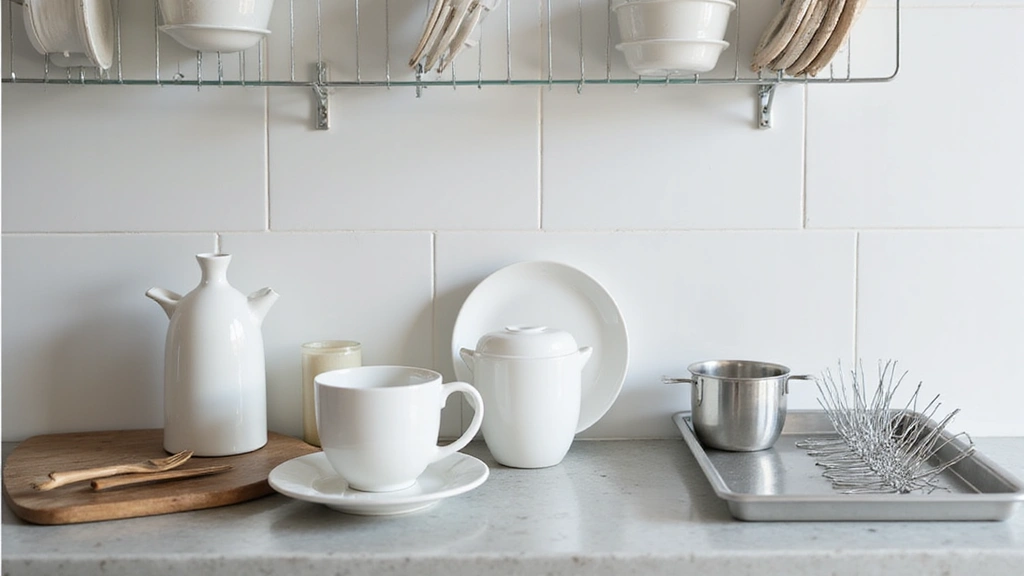
Essential Equipment Guide
Non-stick Skillet: Essential for achieving a perfectly golden crust without sticking. An alternative could be a well-seasoned cast iron skillet.
Whisk: Important for blending the egg mixture evenly, ensuring a smooth texture. A fork can work in a pinch, but a whisk is preferred for its efficiency.
Shallow Bowl: Necessary for dipping bread slices evenly. Look for a bowl wide enough to accommodate the entire slice.
Recommended Products
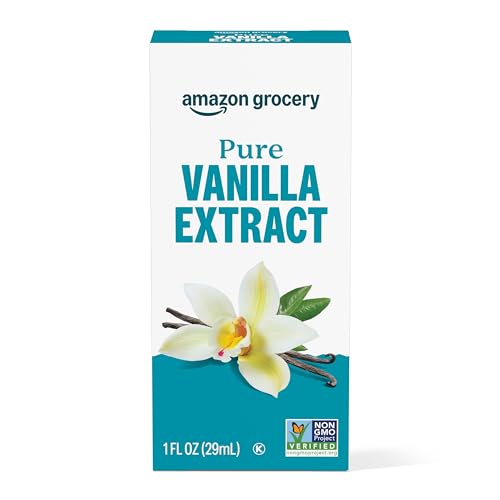
Add rich vanilla to all your baking recipes

Made with Pure Vanilla Extract and all naturally derived ingredients

Blend of Three Flavors - cinnamon, sugar and vanilla!


Ingredients
Recommended Products

You'll get one 22 oz loaf of Nature's Own Perfectly Crafted Thick Sliced Sourdough
Product Type:Bread

For the Base
|
| Amount | Ingredient | Notes |
|---|---|---|
| 4 slices | thick bread | preferably stale, for better absorption |
| 2 large | eggs | beaten, provides structure |
| 1 cup | milk | adds moisture |
Flavorings
| Amount | Ingredient | Notes |
|---|---|---|
| 1 teaspoon | vanilla extract | adds aromatic sweetness |
| 1 teaspoon | ground cinnamon | for warmth and spice |
| 1 tablespoon | sugar | optional, for sweetness |
Preparation Methods
Bread Soaking: Allowing the bread to soak for just the right amount of time ensures it absorbs the flavors without becoming too soggy. Aim for a quick dip to maintain structural integrity.
Controlled Heat Cooking: Cooking over medium heat is crucial to achieve a crispy exterior while ensuring the inside is cooked through. Avoid high heat to prevent burning.
Even Coating: Ensuring each slice of bread is evenly coated in the egg mixture is key for uniform flavor and texture. Use a shallow bowl for consistent coverage.
Recommended Products

DIAMOND-INFUSED EXCELLENCE: Our diamond-infused ceramic nonstick interior provides strength, scratch resistance, and simple cleaning
VERSATILE COOKING: Sear, fry, or sauté
VERSATILE COOKING: Sear, fry, or sauté


Step 1: Prepare the Egg Mixture
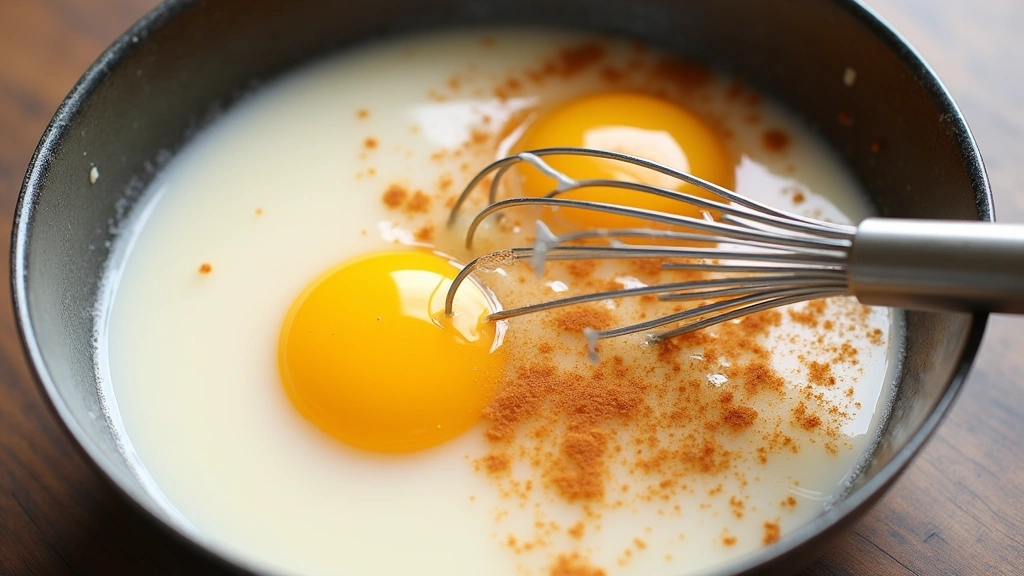
Crack eggs into a shallow bowl.
Add milk, vanilla extract, cinnamon, and sugar.
Whisk until smooth and well combined.
Ensure no streaks of egg remain for a consistent coating.
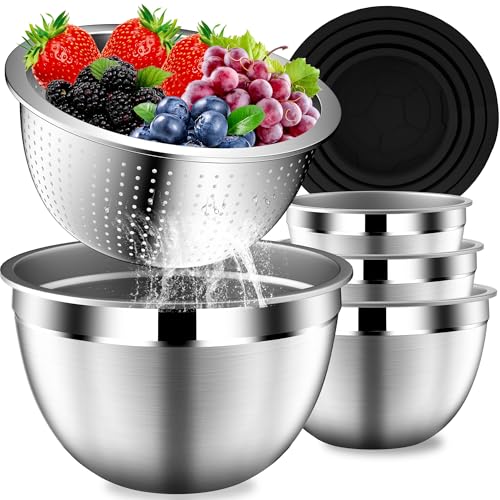
Recommended Products

304 FOOD GRADE STAINLESS STEEL: Mini whisk are made of quality anti-rust 304 Stainless Steel, sturdy and reliable, easily to mix the sauces.Perfect for mixing salad dressings or beating an egg。

SAVE 80% TIME AND BEAT EVENLY: 10 thickened steel wires provide superior mixing efficiency compared to traditional designs. Our whisk has more contact points, allowing it to mix ingredients faster and more evenly, it can save you 80% your time. The egg beater requires no assembly and easy to use.

【New Design】By redesigning the head shape of the egg beater and the optimization of materials, the efficiency is increased by 200%during mixing, and our hand mixer can still maintain sufficient rebate and solidity after 8,000 times continuously using 8,000 times continuously. , Let you use it more convenient


Step 2: Preheat the Skillet
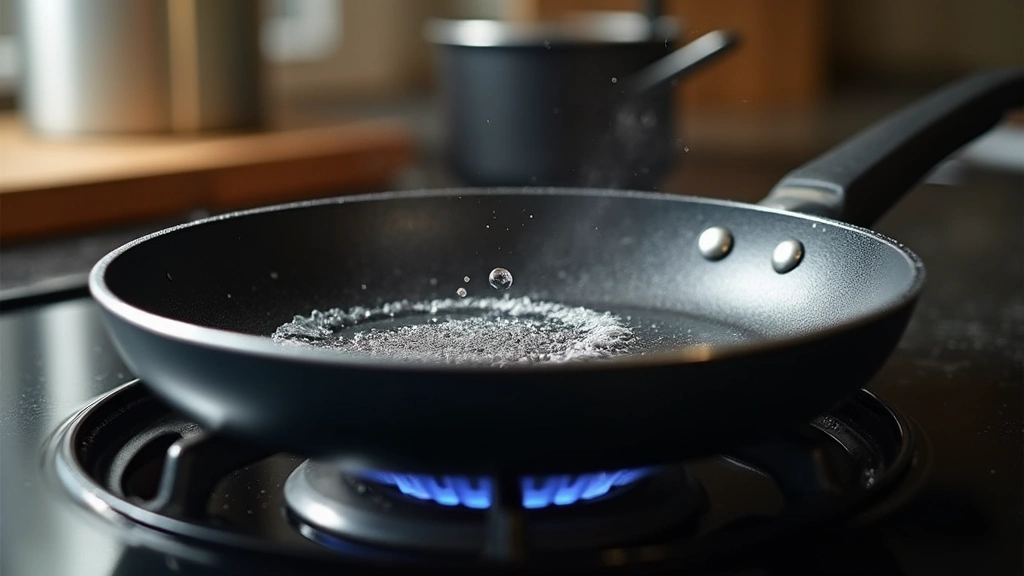
Place a non-stick skillet over medium heat.
Allow it to heat up for about 2 minutes.
Test with a drop of water; it should sizzle gently.
Avoid overheating to prevent burning the toast.
Recommended Products

VERSATILE SIDE DISHES - Each small dish measures 3.5 x 3.5 x 1 inch. An adorable size for condiments, appetizers, side dishes, candies, small snacks, and dipping sauces such as ketchup, mayonnaise, soy sauce, BBQ sauce, tartar sauce, and other sauces. They would work perfectly on a charcuterie board. They can also be used as prep bowls when cooking. Hold minced garlic, lemon juice, celery, herbs, etc

Perfect Size and Capacity: These sauce bowls are compact size that hold up 3 fluid ounces, the capacity of sauce dish is practical for daily use. Perfect for individual portion serving, such as ketchup for dipping chip, butter for dripping shrimp, chutney, and olive oil. And they are able to serve little dishes, dessert, appetizer and so on.

3-COMPARTMENT DESIGN — Each bowl has 3 separate sections for different sauces. No mixing, no mess. Fan-shaped base stays stable on the table. Set of 5 provides 15 sauce compartments for sushi night, BBQ, or taco Tuesday.


Step 3: Dip the Bread
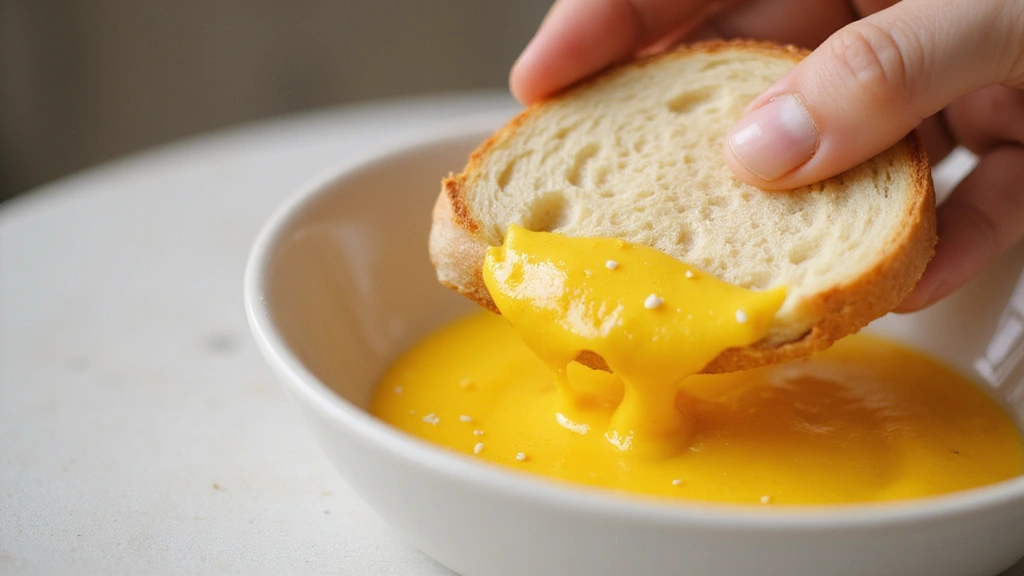
Take a slice of bread and dip it into the egg mixture.
Let it soak for about 5 seconds on each side.
Lift and allow excess to drip off back into the bowl.
Ensure an even coating without oversaturation.
Recommended Products

FOR THE LOVE OF COFFEE Ditch your boring coffee routine and upgrade your brew game with our Coffee mate French Vanilla Flavored Coffee Creamer. We’ve been working on our recipes since 1961, so we know what we’re doing when it comes to our flavored coffee creamers SNAP and EBT item in eligible states

Manufactured and aged to perfection in-house using same process for over 140 years


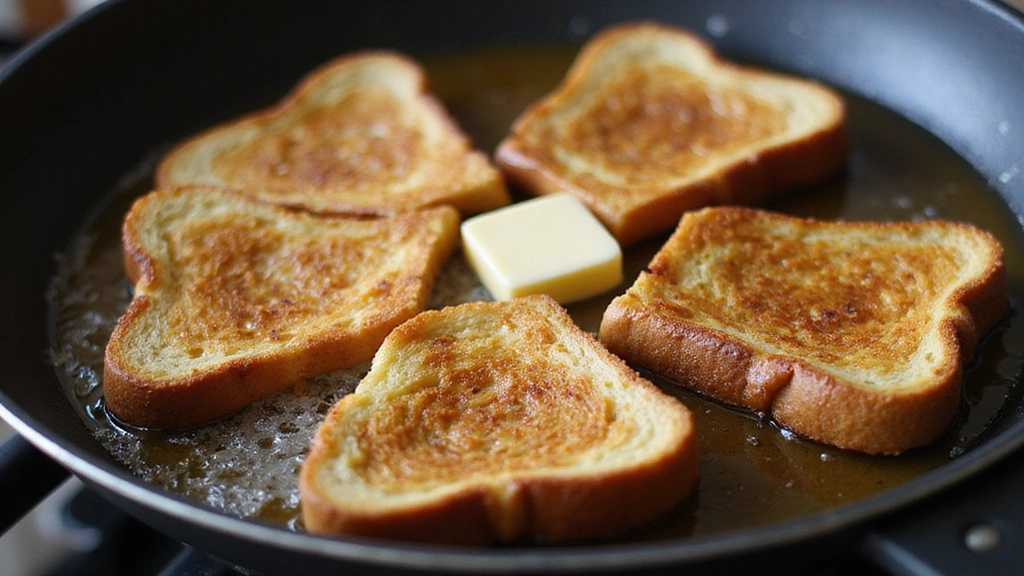
Step 4: Cook the Bread
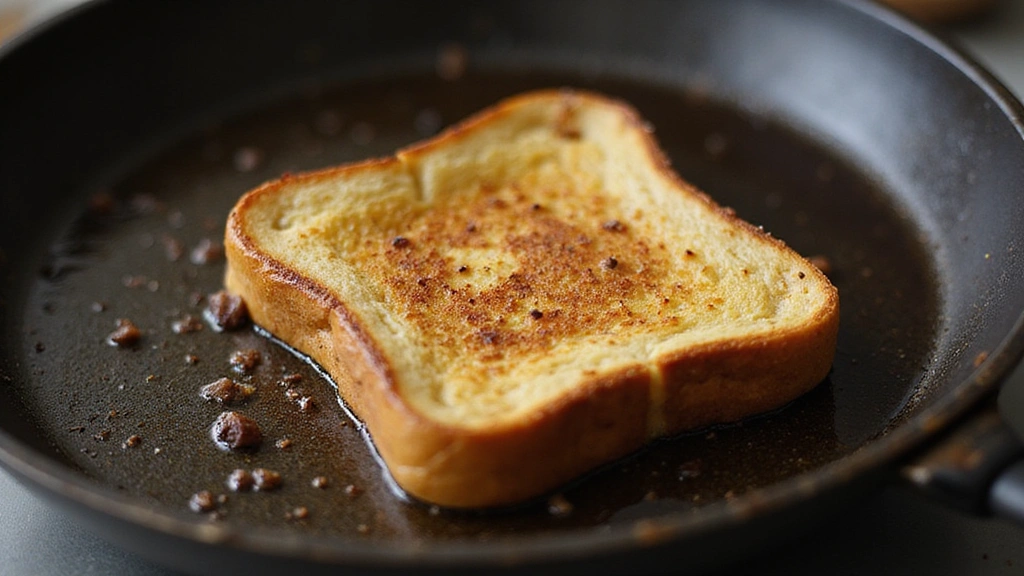
Place the soaked bread onto the preheated skillet.
Cook for 3-4 minutes on one side.
Flip using a spatula once golden brown.
Cook the other side for another 3-4 minutes.
Recommended Products


DELICIOUS SANDWICH BREAD: Perfect for crafting gourmet sandwiches, this sourdough bread features a soft texture and firm crust, making it ideal for busy lunches or family meals

110 calories per one-slice serving

Step 5: Check Doneness
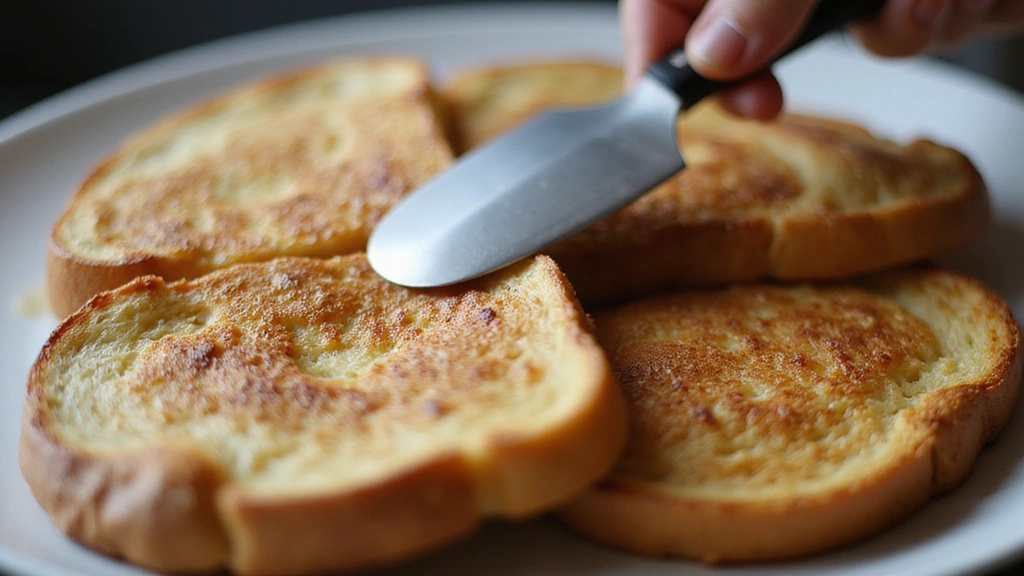
Press gently with a spatula to check for firmness.
Ensure both sides are evenly golden brown.
The toast should feel slightly springy to the touch.
Avoid overcooking, which leads to dryness.


Step 6: Repeat Cooking
Repeat the dipping and cooking process with remaining bread slices.
Ensure the skillet maintains consistent heat.
Adjust temperature if necessary to avoid burning.
Use additional butter if needed for cooking.


Step 7: Serve the Toast
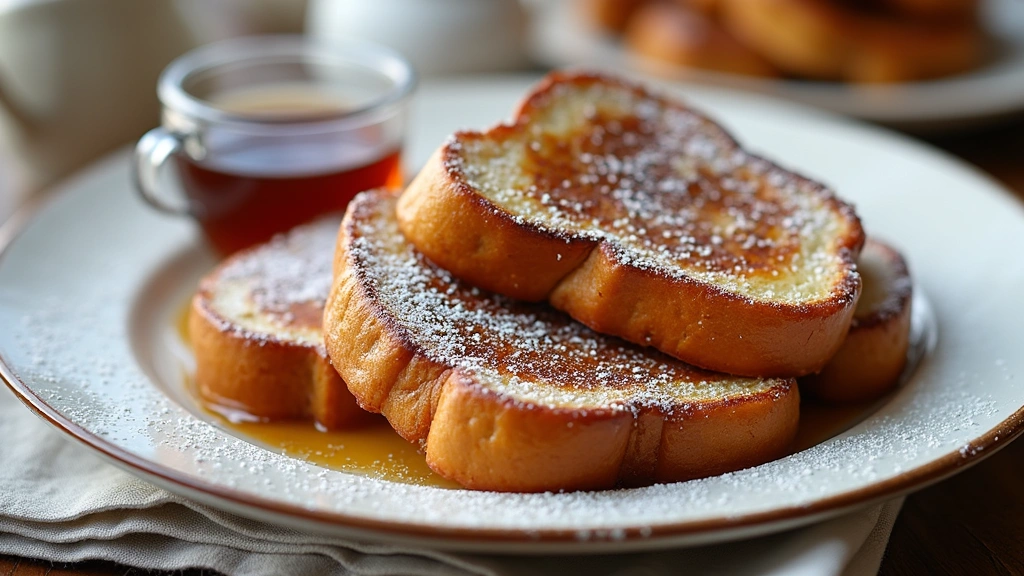
Transfer cooked French Toast to a serving plate.
Sprinkle with powdered sugar for added sweetness.
Serve with maple syrup or fresh fruit.
Enjoy immediately while warm.


Step 8: Clean Up
Allow the skillet to cool before washing.
Clean the whisk and bowl used for the egg mixture.
Wipe down the countertop to remove any spills.
Store leftovers in an airtight container.


Critical Timing and Temperature Guide
Bread Soaking: Soak each slice for 5 seconds per side. Look for absorption without sogginess. Avoid over-soaking to prevent breaking.
Cooking Temperature: Medium heat ensures a golden crust and cooked interior. Watch for excessive smoke as a sign of overheating.
Final Doneness Check: Golden brown on both sides with a slightly springy texture. Avoid pale color, indicating undercooked toast.
Pro Tips for French Toast
• Ingredient Selection: Use thick, slightly stale bread for the best texture and absorption.
• Preparation Secret: Add a pinch of salt to the egg mixture to enhance flavors subtly.
• Temperature Management: Ensure ingredients are at room temperature for even cooking.
• Texture Enhancement: Allow cooked toast to rest for 1 minute before serving for optimal texture.
• Flavor Layering: Add a touch of nutmeg for complexity.
• Make-Ahead Strategies: Mix the egg mixture in advance and refrigerate for up to 24 hours.
• Restaurant-Quality Finishing Touches: Garnish with a sprig of mint or a dusting of cocoa.
• Equipment Optimization: Use a thin spatula for easy flipping.

Troubleshooting Common Issues
• Toast Too Soggy: Caused by over-soaking. Reduce soak time and use firmer bread.
• Burnt Edges: Indicates too high heat. Lower temperature and monitor closely.
• Uneven Cooking: Results from inconsistent skillet heat. Preheat evenly and maintain temperature.
• Lack of Flavor: Often due to insufficient seasoning. Enhance with more vanilla or cinnamon.
• Dry Interior: From overcooking. Reduce cooking time and use medium heat.
• Sticking to Skillet: Insufficient non-stick surface or butter. Ensure skillet is well-greased.


Variations and Regional Differences
• French Brioche Style: Uses brioche bread for a richer, buttery texture and flavor.
• American Style: Often includes nutmeg and is served with bacon or sausage.
• Italian Zuppa Inglese: Similar concept, often soaked in a mixture of coffee and served with mascarpone.
• Spanish Torrijas: Uses wine or syrup instead of milk, traditionally served during Holy Week.


Food Science Behind the Recipe
• Protein Coagulation: Eggs cook and set structure, creating a custard-like texture.
• Maillard Reaction: Responsible for the browning and complex flavors on the toast's surface.
• Absorption Capacity: Stale bread's lower moisture content allows better absorption of the egg mixture.


Frequently Asked Questions
What's the most common mistake people make when preparing French Toast? The most common mistake is over-soaking the bread, which leads to a soggy texture.
Can I use any type of bread? Thick, slightly stale bread works best, as it absorbs the mixture without falling apart.
How can I make French Toast more flavorful? Adding spices like nutmeg or cloves can enhance the flavor profile.
What if I don't have vanilla extract? You can substitute with almond extract for a different but delicious taste.
Is there a vegan version of French Toast? Yes, plant-based milk and a flaxseed egg substitute can be used.
How can I make French Toast crispier? Cook on medium-high heat and ensure the skillet is hot before adding the bread.
Can French Toast be frozen? Yes, cook and cool completely, then freeze in a single layer before storing.
Serving and Presentation Guide
• Traditional Presentation: Serve with a dusting of powdered sugar and a side of maple syrup.
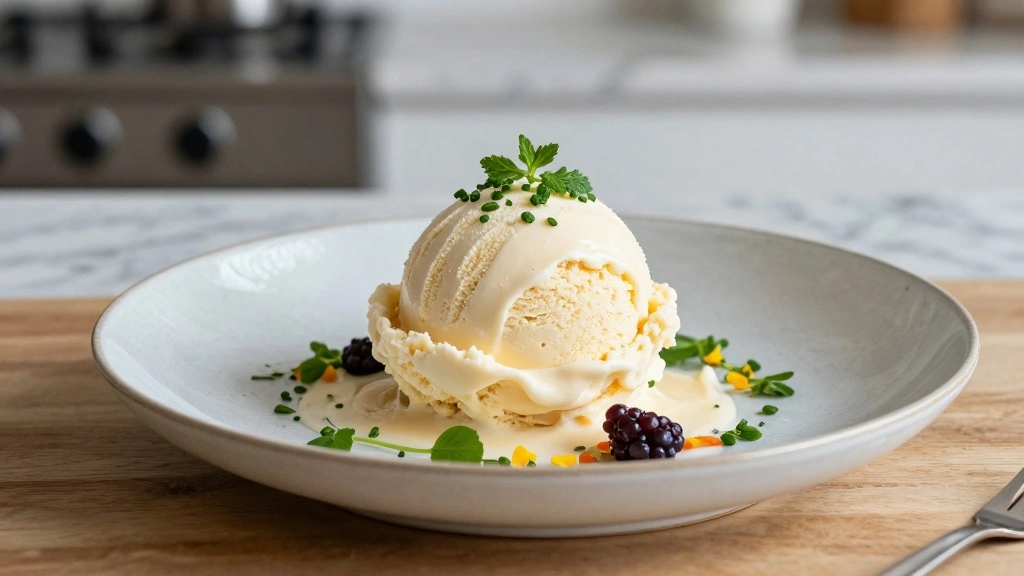
• Modern Twist: Add a dollop of flavored whipped cream and fresh berries.
• Gourmet Touch: Drizzle with chocolate sauce and garnish with mint leaves.
• Family Style: Stack slices and serve on a large platter with a variety of toppings.


Conclusion
This Easy French Toast recipe captures the essence of comfort and indulgence.
Its crispy exterior and soft interior make it a delightful addition to any breakfast or brunch.
With simple ingredients and straightforward techniques, this dish is accessible to cooks of all levels.
Try it today and bring a touch of culinary warmth to your table.