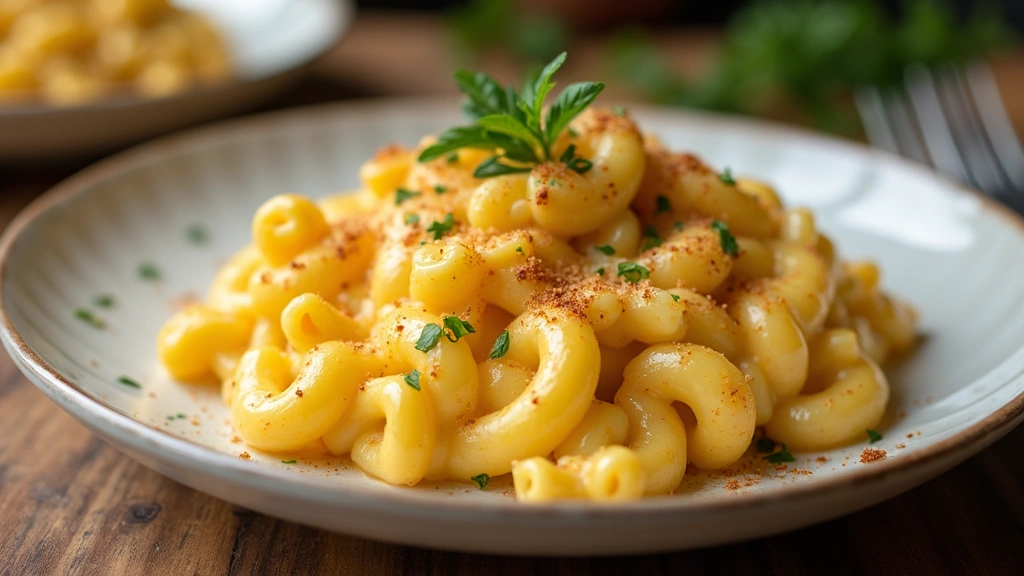
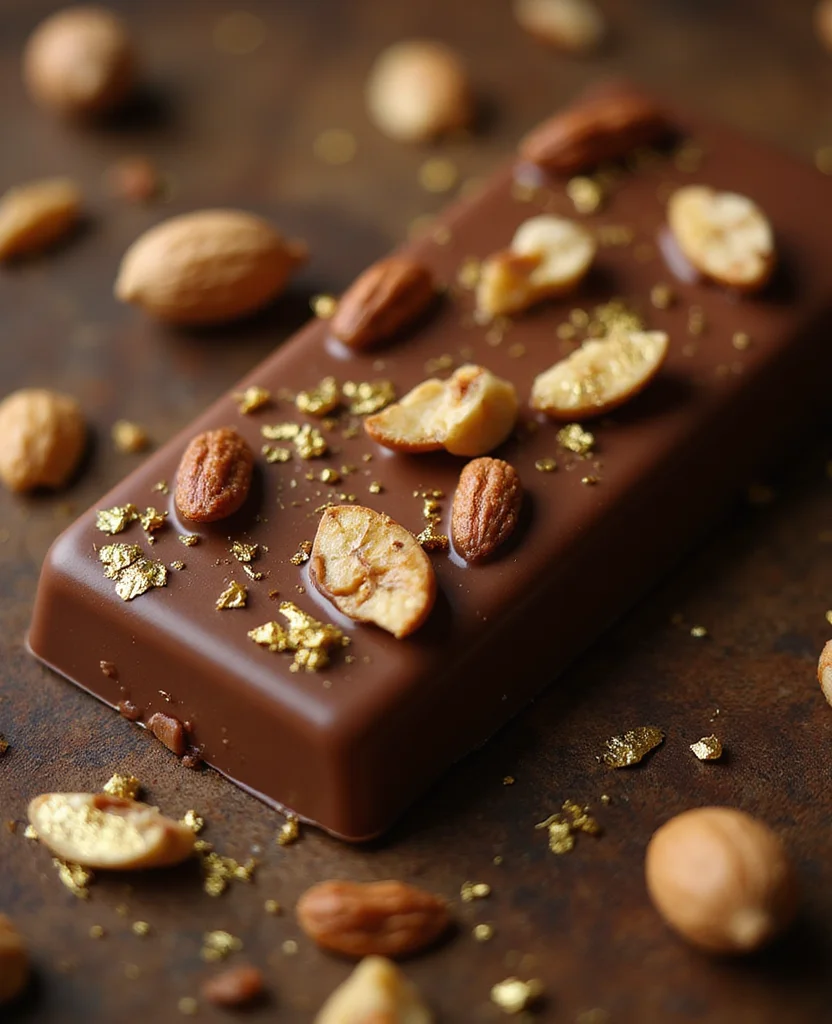
The Dubai Chocolate Bar is an indulgent delight that combines the rich flavors of premium cocoa with a hint of Middle Eastern flair.
Imagine biting into a bar that melts in your mouth, leaving a luxurious taste of chocolate with subtle spicy undertones.
I stumbled upon this decadent recipe while exploring the vibrant culinary scene of Dubai, where it’s a signature treat enjoyed by locals and tourists alike.
Whether shared with family during a festive gathering or savored alone as a personal treat, this chocolate bar promises to be a memorable experience.
With its simple preparation and opulent results, it’s perfect for both casual indulgence and special occasions.
The History and Cultural Significance
• Dubai Chocolate Bar traces its origins to the early 21st century in Dubai, where it was originally created by innovative chefs blending local and international flavors.
• The dish evolved over decades as chefs experimented with spices and nuts, eventually becoming the beloved version we know today.
• In Middle Eastern culture, this dish traditionally appears at celebrations like Eid and weddings, symbolizing hospitality and generosity.
• While many variations exist across different regions, the authentic version maintains a balance of rich chocolate and aromatic spices that sets it apart from imitations.
Recommended Products

Includes (1) 22 oz. bag of Members Mark Dark Chocolate Covered Roasted Pistachios

🍰 DRIVE YOUR TASTE BUDS INSANE WITH ORIGINAL HALVA – Treat yourself with a unique, melt-in-your-mouth Middle Eastern staple, popular in Greece, Turkey, Israel, Central Asia, and the Mediterranean. Named after the Arabic word for sweet - halwa, Emirelli Turkish halva is an utterly-indulgent sesame candy cake that brings back the sweetest childhood memories. A dense, semisweet, fluffy-fudge-like confection that’s deliciously addictive and makes the wildest gourmet treats fantasies come true!

A SYMPHONY OF FLAVORS: This luscious chocolate treat combines the richness of creamy Belgian milk chocolate and the satisfying crunch of salted pistachio piecess. It's a tantalizing duo of flavors that waltz on your taste buds. This chocolate bar is also rainforest alliance certified and boasts a luxurious 33% cocoa content for an unforgettable taste experience.

Recipe Overview
Recommended Products

CARDAMOM GROUND - Cardamom Powder made from premium decorticated pods with a citrus sweet flavor. Great for cooking, baking, tea and even coffee.

1.87 ounces of organic ground cardamom

E. Guittard Cocoa Powder
Nutritional Information
Recommended Products

CULINARY GRADE: Food-safe petals for steeping, sprinkling and infusing.

🌹 Premium Quality: Indulge in the excellence of our sourced and selected dried rose petals, promising a delightful floral experience with every use.

PREMIUM EDIBLE ROSE PETALS FOR TEA & MORE: Suncore Foods Dried Rose Petals feature delicate loose petals with a naturally sweet floral aroma. Brew as a caffeine-free herbal tea or use as a beautiful ingredient in beverages, desserts, and culinary creations.
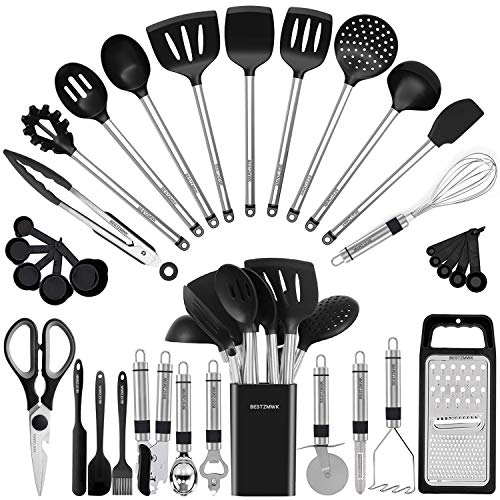
Essential Equipment Guide
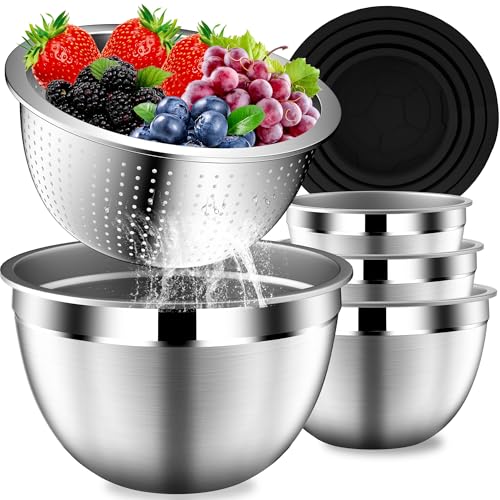
Baking Pan: A high-quality non-stick baking pan ensures even distribution of heat, crucial for achieving the perfect texture. Alternatives like silicone molds can work, but may alter the cooking time slightly.
Mixing Bowl: A large, heat-resistant mixing bowl is essential for combining melted chocolate with other ingredients without losing temperature. Look for bowls with a stable base to prevent spills.
Spatula: A heat-resistant silicon spatula is perfect for scraping every last bit of chocolate mixture, ensuring no waste and consistent texture throughout the bar.
Recommended Products

Husfunov CHOCOLATE MOLD: Husfunov's chocolate bar mold is 0.6 inch deep, thick enough to add a layer of stuffed knafeh pistachio and nuts. The rectangle silicone chocolate molds are 10 x 6.7 x 0.6 inch and the finished chocolate is 4.5 x 1.7 x 0.6 inch.

Hassle-Free Chocolate Release: HKNMTT's non-stick surface ensures smooth, picture-perfect chocolate bar release. Bid farewell to frustration! No more chipped or broken bars – just flawless chocolates

High-Quality Material - Crafted from premium food-grade silicone, our chocolate bar molds ensure durability and ease of use for all your chocolate-making needs. You can simply press the bottom of the mini chocolate bar mold to pop out your delicious treats easily. Product dimensions: 10" × 6.7"


Ingredients
Recommended Products

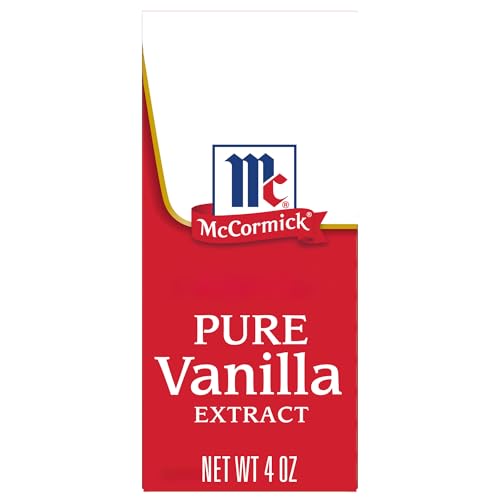
Made with Pure Vanilla Extract and all naturally derived ingredients

The perfect addition for any cooking, baking, or beverage journey, providing you that special flavoring enhancement with every drop

Made with Pure Vanilla Extract and all naturally derived ingredients
For the Chocolate Base
|
| Amount | Ingredient | Notes |
|---|---|---|
| 200 grams | dark chocolate | finely chopped for easy melting |
| 100 grams | butter | unsalted, adds creaminess |
| 1 cup | sugar | provides sweetness |
For the Flavoring
| Amount | Ingredient | Notes |
|---|---|---|
| 1 teaspoon | cardamom powder | adds a hint of spice |
| 1 teaspoon | vanilla extract | enhances aroma |
Toppings
| Amount | Ingredient | Notes |
|---|---|---|
| 1/4 cup | pistachios | chopped, adds crunch |
| 1/4 cup | dried rose petals | for decoration and subtle flavor |
Preparation Methods
Tempering Chocolate: Tempering chocolate involves melting and cooling chocolate to stabilize it for making candies and confections. This process ensures a glossy finish and firm texture. To master it, maintain a gentle heat and stir constantly to avoid seizing.
Folding Ingredients: This technique involves gently incorporating ingredients like nuts or spices into a batter without deflating it. Use a spatula to lift and fold the mixture, keeping it airy and light.
Decorative Toppings: Applying toppings like nuts and rose petals strategically enhances both flavor and appearance. Sprinkle evenly while the chocolate is still soft, pressing gently to ensure they adhere.
Recommended Products

Dark Chocolate With Pistachio


DOUBLE WHAMMY: Enjoy the rich and indulgent flavors of dark chocolate dipped into these crunchy Pistachio meats (without the shell). YUM!


Step 1: Prepare the Baking Pan
Line a baking pan with parchment paper, ensuring the edges are covered.
This prevents the chocolate from sticking and makes for easy removal.
Smooth out any wrinkles to avoid uneven texture.
Set aside the prepared pan for later use.
Recommended Products

Dual purpose product for hot beverages and also dessert applications

32 Ounce can of Ghirardelli Majestic Premium Cocoa Powder

ENHANCE THE CHOCOLATE FLAVOR OF YOUR BAKING: Introducing chocolate's ultimate wingman: Modern Mountain Espresso Powder for baking. It's a baker's best-kept secret for adding a new level of depth to chocolate baked goods. If you're a first-timer, we bet you'll be bewildered by just how much deeper of a chocolate flavor you can accomplish with a bit of espresso powder, all while adding little to no coffee taste.


Step 2: Melt the Chocolate and Butter
Place a heat-resistant bowl over a pot of simmering water.
Add chopped chocolate and butter to the bowl, stirring until melted and smooth.
Ensure the water does not touch the bottom of the bowl to prevent overheating.
Remove from heat once fully melted and combined.
Recommended Products
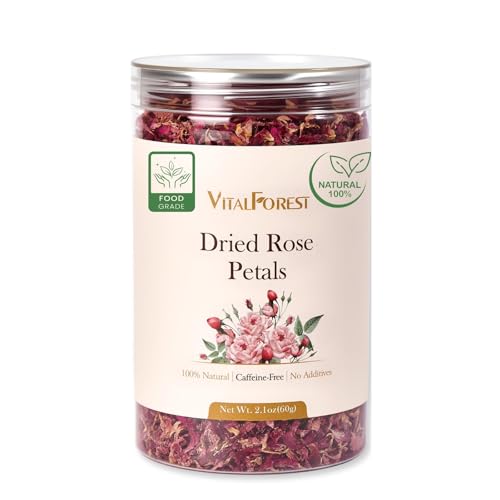
【Food-Grade & Edible】Premium dried rose petals edible—carefully selected and naturally dried. No additives, no artificial colors, caffeine-free, vegan. Perfect food grade rose petals for everyday kitchen and craft use

Our rose petals as pure,Product of Egypt, natural rose flowers packed in natural kraft metallized bags

Enhance Your Creations: Elevate your culinary and craft creations with Sweet Spell Dried Rose Petals, perfect for adding a touch of elegance to drinks, desserts, cakes, and cocktails.


Step 3: Mix in Sugar and Flavorings

Add sugar to the melted chocolate mixture, stirring until fully dissolved.
Incorporate cardamom powder and vanilla extract for added flavor.
Stir constantly to ensure even distribution of flavors.
Double-check that the sugar has completely dissolved before proceeding.
Recommended Products

High-Quality Food-Grade Silicone - Made from 100% BPA-free, food-grade silicone, ensuring safe and healthy treats every time.The chocolate molds has a depth of 1.0 inches, making it ideal for filling with pistachio kataifi to create knafeh istachio chocolate bars. These stuffed silicone chocolate mold are not only a popular snack but also provide the full energy needed to tackle daily challenges.


Non stick silicone mold. We suggest to place on a cookie sheet before placing in oven or moving the mold.


Step 4: Pour into Prepared Pan
Carefully pour the chocolate mixture into the lined baking pan.
Use a spatula to spread the mixture evenly across the pan.
Tap the pan gently on the counter to remove air bubbles.
Smooth the top for an even layer.
Recommended Products

Our Madagascar Bourbon Pure Vanilla Extract has a luscious, layered flavor profile – creamy and mellow with velvety after-tones, for the perfect all-purpose vanilla.
DISTINCTIVE FLAVOR: McCormick Pure Vanilla Extract is known for its richer, warmer, sweeter vanilla flavor and aroma.

One 16 fluid ounce bottle of Pure Vanilla Extract

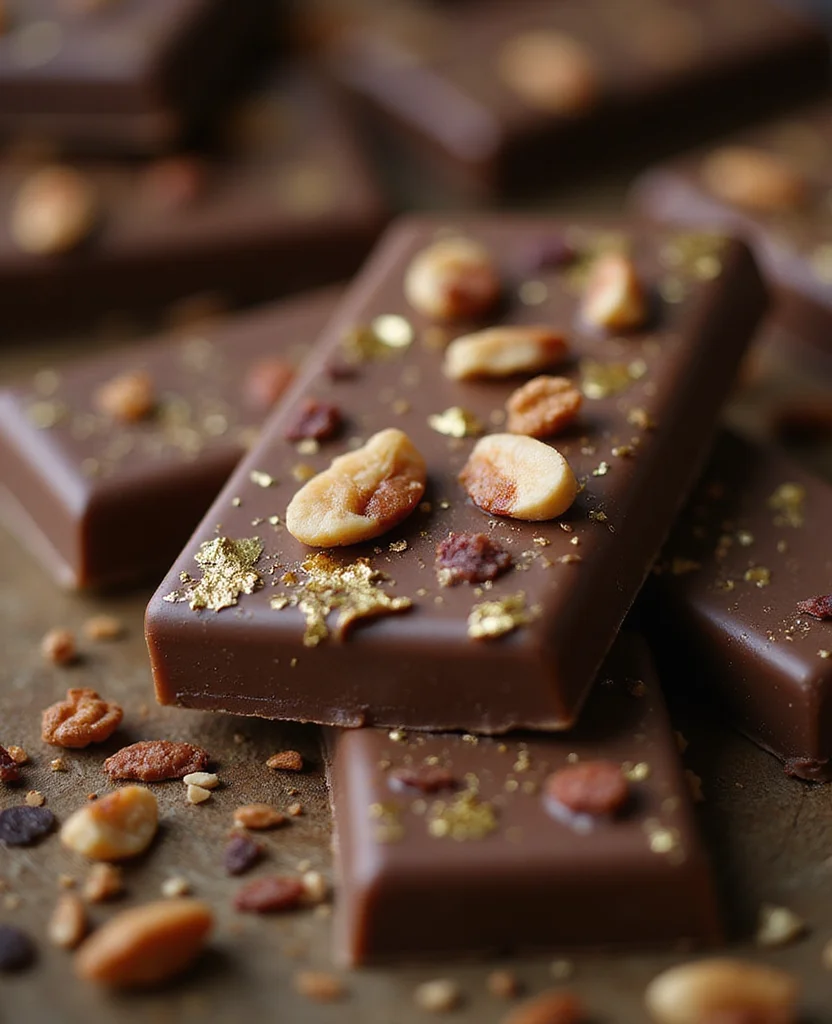
Step 5: Add Toppings
Scatter chopped pistachios evenly over the chocolate surface.
Add dried rose petals for decorative flair and flavor.
Press toppings gently to ensure they stick to the chocolate.
Ensure an even distribution for visual appeal.


Step 6: Chill to Set
Transfer the baking pan to the refrigerator to cool.
Allow it to chill for at least 30 minutes or until firm.
Check occasionally to ensure it is setting evenly.
Remove from the fridge once fully set.


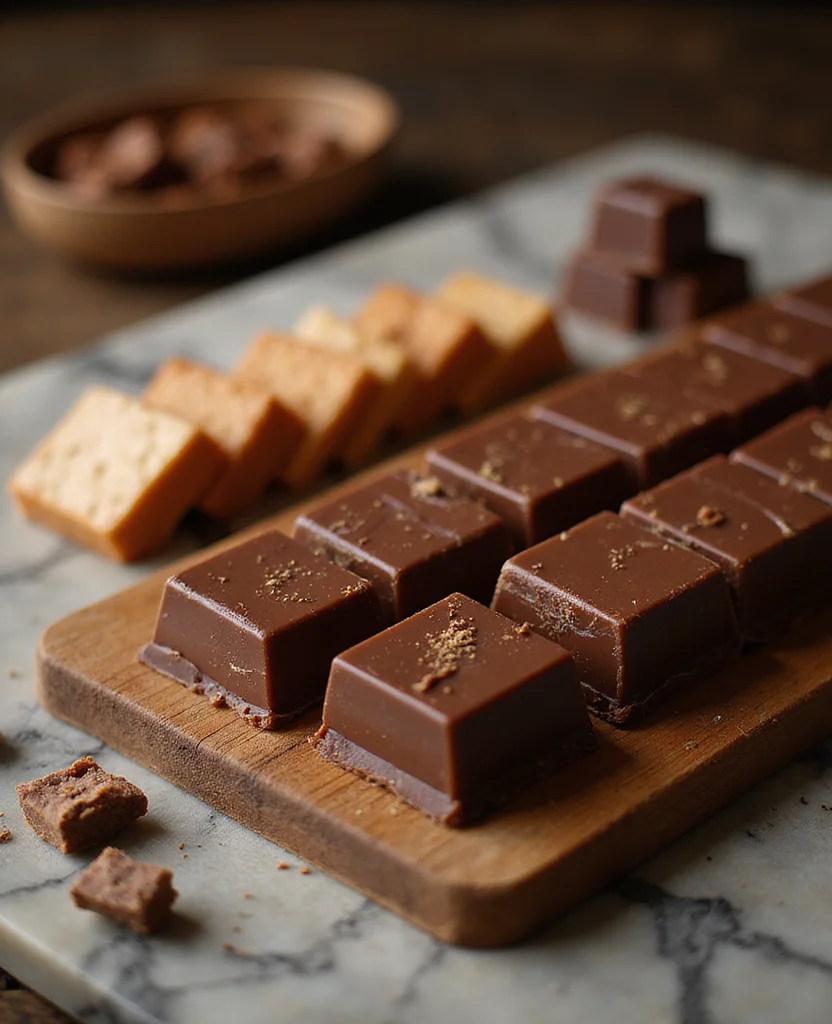
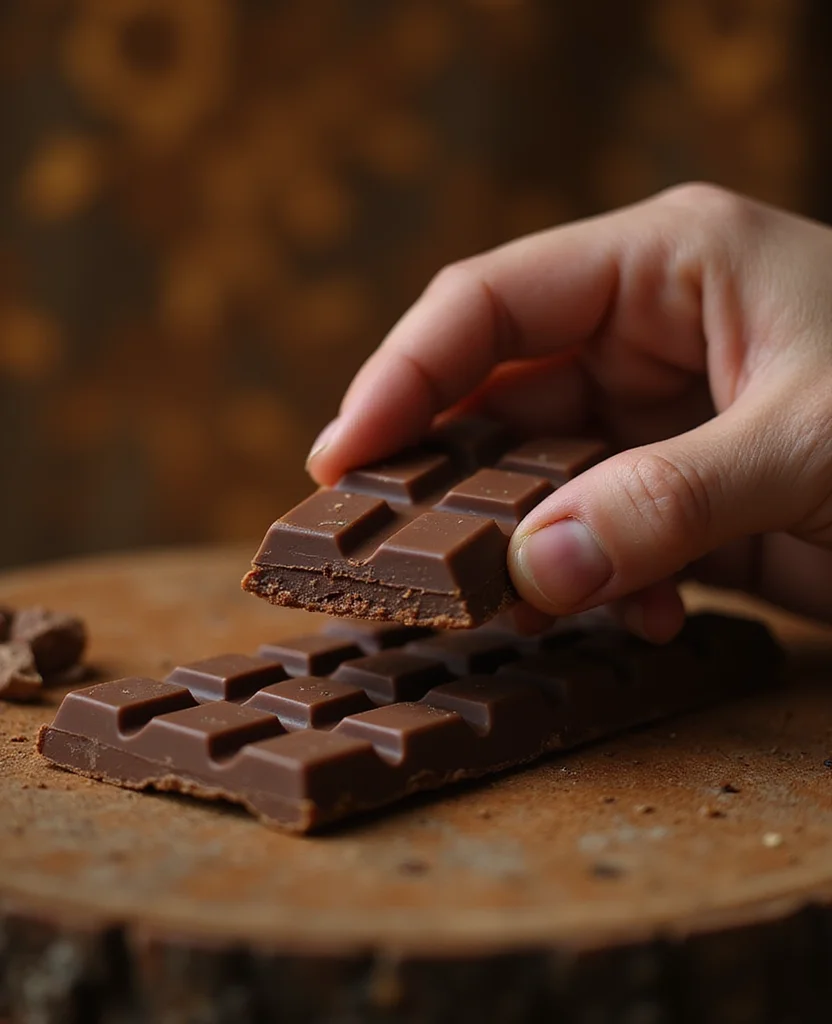
Step 7: Remove and Cut

Lift the chocolate out of the pan using the parchment edges.
Place on a cutting board for easy slicing.
Use a sharp knife to cut into even bars.
Wipe the knife between cuts for clean edges.


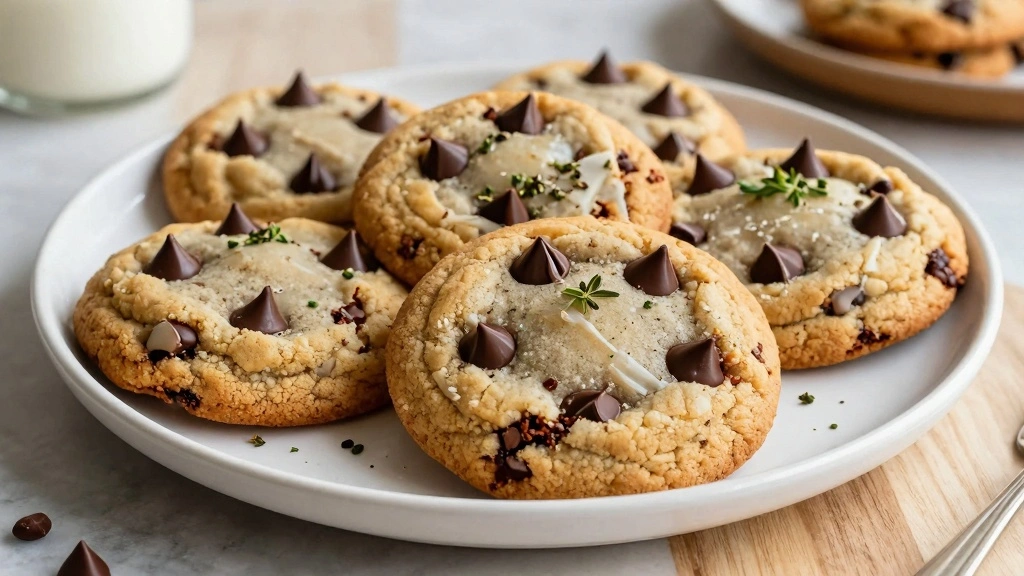
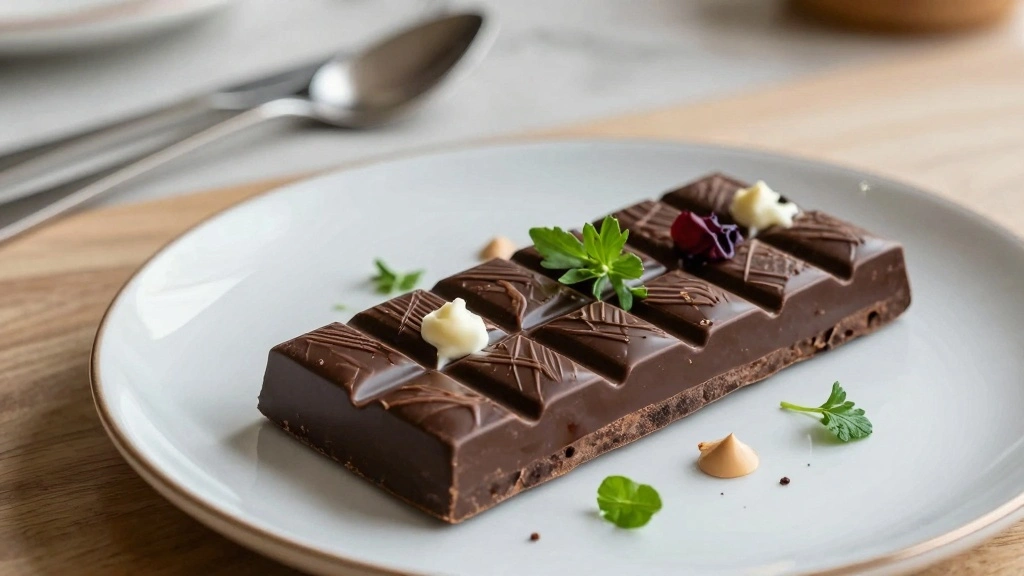
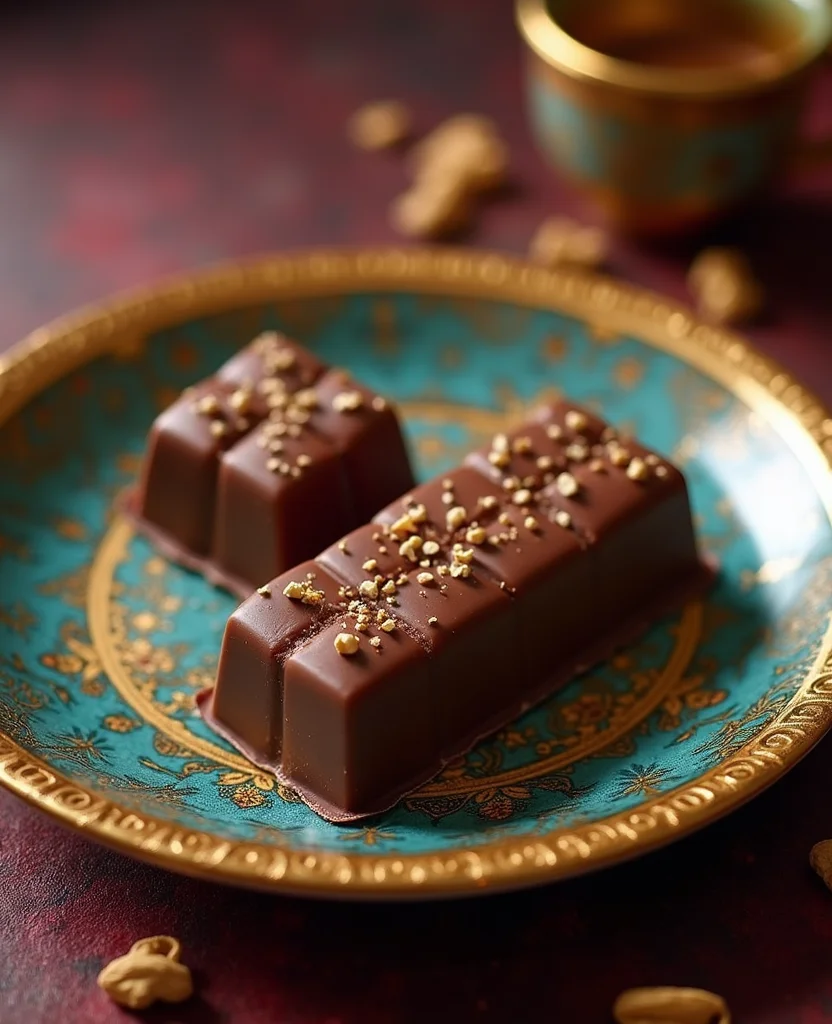
Step 8: Serve and Enjoy
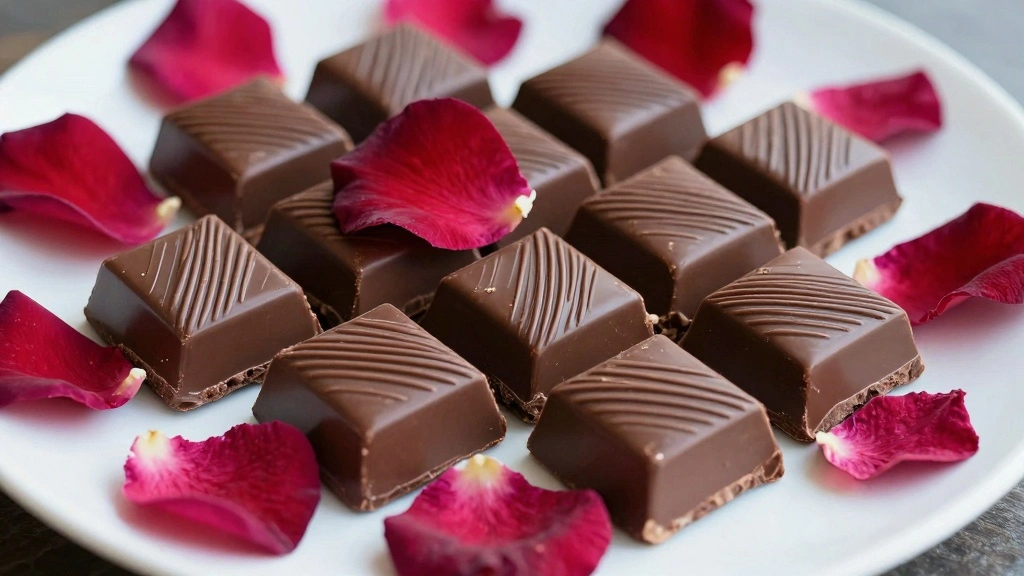
Arrange the chocolate bars on a serving plate.
Present them with a garnish of extra rose petals for a refined touch.
Serve immediately or store in an airtight container.
Enjoy the harmonious blend of flavors and textures.


Critical Timing and Temperature Guide
Melting Chocolate: Maintain a low heat of about 50°C (122°F) to prevent scorching. Look for a smooth, glossy texture as a sign of proper melting. Avoid overheating, which can cause the chocolate to seize.
Setting Time: Chill for at least 30 minutes at a refrigerator temperature of about 4°C (39°F). Ensure the chocolate is firm to the touch before cutting. Rushing this process may result in uneven texture.
Cutting Bars: Use a sharp knife at room temperature to prevent cracking. Make clean, decisive cuts and avoid using a sawing motion. A warm knife can help make smoother cuts.
Pro Tips for Dubai Chocolate Bar
• Ingredient Selection: Opt for high-quality dark chocolate with at least 70% cocoa content for the richest flavor.
• Preparation Secret: Allow the chocolate mixture to cool slightly before adding toppings to avoid sinking.
• Temperature Management: Keep ingredients at room temperature before starting to ensure even melting and mixing.
• Texture Enhancement: Achieve a smooth texture by stirring continuously during the melting process.
• Flavor Layering: Use freshly ground cardamom for a more pronounced spice profile.
• Make-Ahead Strategies: Prepare the chocolate bars up to two days in advance and store in a cool, dry place.
• Restaurant-Quality Finishing Touches: Dust the bars with cocoa powder or edible gold leaf for an elegant finish.
• Equipment Optimization: Use a silicone spatula for better control and less waste when mixing.


Troubleshooting Common Issues
• Chocolate Seized: This happens when chocolate comes into contact with water. Remedy by adding a teaspoon of boiling water and stirring vigorously.
• Bars Too Soft: This can result from insufficient chilling. Return to the refrigerator and ensure it reaches a firm consistency before cutting.
• Uneven Texture: Often caused by uneven mixing or incorrect tempering. Ensure constant stirring and maintain proper heat levels.
• Toppings Falling Off: If toppings don't adhere, the chocolate may have cooled too much. Press down gently when adding toppings to slightly warm chocolate.
• Poor Flavor Balance: Overuse of spices can overpower the chocolate. Adjust spice levels to taste, starting with smaller amounts.
Variations and Regional Differences
• Persian Style: Incorporates saffron and orange zest for a fragrant twist, reflecting Persian culinary influences.
• Indian Fusion: Adds a pinch of chili powder for a spicy kick, inspired by Indian spice profiles.
• European Influence: Uses hazelnuts instead of pistachios, offering a nod to European chocolate traditions.
• Modern Gourmet: Includes sea salt and caramel drizzles, combining sweet and salty flavors for a modern twist.


Food Science Behind the Recipe
• Emulsification: The process of combining fat and sugar to create a smooth texture in chocolate bars.
• Crystallization: Proper tempering ensures the formation of stable cocoa butter crystals, which give chocolate its sheen and snap.
• Maillard Reaction: Although minimal in this recipe, slight browning during melting can enhance flavor complexity.
Frequently Asked Questions
What's the most common mistake people make when preparing Dubai Chocolate Bar? Not properly tempering the chocolate, which affects texture and appearance.
Can I use milk chocolate instead of dark chocolate? Yes, but it will result in a sweeter and less intense flavor.
Why did my chocolate seize? Likely due to contact with water or overheating. Ensure all equipment is dry and use gentle heat.
Is there a substitute for cardamom? You can use cinnamon for a different but complementary flavor.
How do I store leftover bars? Keep them in an airtight container at room temperature or in the fridge for longer shelf life.
Can I add other nuts or dried fruits? Absolutely, feel free to experiment with almonds, walnuts, or dried cranberries.
What if my bars don't set properly? Extend the chilling time, ensuring the temperature is cold enough to firm them up.
Serving and Presentation Guide
• Traditional Presentation: Serve on a decorative platter with a dusting of powdered sugar and extra rose petals.
• Modern Minimalist: Present on a slate board with a few whole pistachios scattered artistically.
• Festive Display: Arrange in a star pattern on a colorful tray, perfect for celebratory occasions.
• Individual Portions: Wrap each bar in parchment and tie with twine for a charming, gift-like presentation.


Conclusion
Creating the Dubai Chocolate Bar is a journey into the world of luxurious flavors and textures.
With its rich history and cultural significance, it's more than just a treat—it's an experience.
I encourage you to try this recipe and share the joy of this exquisite dessert with those you love.