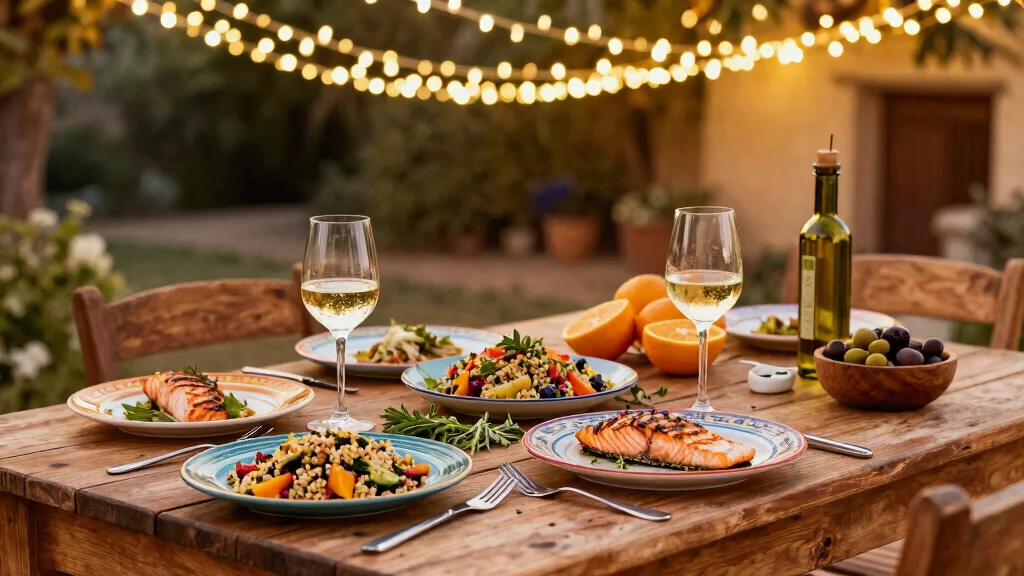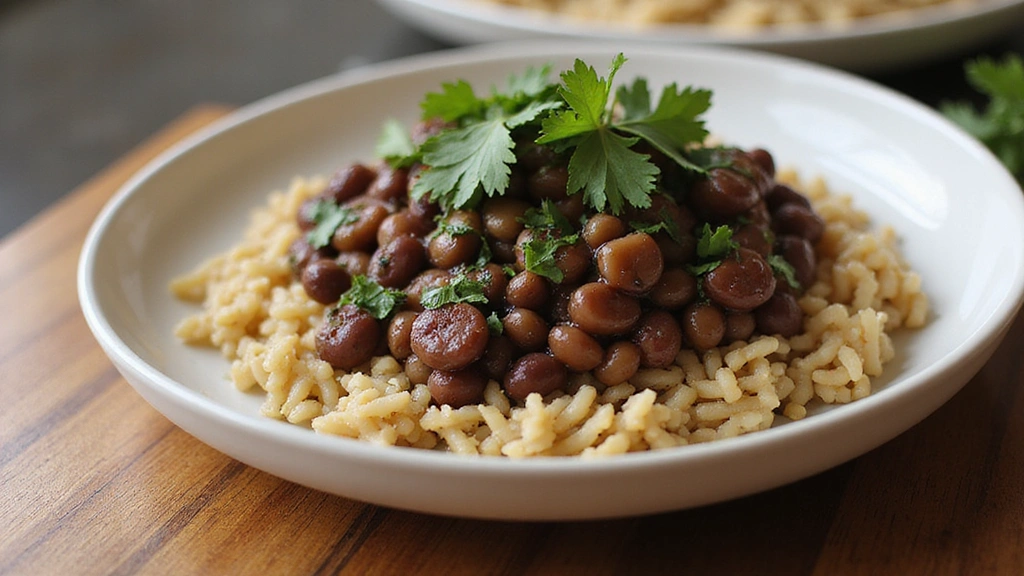
The Southern Style Black-Eyed Peas dish is a heartwarming celebration of rich flavors and comforting textures.
With its savory notes and creamy consistency, this dish is a staple in Southern cooking, offering a taste of tradition in every bite.
I first encountered this delightful recipe during a family gathering in the heart of Alabama, where it was served alongside cornbread and collard greens.
The blend of spices and tender black-eyed peas creates a soulful experience that resonates with cultural heritage and culinary passion.
Perfect for a cozy family dinner or a festive New Year’s celebration, this dish is both versatile and deeply satisfying.
Embrace the warmth and history of this classic recipe, and let its flavors transport you to a place of comfort and joy.
The History and Cultural Significance
• Black-Eyed Peas Recipe traces its origins to West Africa, where it was originally created by African slaves who brought it to the American South.
• The dish evolved over decades as it incorporated local ingredients like ham hocks and spices, eventually becoming the beloved version we know today.
• In Southern culture, this dish traditionally appears at New Year’s celebrations, symbolizing good luck and prosperity for the coming year.
• While many variations exist across different regions, the authentic version maintains a smoky flavor with a hint of spice that sets it apart from imitations.
Recommended Products

The information below is per-pack only

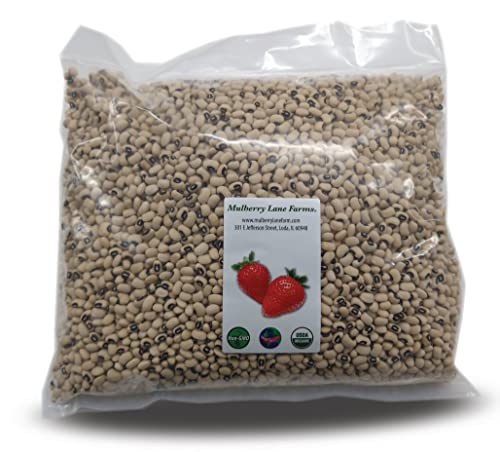
Local Farm Freshness: Our black eyed peas are grown by Farmer Pinckney and carefully harvested to maintain their traditional taste; This heirloom fresh peas variety has a savory, nutty flavor, making it a staple in Southern cuisine and home-cooked meals

Large seeds with delicious flavor


Recipe Overview
Recommended Products

HIGH-YIELD PERFORMANCE - Reliable heirloom black eyed pea seeds for planting that produce heavy yields of field peas, ideal for gardeners wanting steady harvests and productive summer crops
Certified Organic, Non-GMO; Grown in the USA! Certified organic by Global Organic Alliance (GOA)

✔️Delicious and highly nutritious, organic black-eyed beans are a great addition to any diet.
Nutritional Information (per serving)
Recommended Products

1 lb. (453g)

All Natural legume- this 100% pure, organically certified bean contains no Salt, no irradiation, no MSG, and no GMO with no fillers, pesticides, additives, preservatives, or artificial color

You'll LOVE our Dried Black Eyed Peas (Lobhia) by Rani Brand--Here's Why:
Essential Equipment Guide
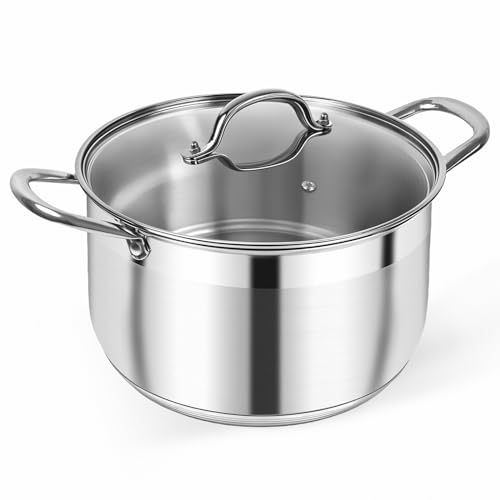
Large Dutch Oven: This heavy-duty pot is crucial for slow-cooking the black-eyed peas, allowing even heat distribution and reducing the risk of burning.
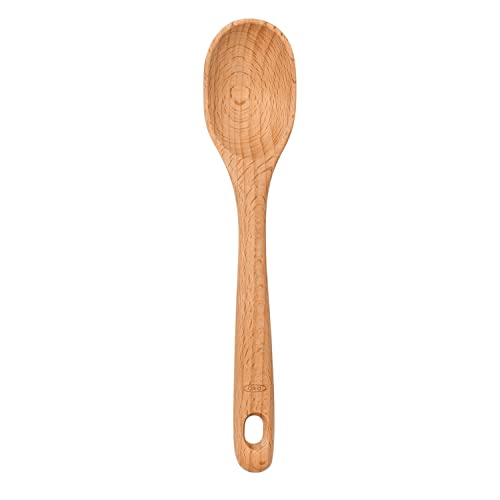
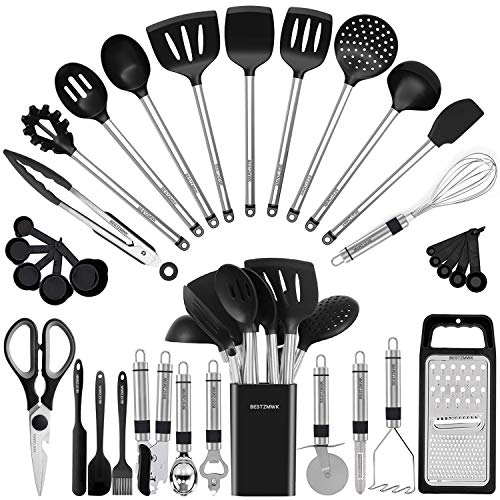
Wooden Spoon: Ideal for stirring the peas without damaging them, a wooden spoon helps maintain the integrity of the peas and evenly distribute spices.
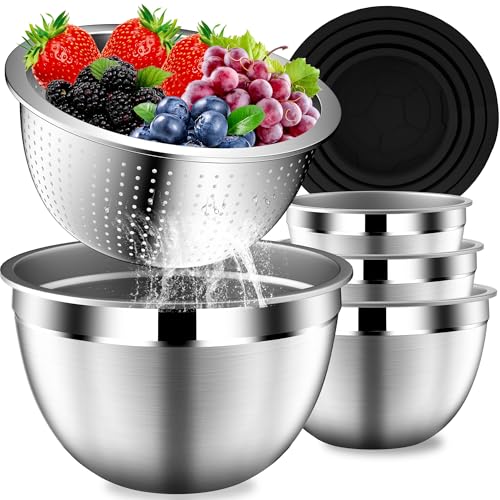
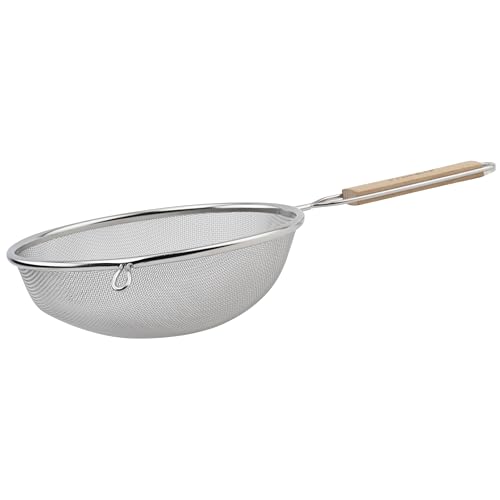
Fine Mesh Strainer: Essential for rinsing the peas thoroughly before cooking, ensuring any debris or excess starch is removed for a clean and flavorful dish.
Recommended Products

Large Size Dimensions: 18-inch long and 2-inch wide huge spatula - crawfish paddle stirrer for mixing and stirring in large boiling pots, steamer pots, jambalaya pots, and outdoor cookers. Made in Ukraine (Europe)

18-inch Extra Long Handled Cooking Spoon: Easy to hold with a loop. This giant wooden spoon is made of natural hard beechwood in Ukraine (Europe). Will last years

12" EXTENDED SAFETY DESIGN: Tailored for deep stockpots and Dutch ovens! This 2-piece set of round wooden cooking spoons features a nearly 12-inch extended handle, keeping your hands safely away from hot steam and boiling splatters. Whether deep-frying or simmering large stews, these extra-long wooden mixing spoons provide the perfect protective distance. Safely tackle high-heat tasks with these reliable wood spoons for cooking, your ultimate wooden spoons for cooking

Ingredients
Recommended Products

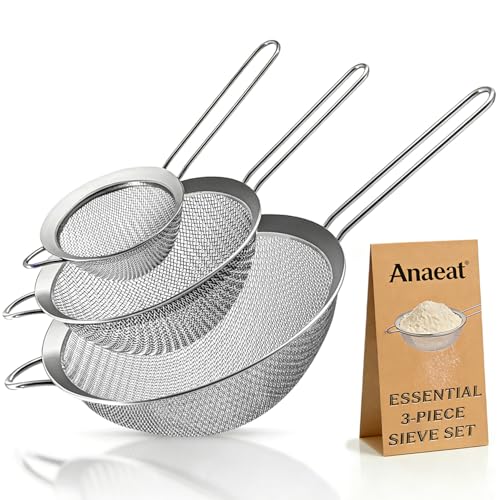
3-Piece Set for Every Kitchen Task: This Cuisinart kitchen strainer set includes three sizes— 3⅛″, 5½″, and 7⅞″. Perfect as a small strainer, large strainer, or everyday colander set for all your cooking needs, from rinsing to draining.
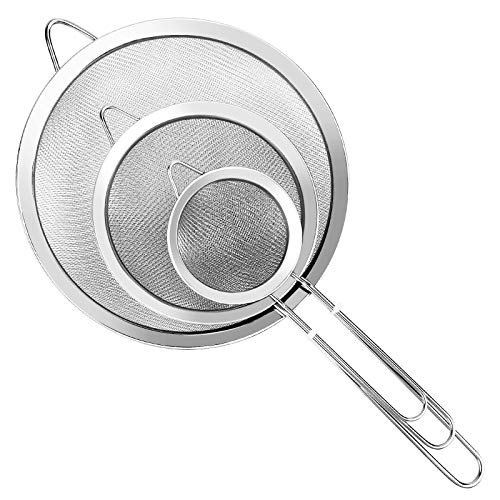
3 Pcs Fine Mesh Strainer With Handle: Three diameters 3.15″ , 5.5″ & 7.87″, ensures that you always have the right strainer for the job. Super wire extra fine mesh strainer with handle are perfect for sifting and straining wet or dry ingredients, repeated use.

Food Grade Stainless Steel 18/8 Construction: Our kitchen strainer is made of first class Stainless Steel 18/8 304 that is BPA free, Lead and Cadmium free. It is rust free and will never affect the taste of your food!
For the Base
|
| Amount | Ingredient | Notes |
|---|---|---|
| 2 cups | dried black-eyed peas | soaked overnight for tenderness |
| 1 large | onion | chopped for sweetness |
For the Flavor
| Amount | Ingredient | Notes |
|---|---|---|
| 2 tablespoons | olive oil | adds richness |
| 1 pound | ham hock | adds smoky flavor |
| 4 cloves | garlic | minced, for depth of flavor |
Seasonings
| Amount | Ingredient | Notes |
|---|---|---|
| 1 teaspoon | thyme | adds herbal notes |
| 1 teaspoon | cayenne pepper | for heat |
| 1 teaspoon | salt | enhances flavor |
| 1 teaspoon | black pepper | adds warmth |
Liquids
| Amount | Ingredient | Notes |
|---|---|---|
| 6 cups | chicken broth | for richness and depth |
Preparation Methods
Soaking the Peas: Soaking the black-eyed peas overnight is crucial for reducing cooking time and ensuring a tender texture.
Browning the Ham Hock: This technique adds a smoky depth and enhances the overall flavor profile of the dish, making it essential for authentic results.
Sautéing Aromatics: Sautéing onions and garlic in olive oil releases essential oils, intensifying the flavors and creating a robust base for the dish.
Recommended Products

This bundle of pinto beans, salt cured country ham and cornmeal are sure to delight Created for ease of shopping and convenience we've bundled a southern favorite that is...


Step 1: Prepare Ingredients
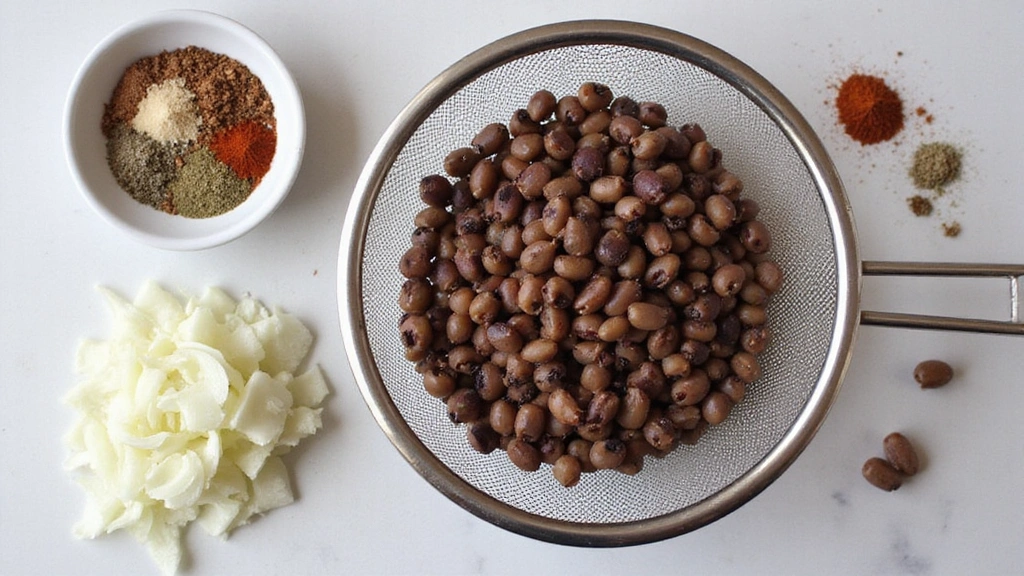
Rinse the soaked black-eyed peas under cold water.
Ensure all debris is removed for a clean start.
Chop the onion and mince the garlic, setting them aside for later use.
Gather all seasonings and have them ready to add to the pot.
Recommended Products

Classic Southern Staple – Black-eyed peas are essential in Southern cuisine and traditionally enjoyed on New Year’s Day in the American South as a symbol of prosperity and good fortune.

Local Farm Freshness: Our black eyed peas are grown by Farmer Pinckney and carefully harvested to maintain their traditional taste; This heirloom fresh peas variety has a savory, nutty flavor, making it a staple in Southern cuisine and home-cooked meals
Step 2: Heat the Dutch Oven
Place the Dutch oven over medium heat and add olive oil.
Allow the oil to heat until shimmering, indicating it's ready for sautéing.
This step ensures the oil is hot enough to release flavors from the aromatics.
Be cautious not to let the oil smoke, as this can impart a burnt flavor.
Recommended Products

Eden Foods is a principled natural food company, est. 1968. Healthy soil, long-term organic, non-GMO, skilled growers and handlers; a reliable alternative to commercial food. Uncompromised, pure, most delicious nutrient rich peas.

WHAT'S IN THE BOX: One 7-quart enameled cast iron Dutch oven with lid and stainless steel knob. The perfect Dutch Oven pot for bread baking, wedding registry gift, and more

🍳LARGE 6 Quart CAPACITY:Our cast iron dutch oven can be used for multiple cooking methods such a cooking, baking, stewing etc.With this Large capacity enameled cast iron, can meet all the needs of family gatherings.The highest temperature tolerance is as high as 500°F.


Step 3: Brown the Ham Hock
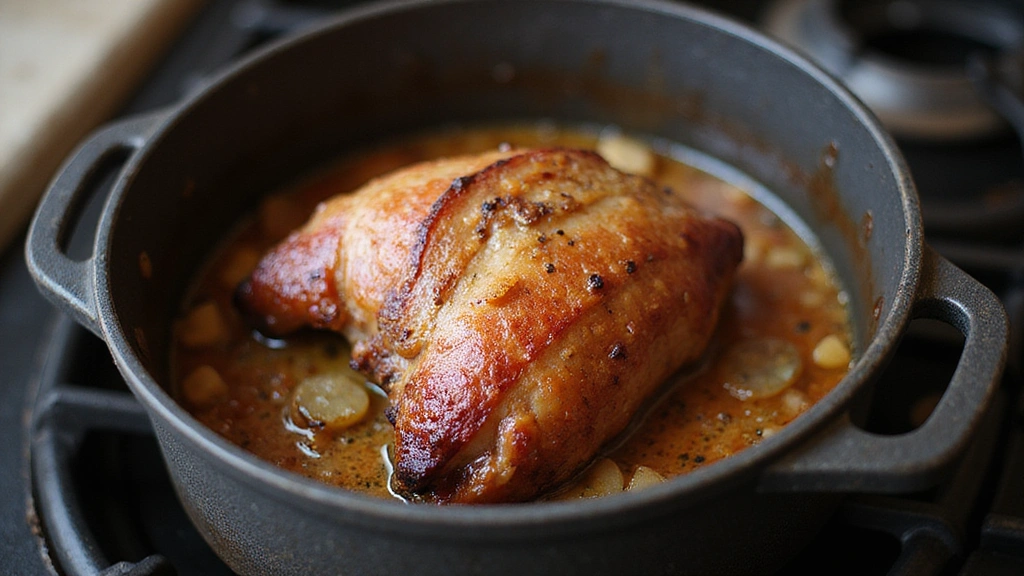
Add the ham hock to the heated oil in the Dutch oven.
Sear each side until browned, releasing a smoky aroma.
This process adds depth to the dish's flavor profile.
Turn the ham hock carefully to avoid splattering hot oil.
Recommended Products

7.9" SLIM DESIGN FOR DEEP JARS: Ditch wide spoons that get stuck! This 9-piece set of wooden spoons is 7.9" long with a narrow head to reach deep jar bottoms. Perfect as a precise honey spoon or to scrape out jam. Use them as versatile stirring spoons for spices. More than a wooden honey spoon, they double as elegant wood spoons for eating and handy wooden spoons for cooking. The ultimate honey spoons to solve your pantry struggles
8.125 in/20.6 cm by 1.75 in/4.4 cm

PREMIUM QUALITY & DURABILITY: Expertly crafted from sustainable responsible wood,our little wooden spoons for eating boast superior strength,splintering of wooden teaspoons for long-lasting use.Using a tiny wooden spoon retains the flavor of the honey


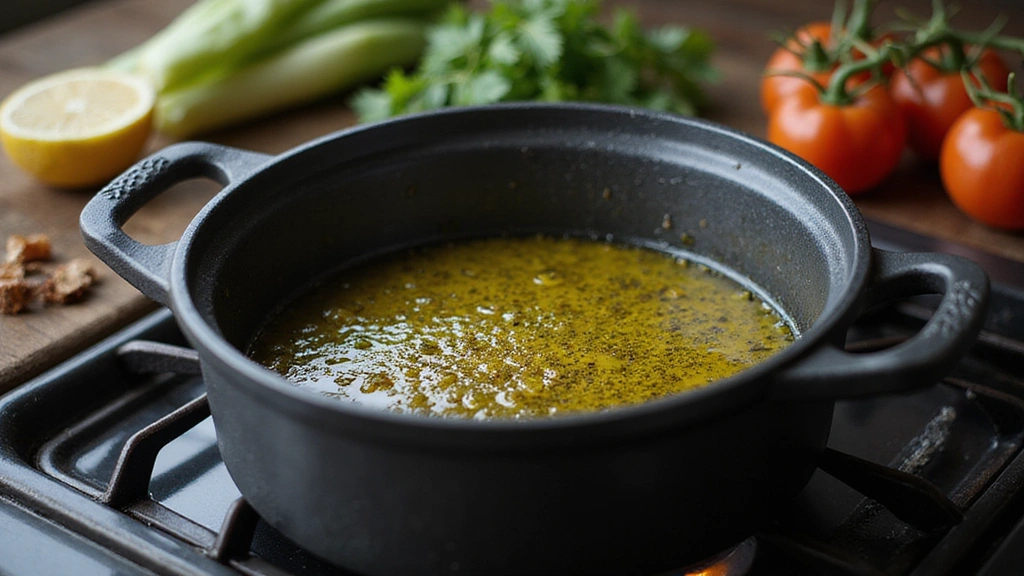
Step 4: Sauté Aromatics
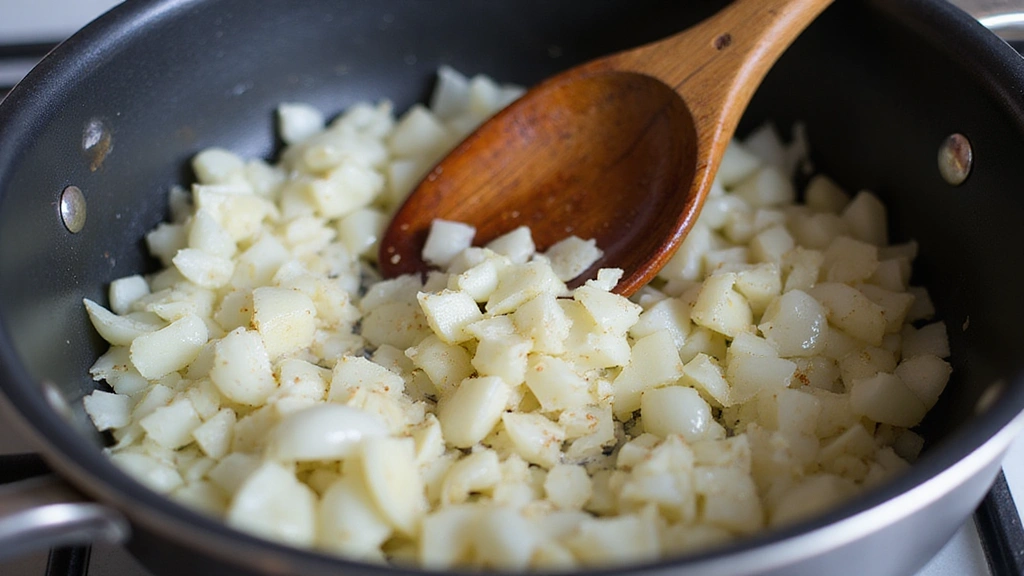
Add the chopped onion and minced garlic to the Dutch oven.
Sauté until the onions are translucent and the garlic is fragrant.
This step builds a flavorful base for the dish.
Stir frequently to prevent burning and ensure even cooking.
Recommended Products

STURDY, REUSABLE & ECONOMICAL: Made of 100% natural unbleached cotton cloth, sewed together by 80/180 μm mesh food grade cotton wire; perfect mesh size can help the liquid quickly pass through the bag, no more messy residues or pulp stuck in corners.
Single Mesh – Fine filtration for refined results
【SEAL STEEL RING & LONG SIZE HANDLE】Made from durable, sturdy polished, food-grade premium high performance stainless steel fine mesh round . Our handles attach to strainer using a superior double-riveted design that is more secure. Extra Long handle protect from scalding when fishing out the pasta noodle from boiling water.


Step 5: Add Black-Eyed Peas
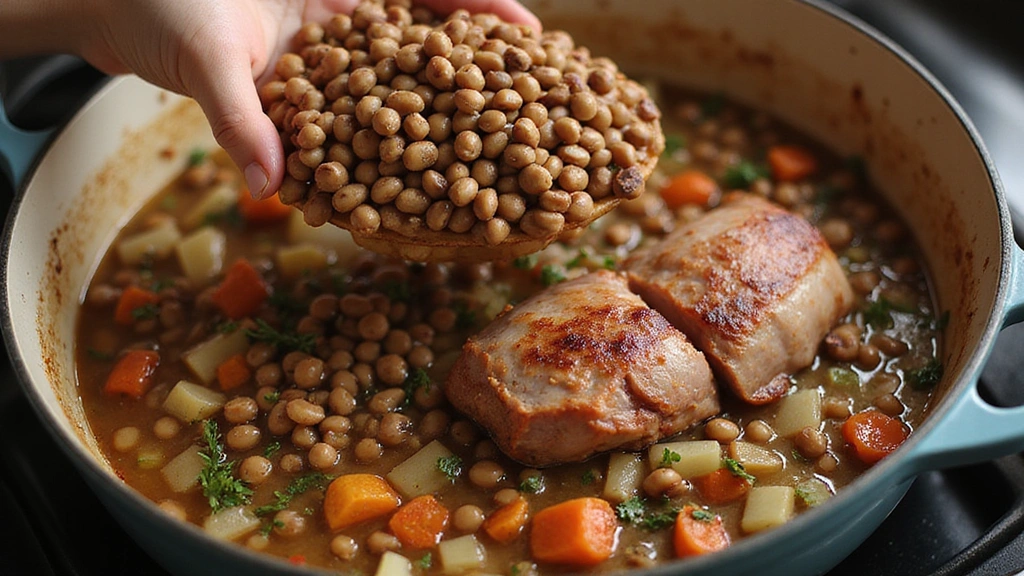
Pour the rinsed black-eyed peas into the Dutch oven.
Stir to combine with the onions, garlic, and ham hock.
Ensure the peas are evenly distributed for consistent cooking.
This step integrates all flavors into the peas.


Step 6: Pour in Chicken Broth
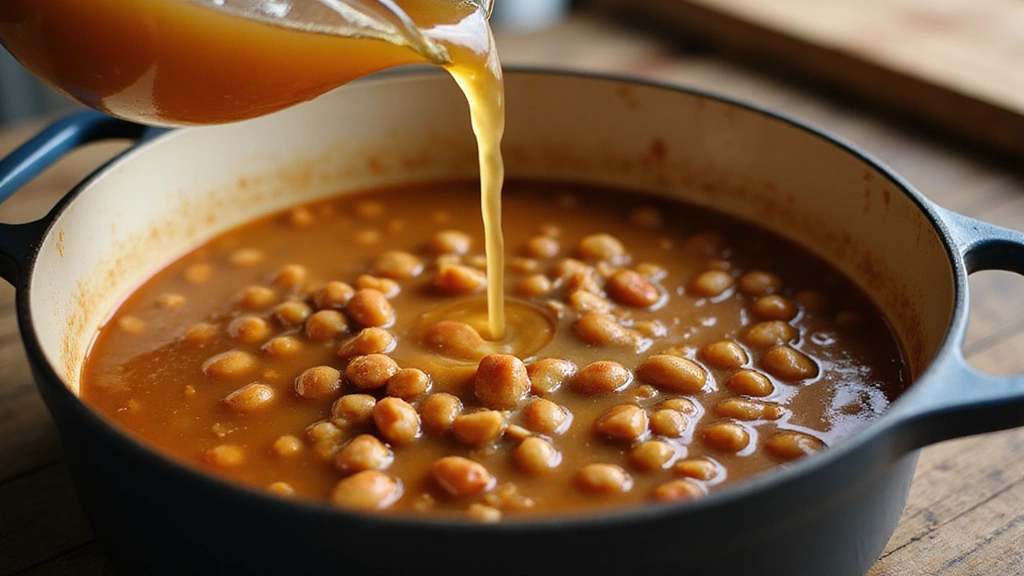
Slowly add the chicken broth to the Dutch oven.
Ensure all peas are submerged to promote even cooking.
The broth adds richness and depth to the dish.
Avoid overfilling to prevent boiling over during cooking.


Step 7: Season the Dish
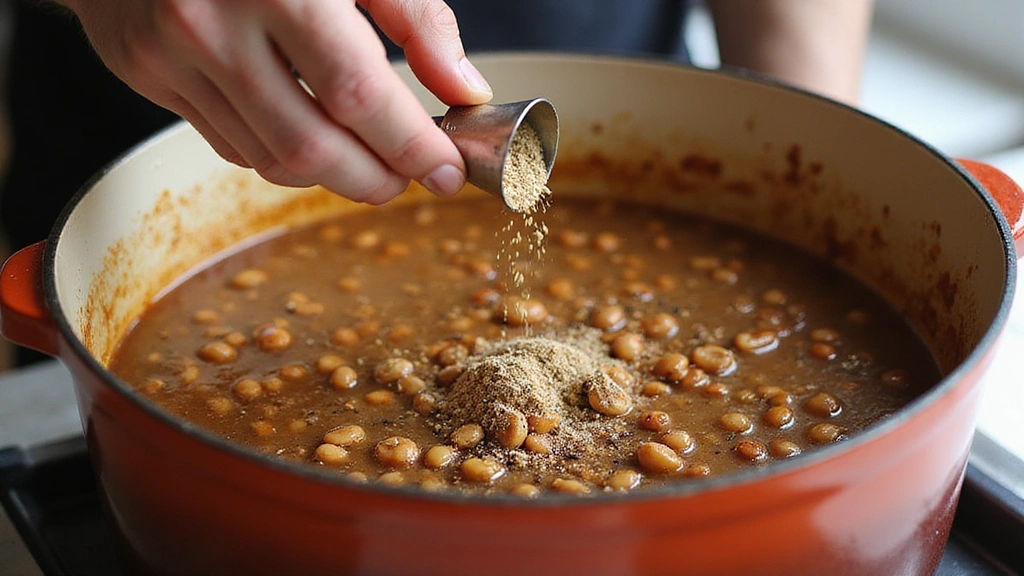
Add thyme, cayenne pepper, salt, and black pepper to the pot.
Stir well to ensure all seasonings are evenly distributed.
This step enhances the flavor complexity of the dish.
Adjust seasoning to taste, keeping in mind the ham hock's saltiness.


Step 8: Simmer the Peas
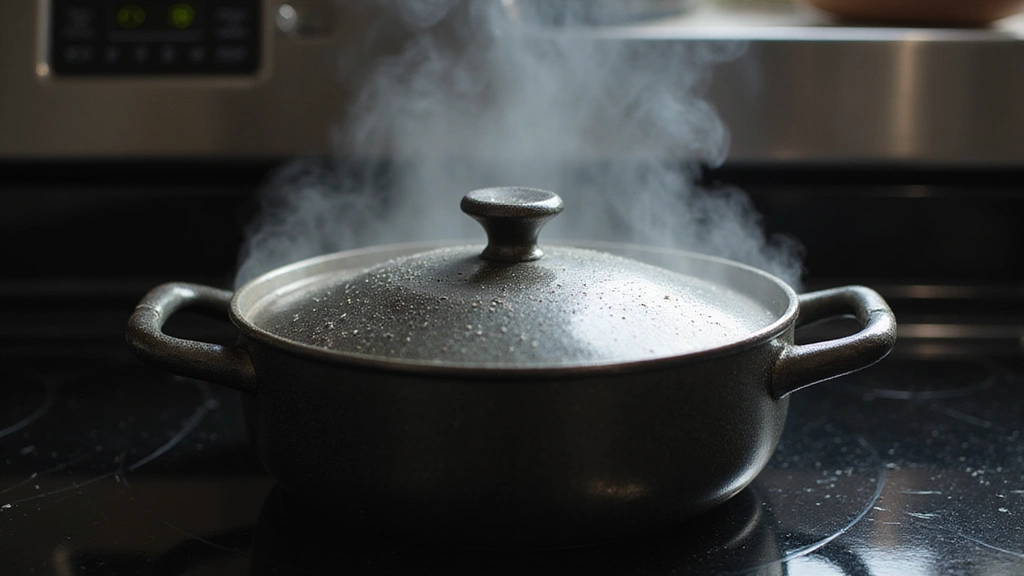
Bring the mixture to a gentle simmer over medium-low heat.
Cover the Dutch oven, maintaining a consistent simmer for 90 minutes.
Check periodically to ensure the peas are tender and flavorful.
Stir occasionally to prevent sticking and ensure even cooking.


Step 9: Check for Doneness

After 90 minutes, uncover the Dutch oven and check the peas.
They should be tender and infused with the flavors of the broth.
Taste and adjust seasonings if necessary for balanced flavor.
Remove the ham hock, if desired, before serving.


Critical Timing and Temperature Guide
Simmering: Maintain a gentle simmer at medium-low heat, ensuring the cooking time is around 90 minutes for tenderness, avoiding vigorous boiling which can break down the peas excessively.
Browning Ham Hock: Sear the ham hock at medium-high heat for approximately 5 minutes on each side until golden brown, ensuring a smoky depth.
Sautéing Aromatics: Sauté onions and garlic at medium heat for 5-7 minutes until translucent, avoiding burning which can impart bitterness.


Pro Tips for Black-Eyed Peas Recipe
• Ingredient Selection: Choose fresh, high-quality dried black-eyed peas for the best texture and flavor.
• Preparation Secret: Add a splash of apple cider vinegar at the end of cooking to brighten the flavors.
• Temperature Management: Keep the simmer low to prevent the peas from becoming mushy.
• Texture Enhancement: Use a potato masher to gently mash some peas for a creamier consistency without losing shape.
• Flavor Layering: Add the cayenne pepper gradually to control the heat level, allowing flavors to build slowly.
• Make-Ahead Strategies: Cook the peas the day before and refrigerate, allowing flavors to meld overnight.
• Restaurant-Quality Finishing Touches: Garnish with fresh parsley or green onions for a burst of color and freshness.
• Equipment Optimization: Use a heavy-bottomed Dutch oven for even heat distribution and to prevent scorching.

Troubleshooting Common Issues
• Peas Too Hard: Ensure peas are soaked overnight and simmered gently, and extend cooking time if necessary.
• Flavors Unbalanced: Adjust seasoning gradually, tasting frequently to achieve the desired balance.
• Texture Too Mushy: Avoid overcooking and maintain a gentle simmer, using a timer to track cooking duration.
• Burnt Bottom: Stir occasionally and keep heat at a consistent low level to prevent sticking and scorching.
• Insufficient Smokiness: Ensure the ham hock is well browned before adding other ingredients to release its smoky flavor.
• Excessive Saltiness: Use low-sodium broth and adjust salt gradually, considering the salt content of the ham hock.
Variations and Regional Differences
• Creole Style: Incorporates additional spices such as paprika and bell peppers for a distinct Creole flair.
• Vegetarian Version: Omits the ham hock and uses smoked paprika to replicate the smoky depth.
• Texas-Style: Often includes jalapeños for added heat and a Tex-Mex twist.
• Caribbean Influence: Features coconut milk and scotch bonnet peppers for a tropical, spicy variation.
Food Science Behind the Recipe
• Maillard Reaction: Browning the ham hock enhances flavor through the Maillard Reaction, a chemical process that creates complex flavors and aromas.
• Starch Gelatinization: As the peas cook, starches break down and thicken the broth, creating a creamy texture without additional thickeners.
• Flavor Infusion: Slow simmering allows flavors to penetrate the peas, ensuring each bite is rich and flavorful.
Frequently Asked Questions
What's the most common mistake people make when preparing Black-Eyed Peas? Overcooking them until they become mushy is a frequent issue; maintain a gentle simmer and check for doneness regularly.
Can I use canned black-eyed peas instead of dried? Yes, but adjust cooking time significantly as canned peas are already cooked.
How can I make this dish spicier? Add more cayenne pepper or include sliced jalapeños for additional heat.
Is it necessary to soak the peas overnight? Soaking reduces cooking time and ensures a tender texture, so it's highly recommended.
Can I substitute the ham hock with another protein? Smoked sausage or bacon can be used as alternatives for the smoky flavor.
How do I store leftovers? Refrigerate in an airtight container for up to 3 days, and reheat gently on the stovetop.
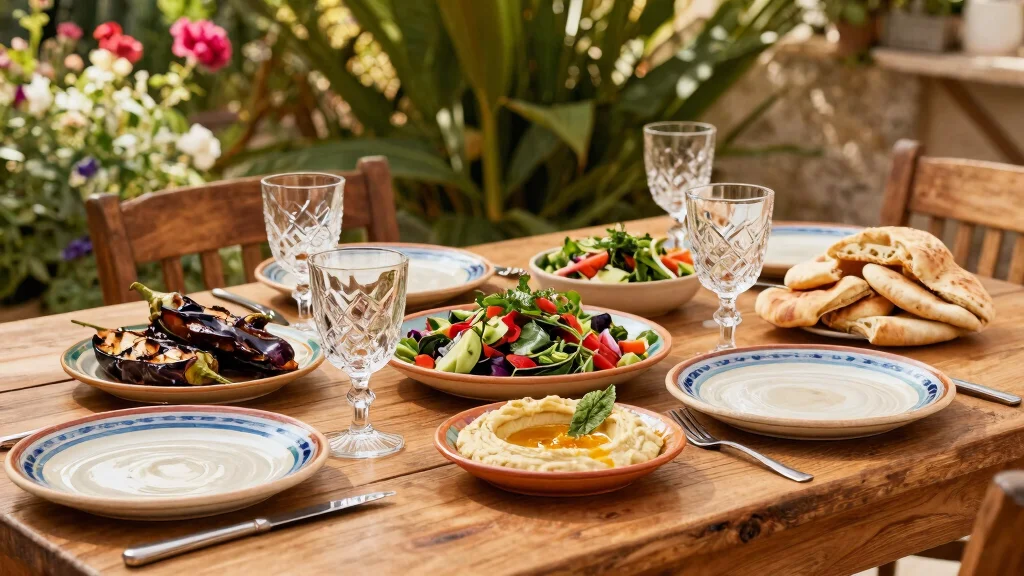
What can I serve alongside Black-Eyed Peas? Traditional sides include cornbread, collard greens, and rice for a complete Southern meal.
Serving and Presentation Guide
• Traditional Presentation: Serve in rustic bowls with a sprinkle of fresh herbs for an authentic Southern look.
• Family Style: Arrange in a large serving dish on the dining table, with ladles for self-serving.
• Modern Plating: Use shallow, wide bowls to showcase the peas and garnish with microgreens for a contemporary twist.
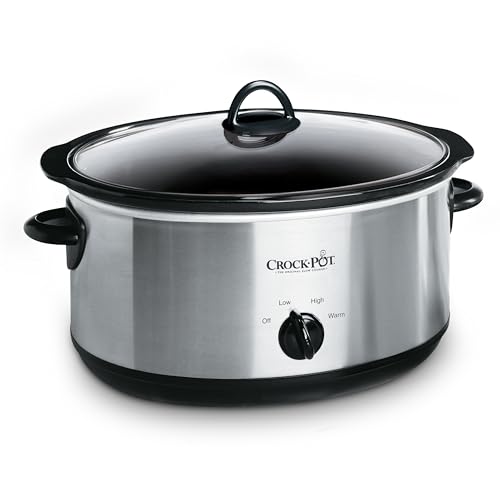
• Buffet Style: Keep in a slow cooker on low heat for guests to help themselves at a casual gathering.


Conclusion
Now that you've discovered the secrets to crafting a hearty and flavorful Black-Eyed Peas dish, it's time to bring this Southern classic to your kitchen.
Whether you're celebrating a special occasion or simply craving a taste of comfort, this recipe is sure to satisfy.
Embrace the warmth and tradition of this beloved dish, and enjoy the culinary journey it offers.