Slow Cooker Recipes: Easy Meals, Less Effort!
Family-friendly dishes for busy people — quick prep, delicious results.
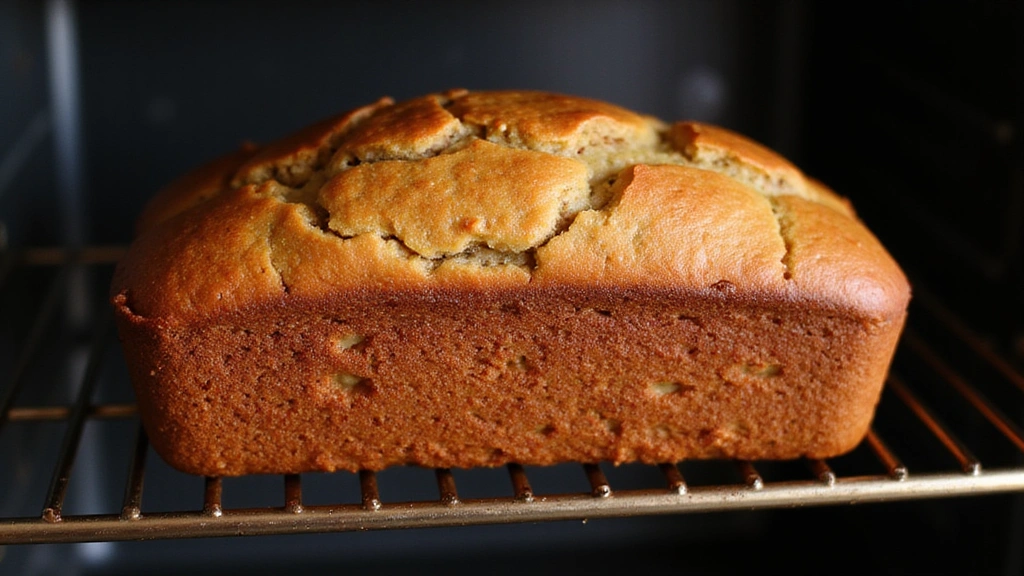
Grab yours for $4This classic banana bread recipe brings together the comfort of home baking with a rich, flavorful profile that is simply irresistible.
The subtle sweetness of ripe bananas blends perfectly with hints of vanilla and cinnamon, creating a delightful aroma that fills your kitchen.
I stumbled upon this recipe during a nostalgic search through my grandmother’s old cookbook, bringing back fond childhood memories of family gatherings around the table.
Banana bread is a staple in many households, offering a warm, inviting treat any time of the year.
Whether you’re enjoying a cozy morning breakfast or an afternoon snack, this banana bread delivers soft texture and full flavor with every bite.
The History and Cultural Significance
• Banana Bread Recipe traces its origins to the United States during the Great Depression, where it was originally created as a way to use overripe bananas and minimize food waste.
• The dish evolved over decades as baking soda and baking powder became more prevalent, eventually becoming the beloved version we know today.
• In American culture, this dish traditionally appears at family gatherings and potlucks, symbolizing warmth and hospitality.
• While many variations exist across different regions, the authentic version maintains a moist texture and rich banana flavor that sets it apart from imitations.


Recipe Overview
Nutritional Information (per serving)
Essential Equipment Guide
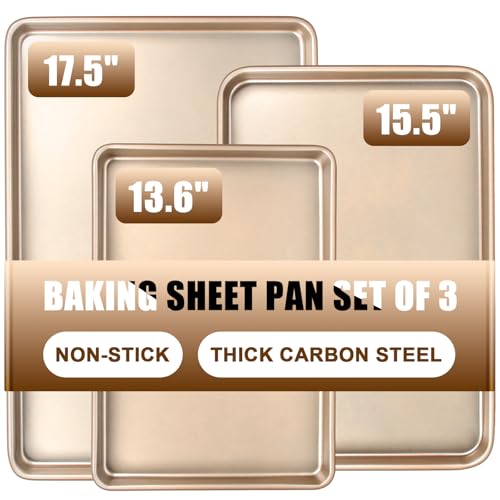
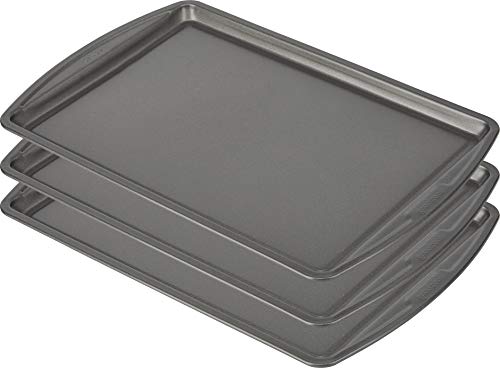
Loaf Pan: A good quality loaf pan is crucial for even cooking and achieving a perfectly shaped banana bread. Non-stick varieties are preferred as they help in easy release of the bread. If unavailable, a well-greased regular pan can work as an alternative.
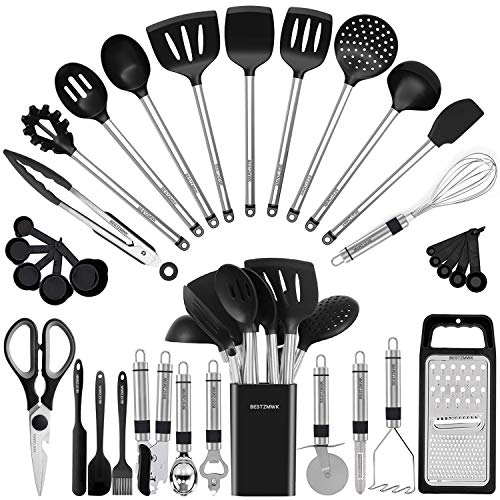
Mixing Bowls: Having multiple mixing bowls of different sizes can help in organizing ingredients and ensuring thorough mixing. Stainless steel or glass bowls are recommended for their durability and ease of cleaning.
Cooling Rack: A cooling rack is essential to allow the bread to cool evenly from all sides, preventing it from becoming soggy. If you don’t have one, you can improvise with a clean oven rack placed on a countertop.


Ingredients
For the Base
|
|
| Amount | Ingredient | Notes |
|---|---|---|
| 2 cups | all-purpose flour | sifted for light texture |
| 1 teaspoon | baking soda | ensures rise |
| 1/4 teaspoon | salt | enhances flavor |
Wet Ingredients
| Amount | Ingredient | Notes |
|---|---|---|
| 1/2 cup | unsalted butter | melted, adds richness |
| 1 cup | sugar | for sweetness |
| 2 large | eggs | beaten, for binding |
| 3 ripe | bananas | mashed, for moisture and flavor |
Flavorings
| Amount | Ingredient | Notes |
|---|---|---|
| 1 teaspoon | vanilla extract | adds depth |
| 1/2 teaspoon | ground cinnamon | adds warmth |
Preparation Methods
Creaming: This method involves beating butter and sugar together until light and fluffy. It incorporates air into the mixture, which helps in achieving a tender crumb. To master this, ensure your butter is at room temperature and use a hand mixer for best results.
Folding: Gently mixing the dry ingredients into the wet without overmixing is crucial for maintaining a light texture. Use a spatula to fold, turning the bowl as you go, to avoid developing gluten which can make the bread tough.
Cooling: Proper cooling is essential to prevent the banana bread from becoming soggy. Allow it to cool in the pan for about 10 minutes before transferring it to a cooling rack. This allows steam to escape and the bread to firm up properly.


Step 1: Preheat the Oven
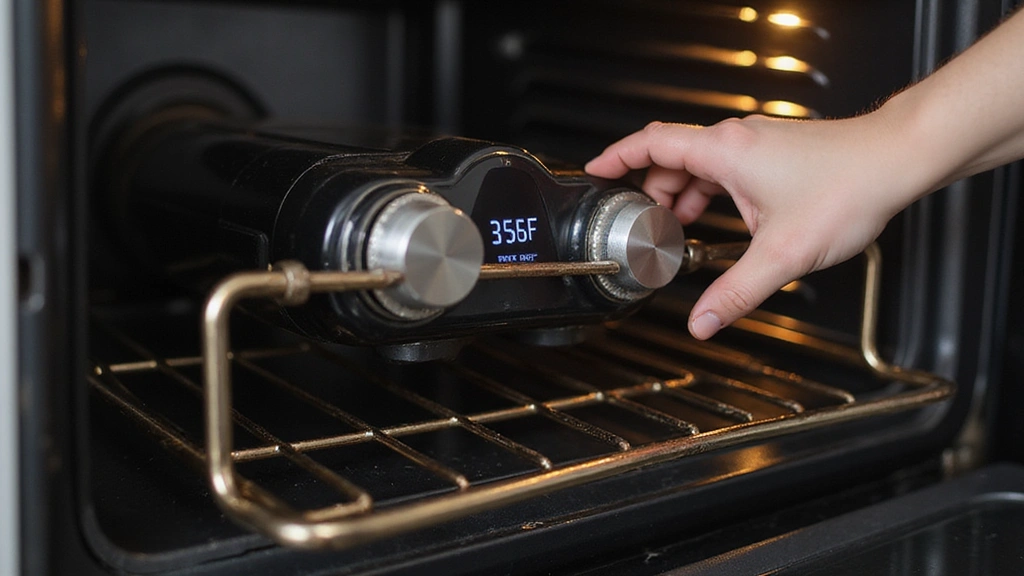
Preheat your oven to 350°F (175°C).
Ensure the oven rack is in the middle position for even baking.
A properly preheated oven is crucial for a good rise.
Use an oven thermometer for accuracy if needed.


Step 2: Prepare the Loaf Pan

Grease a 9x5-inch loaf pan with butter or non-stick spray.
Ensure all surfaces are coated to prevent sticking.
For extra security, line the bottom with parchment paper.
Set the prepared pan aside.


Step 3: Mix Dry Ingredients
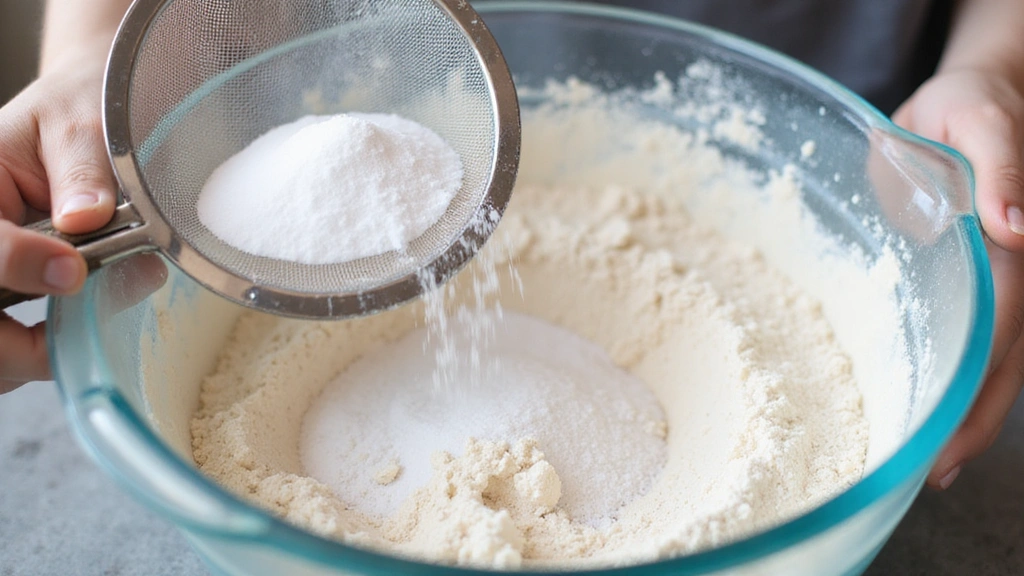
In a medium bowl, sift together the flour, baking soda, and salt.
Sifting helps to aerate the flour, ensuring a light batter.
Use a whisk to combine if a sifter is unavailable.
Set the dry mixture aside.
Step 4: Cream Butter and Sugar
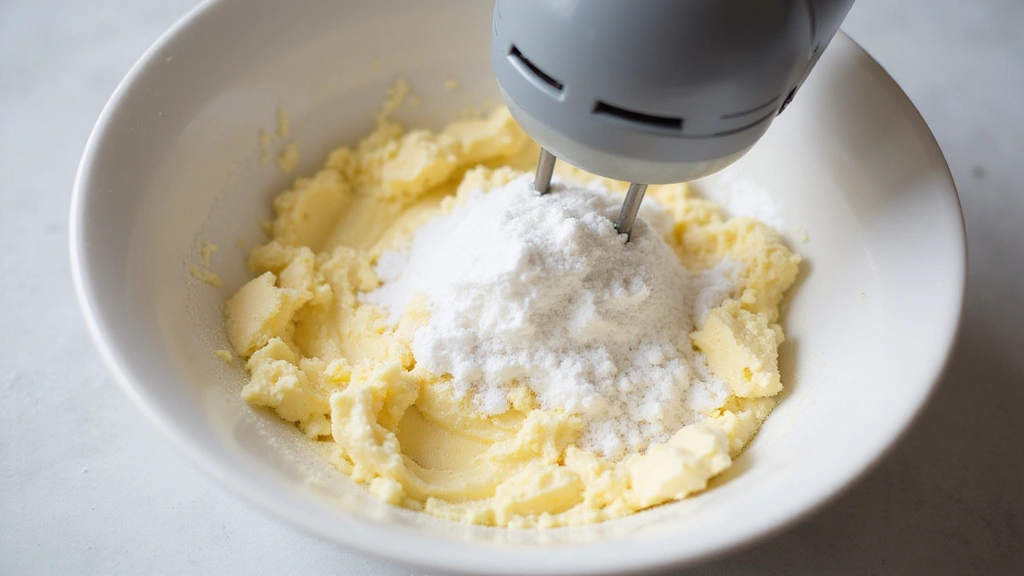
In a large bowl, beat together the melted butter and sugar until light and fluffy.
This process takes about 3-5 minutes.
Look for a pale and creamy mixture.
Use a hand mixer for best results.


Step 5: Add Wet Ingredients
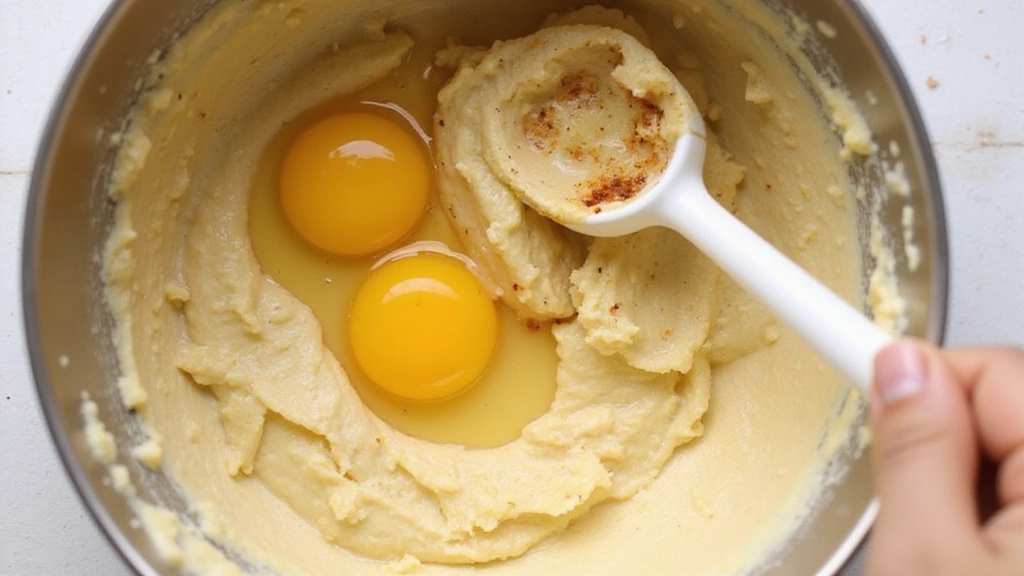
Beat in the eggs one at a time until fully incorporated.
Add the mashed bananas and vanilla extract.
Mix until smooth and well combined.
Avoid overmixing to keep the batter light.
Step 6: Combine Mixtures
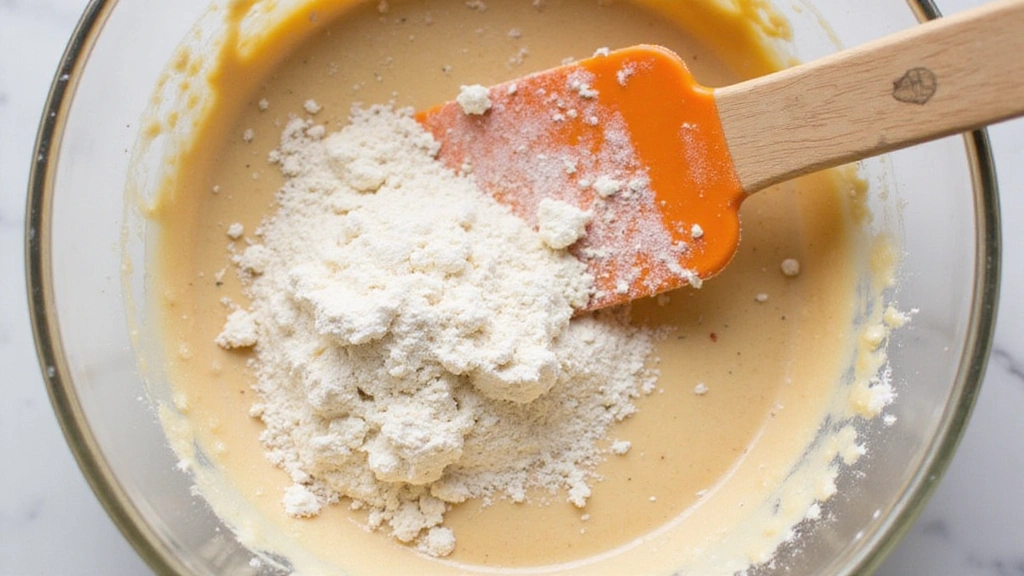
Gently fold the dry ingredients into the wet ingredients using a spatula.
Mix only until you no longer see dry flour.
The batter should be thick but smooth.
Avoid overmixing to prevent a dense bread.


Step 7: Pour Batter into Pan
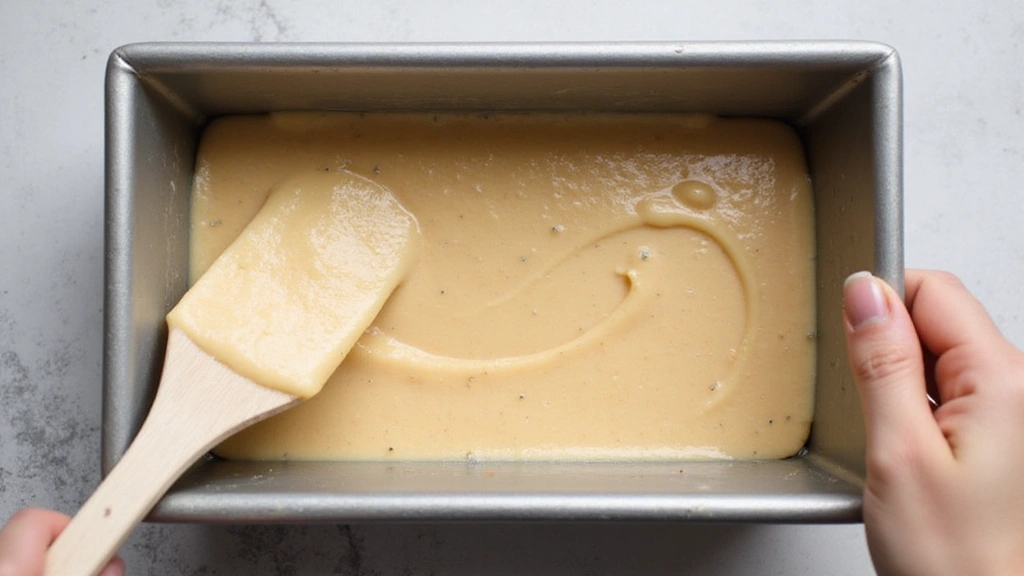
Carefully pour the batter into the prepared loaf pan.
Smooth the top with a spatula for even baking.
Tap the pan gently on the counter to release air bubbles.
Ensure the batter is evenly distributed.

Step 8: Bake the Bread
Place the loaf pan in the preheated oven.
Bake for 60 minutes or until a toothpick inserted in the center comes out clean.
The top should be golden brown.
Rotate the pan halfway through for even baking.


Step 9: Cool the Bread

Remove the bread from the oven and let it cool in the pan for 10 minutes.
Carefully transfer the bread to a cooling rack.
Allow it to cool completely before slicing.
This step prevents sogginess and helps set the texture.
Critical Timing and Temperature Guide
Baking: Bake at 350°F for 60 minutes. Look for a golden-brown crust and a clean toothpick test. Avoid opening the oven too often to prevent temperature fluctuations.
Preheating: Preheat the oven for at least 15 minutes before baking. Ensure the temperature is stable for consistent results. Avoid placing the batter in an unheated oven.
Cooling: Cool in the pan for 10 minutes, then on a rack until completely cool. Ensure the bread is completely cooled to prevent a gummy texture inside. Slicing too soon can affect the crumb structure.


Pro Tips for Banana Bread Recipe
• Ingredient Selection: Choose ripe bananas with brown spots for the best flavor and natural sweetness.
• Preparation Secret: Let the batter rest for 10 minutes before baking to allow the flour to hydrate and flavors to meld.
• Temperature Management: Ensure all ingredients are at room temperature to promote even mixing and a consistent texture.
• Texture Enhancement: Use the folding technique to incorporate ingredients gently, maintaining a light and airy crumb.
• Flavor Layering: Add a pinch of nutmeg or a handful of nuts for an extra layer of flavor.
• Make-Ahead Strategies: Prepare the batter in advance and refrigerate for up to 24 hours. Bake directly from the refrigerator.
• Restaurant-Quality Finishing Touches: Brush the top with melted butter and a sprinkle of sugar for a glossy finish.
• Equipment Optimization: Use a silicone spatula for folding to ensure gentle mixing and scrape every bit of batter from the bowl.
Troubleshooting Common Issues
• Texture Too Dense: This can result from overmixing the batter. To fix, fold the ingredients gently and ensure baking soda is fresh.
• Bread Sinks in the Middle: Often caused by underbaking or opening the oven too soon. Ensure the oven is preheated and avoid opening the door frequently.
• Crumbly Texture: May occur if the flour is not measured accurately. Use the spoon-and-level method for precise measurement.
• Underbaked Center: This can happen if the bread is removed from the oven too early. Always perform a toothpick test to check doneness.
• Flavors Unbalanced: If the banana flavor is weak, ensure you are using ripe bananas and consider adding a bit more vanilla extract.
• Sticking to the Pan: Prevent by thoroughly greasing the pan and using parchment paper. Allow the bread to cool slightly before removing.


Variations and Regional Differences
• Hawaiian Style: Incorporates crushed pineapple and shredded coconut for a tropical twist, often enjoyed at luaus and beach gatherings.
• Chocolate Chip Variation: Adds semi-sweet chocolate chips for a richer, dessert-like bread popular in American bakeries.
• Gluten-Free Version: Uses almond flour and gluten-free baking powder, catering to those with dietary restrictions while maintaining flavor.
• Spiced Banana Bread: Includes spices like nutmeg and cloves, common in Middle Eastern adaptations for a warm, aromatic profile.


Food Science Behind the Recipe
• Leavening Agents: Baking soda reacts with the acidity in bananas to create carbon dioxide, helping the bread rise and achieve a light texture.
• Maillard Reaction: The browning of the crust results from the Maillard reaction, where proteins and sugars react under heat, enhancing flavor and color.
• Gluten Development: Minimal mixing prevents excessive gluten development, ensuring a tender and not chewy crumb.
• Moisture Retention: Bananas provide natural moisture, reducing the need for additional liquids and keeping the bread soft.
Frequently Asked Questions
What's the most common mistake people make when preparing banana bread? Overmixing the batter, which can result in a dense and tough texture.
Can I freeze banana bread? Yes, wrap it tightly in plastic wrap and aluminum foil before freezing for up to 3 months.
How do I know when my banana bread is done? Insert a toothpick or skewer into the center; it should come out clean or with a few moist crumbs.
Can I use frozen bananas? Yes, thaw them completely and drain any excess liquid before using.
Is it possible to make banana bread without eggs? Yes, use a flax egg or applesauce as an egg substitute for a vegan version.
Why does my banana bread have a gummy texture? This could be due to underbaking or using too many bananas.
How can I make my banana bread more moist? Add a tablespoon of sour cream or yogurt to enhance moisture content.
Serving and Presentation Guide
• Traditional Presentation: Serve slices warm with a pat of butter or a drizzle of honey.
• Breakfast Style: Pair with fresh fruits and a dollop of Greek yogurt for a balanced meal.
• Afternoon Tea: Present on a cake stand, accompanied by a selection of teas and coffees.
• Dessert Option: Top with cream cheese frosting and a sprinkle of chopped walnuts for an indulgent treat.


Conclusion
Now that you have the secrets to making the best banana bread, it's time to transform your overripe bananas into a delicious masterpiece.
With its soft texture and full flavor, this banana bread will surely become a staple in your baking repertoire.
Don't wait any longer—gather your ingredients and experience the joy of homemade banana bread today.