Slow Cooker Recipes: Easy Meals, Less Effort!
Family-friendly dishes for busy people — quick prep, delicious results.
Grab yours for $4There’s something inherently comforting about the simplicity and immediacy of a brownie in a mug.
Imagine the deep, rich chocolate flavor mingled with a gooey texture that satisfies your sweet tooth in mere minutes.
I stumbled upon this recipe during a busy weeknight when I craved something sweet without the hassle of baking an entire batch.
Perfect for solo indulgence or a quick treat for unexpected guests, this brownie in a mug delivers a delightful dessert experience swiftly.
Whether you’re a seasoned baker or a kitchen novice, this recipe is straightforward, relying on basic ingredients you likely already have at home.
The History and Cultural Significance
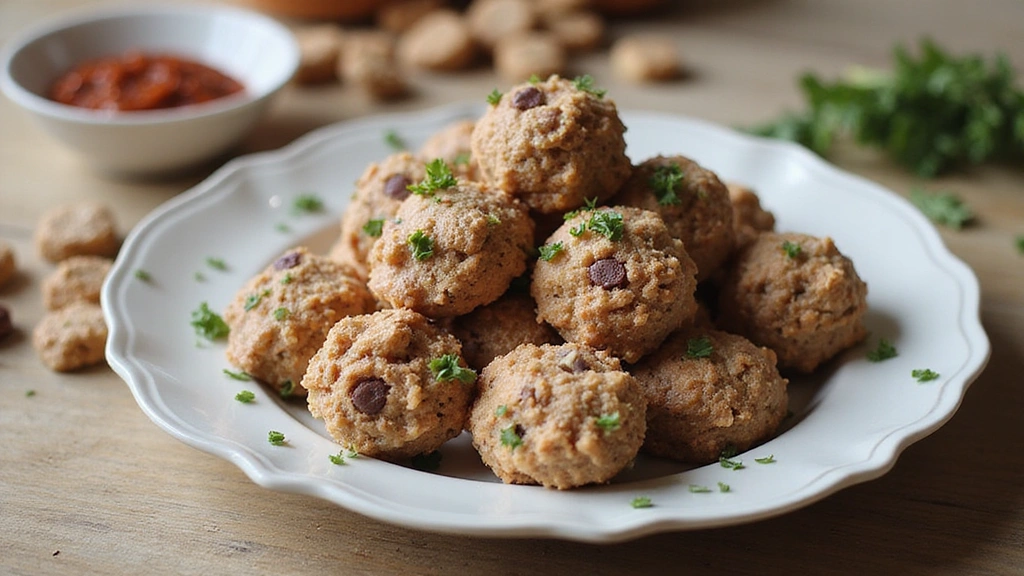
• Brownie in a mug traces its origins to the United States in the early 21st century, where it was created by home cooks seeking quick dessert solutions.
• The dish evolved over decades as microwave technology became more widespread, eventually becoming the beloved version we know today.
• In American culture, this dish often appears at casual gatherings, symbolizing the innovation of combining convenience with comfort food.
• While many variations exist across different regions, the authentic version maintains a rich, chocolatey center that sets it apart from imitations.


Recipe Overview
Nutritional Information (per serving)
Essential Equipment Guide
Mug: A microwave-safe mug is critical for cooking the brownie evenly and safely. Choose a mug that can hold at least 12 ounces to prevent overflow.
Microwave: Essential for the quick cooking process. A standard microwave with a turntable is ideal to ensure even cooking.
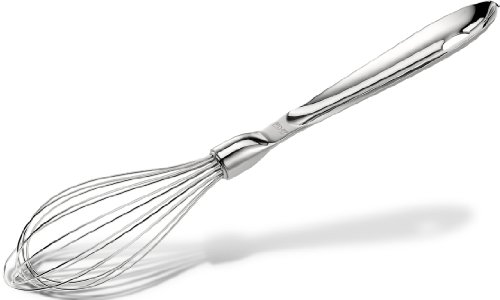
Spoon: A sturdy spoon for mixing the ingredients directly in the mug. A teaspoon or tablespoon will suffice, but avoid using a fork to prevent scratching the mug’s interior.


Ingredients
For the Base
|
|
| Amount | Ingredient | Notes |
|---|---|---|
| 4 tablespoons | all-purpose flour | for structure |
| 4 tablespoons | sugar | for sweetness |
| 2 tablespoons | unsweetened cocoa powder | for rich chocolate flavor |
| 1/8 teaspoon | baking powder | for leavening |
| 3 tablespoons | milk | for moisture |
| 2 tablespoons | vegetable oil | for richness |
| 1/4 teaspoon | vanilla extract | for flavor depth |
Preparation Methods
Mixing Ingredients: Thoroughly mixing the dry and wet ingredients ensures a uniform batter. This step prevents lumps and ensures even cooking.
Microwave Cooking: Understanding your microwave's settings can help achieve the perfect texture. High power is often essential for quick cooking.
Cooling: Allowing the brownie to cool slightly before eating helps the flavors develop and prevents burns from the hot mug.


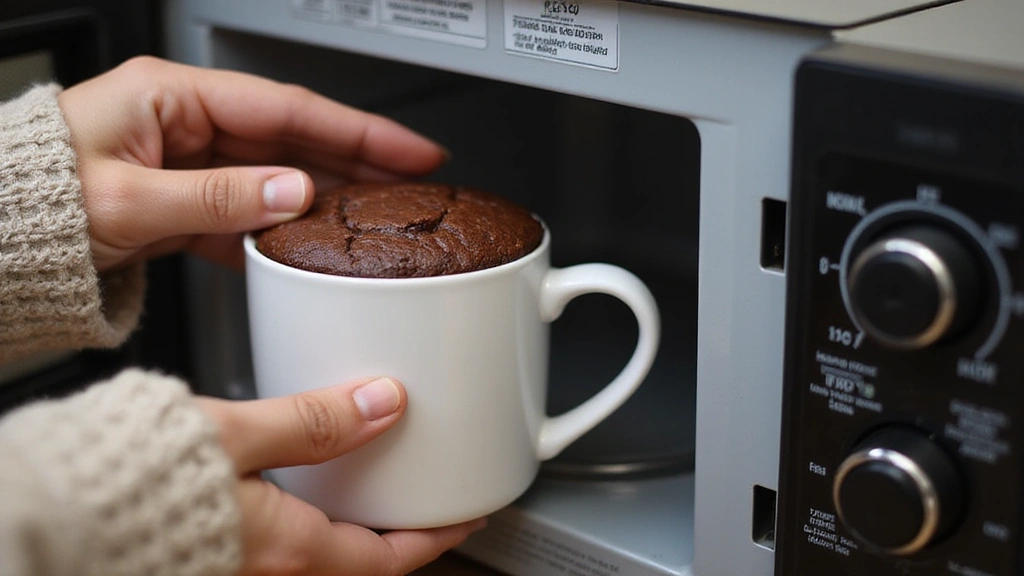
Step 1: Prepare Mug
Choose a microwave-safe mug with a capacity of at least 12 ounces.
Ensure the mug is clean and dry before use.
This will prevent any unwanted flavors or residues from affecting the brownie.
Set the mug on a stable surface for easy mixing.


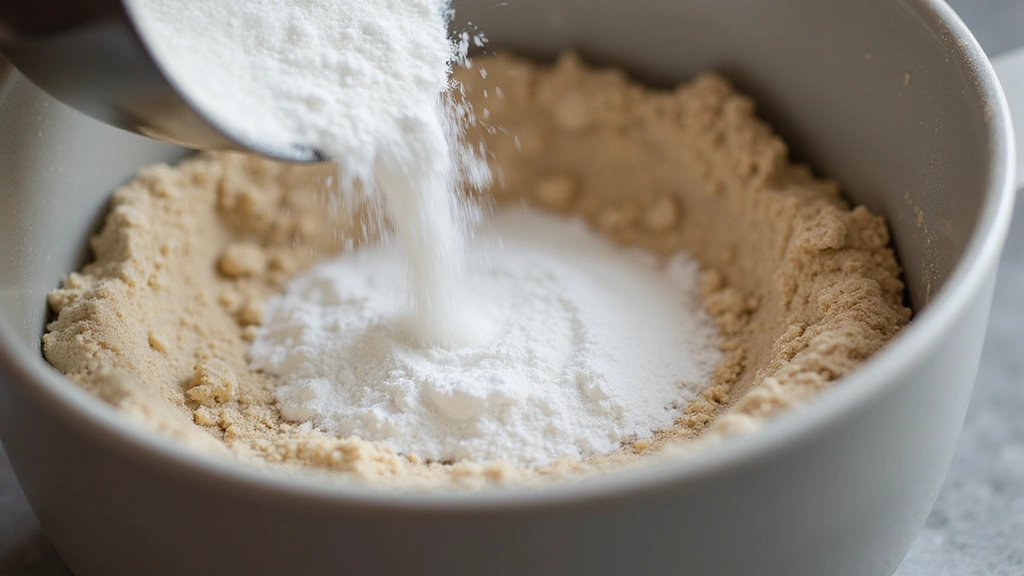
Step 2: Combine Dry Ingredients
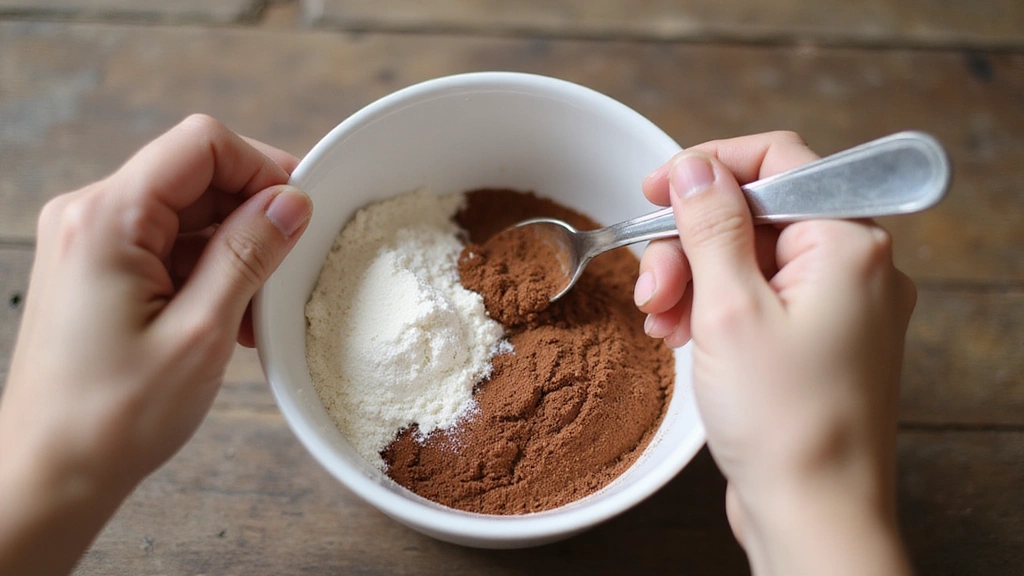
Add 4 tablespoons of all-purpose flour to the mug.
Follow with 4 tablespoons of sugar and 2 tablespoons of cocoa powder.
Mix these ingredients using a spoon until well combined.
Ensure there are no lumps for a smooth batter.
Step 3: Add Baking Powder
Add 1/8 teaspoon of baking powder to the mug.
Stir it into the dry ingredients thoroughly.
Baking powder helps the brownie rise slightly, creating a light texture.
Ensure it's evenly distributed to avoid uneven cooking.


Step 4: Incorporate Wet Ingredients

Pour 3 tablespoons of milk into the mug.
Add 2 tablespoons of vegetable oil and 1/4 teaspoon of vanilla extract.
Stir the mixture until a smooth batter forms.
The batter should be well combined without any streaks or lumps.
Step 5: Microwave the Mug
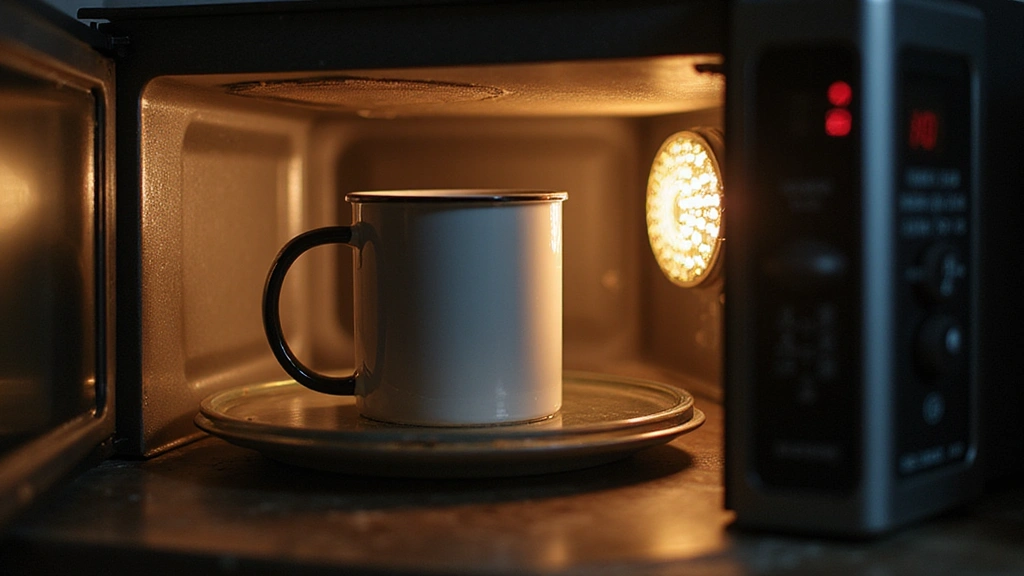
Place the mug in the microwave.
Set the microwave to high power.
Cook the brownie for 1 minute.
Watch closely to prevent overcooking.


Step 6: Check for Doneness
Carefully remove the mug from the microwave using an oven mitt.
The brownie should be set on top but still slightly gooey inside.
If undercooked, return to the microwave for an additional 10 seconds.
Avoid overcooking to maintain a moist texture.


Step 7: Allow to Cool
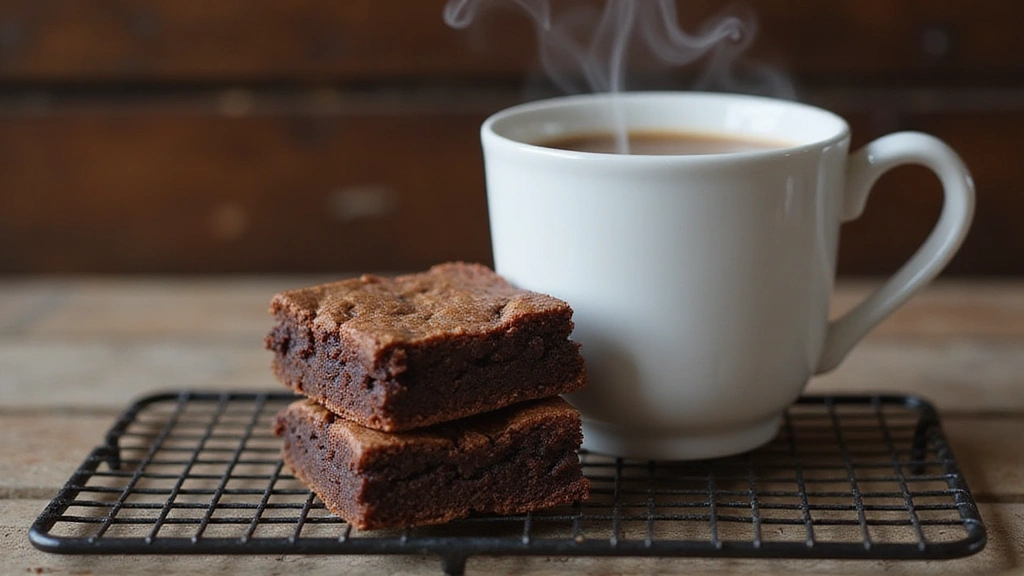
Let the brownie cool for 1-2 minutes.
This helps the flavors to meld and the texture to set.
Be cautious as the mug will be hot.
Cooling prevents burns and enhances taste.
Step 8: Serve and Enjoy

Optionally, add a scoop of ice cream or a dollop of whipped cream.
Enjoy directly from the mug with a spoon.
Savor the warm, gooey texture and rich chocolate flavor.
Share the experience with a friend or keep it as a solo treat.


Critical Timing and Temperature Guide
Microwave Cooking: Cook on high power for 1 minute. The top should be set but the center slightly gooey. Avoid overcooking to prevent a dry texture.
Cooling Period: Allow to cool for 1-2 minutes after microwaving. This helps prevent burns and allows flavors to develop.
Ingredient Temperatures: Use room temperature ingredients for even cooking. Cold ingredients can lead to uneven texture.
Pro Tips for Brownie in a Mug
• Ingredient Selection: Choose high-quality cocoa powder for the best chocolate flavor. Dutch-processed cocoa can provide a richer taste.
• Preparation Secret: Mix ingredients thoroughly to prevent lumps and ensure even cooking.
• Temperature Management: Ensure all ingredients are at room temperature for optimal blending and texture.
• Texture Enhancement: For a fudgier texture, slightly undercook the brownie and let it rest.
• Flavor Layering: Add a pinch of salt to enhance the chocolate flavor.
• Make-Ahead Strategies: Pre-measure dry ingredients for quick assembly later. Store in a sealed container for up to a week.
• Restaurant-Quality Finishing Touches: Top with a sprinkle of sea salt or a drizzle of chocolate sauce before serving.
• Equipment Optimization: Use a deep, wide mug to prevent overflow and ensure even cooking.


Troubleshooting Common Issues
• Texture Too Dense: This often results from under-mixing. Ensure all ingredients are combined thoroughly before microwaving.
• Flavors Unbalanced: Adding a pinch of salt can balance sweetness and enhance chocolate flavor.
• Overcooking: Results in a dry brownie. Cook for 1 minute initially and adjust in 10-second increments if needed.
• Undercooked Center: If the center is too gooey, microwave for an additional 10 seconds and check again.
• Overflow: Use a larger mug to prevent batter from spilling over during cooking.
• Uneven Texture: Ensure the mug is centered in the microwave and the turntable is functioning correctly.


Variations and Regional Differences
• Vegan Variation: Substitute milk with plant-based milk and use vegan chocolate chips for an animal-product-free version.
• Gluten-Free Variation: Replace all-purpose flour with a gluten-free flour blend to accommodate dietary restrictions.
• Mocha Style: Add 1 teaspoon of instant coffee granules to the dry ingredients for a coffee-infused twist.
• Nutty Delight: Stir in a tablespoon of chopped nuts or peanut butter for added texture and flavor.


Food Science Behind the Recipe
• Microwave Cooking: Microwaves heat food by causing water molecules to vibrate, creating heat that cooks the food quickly.
• Leavening with Baking Powder: Baking powder releases carbon dioxide when heated, which helps the brownie rise slightly, creating a soft texture.
• Emulsification: Oil and milk act as emulsifiers, blending with dry ingredients to create a homogeneous batter, affecting texture and moisture.


Frequently Asked Questions
What's the most common mistake people make when preparing brownie in a mug? Overcooking is the most common mistake, leading to a dry texture. Cook in short increments and check frequently.
Can I use any mug for this recipe? Use a microwave-safe mug that holds at least 12 ounces to prevent overflow and ensure even cooking.
How can I make my brownie richer? Add an extra tablespoon of cocoa powder or a pinch of instant espresso powder for a deeper chocolate flavor.
Is it possible to make this recipe sugar-free? Substitute sugar with a sugar-free sweetener, adjusting the quantity according to taste preferences.
Why does my brownie have a gummy texture? This can result from overmixing or using too much liquid. Reduce mixing time and measure ingredients accurately.
Can I prepare this recipe without cocoa powder? While cocoa powder is essential for a chocolate flavor, you can replace it with a flavored protein powder for a different taste.
How can I prevent the brownie from sticking to the mug? Lightly grease the mug with oil or butter before adding the batter to ensure easy removal.
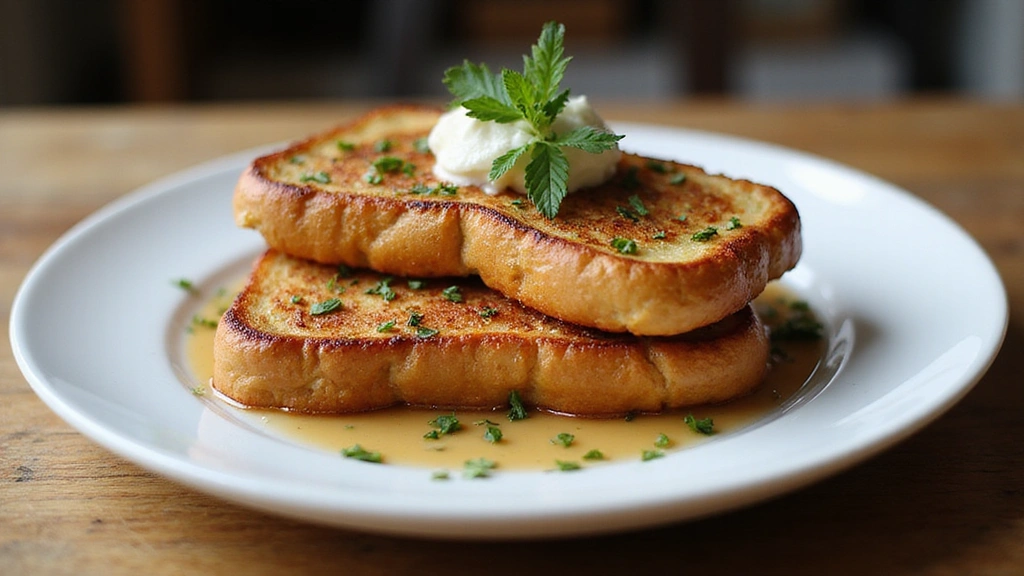
Serving and Presentation Guide
• Traditional Presentation: Serve directly in the mug with a small dessert spoon, allowing the eater to enjoy the warm, comforting dessert straight from the vessel.
• Elegant Touch: Dust the top with powdered sugar or cocoa powder for a visually appealing finish.
• Casual Gathering: Serve with a scoop of vanilla ice cream on top, letting it melt into the warm brownie for added richness.
• Special Occasions: Add a fresh berry garnish or a mint sprig for a pop of color and freshness.
Conclusion
Embarking on the journey of making a brownie in a mug is a delightful way to satisfy your sweet cravings swiftly.
With minimal ingredients and equipment, this recipe is accessible to anyone, anytime.
We invite you to indulge in this quick, comforting dessert and share it with friends or enjoy it solo.
Experience the joy of home baking with the convenience of modern technology.