Slow Cooker Recipes: Easy Meals, Less Effort!
Family-friendly dishes for busy people — quick prep, delicious results.
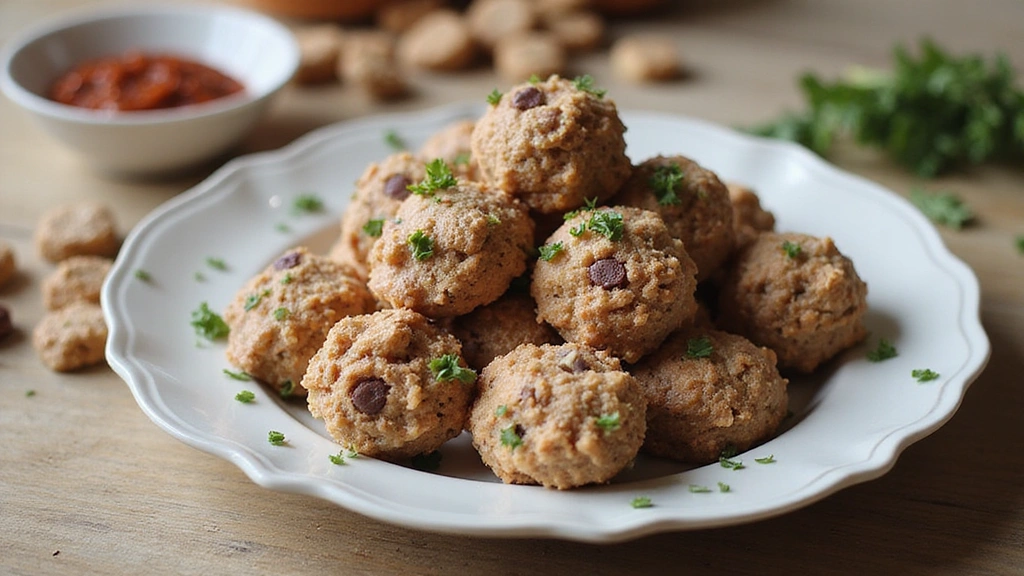
Grab yours for $4There’s something timeless about a batch of freshly baked chocolate chip cookies, with their chewy centers and crispy edges.
Each bite brings a nostalgic wave of comfort and warmth, perfect for any season.
I first encountered the perfect chocolate chip cookie during a holiday gathering, where the host shared her secret recipe passed down through generations.
The blend of melted chocolate and buttery dough creates a symphony of flavors that is hard to resist.
Whether baking for a family treat or a special occasion, these cookies will surely delight.
Prepare to embark on a baking journey that transforms simple ingredients into a beloved classic.
The History and Cultural Significance
• Chocolate Chip Cookies trace their origins to the United States in the late 1930s, where they were originally created by Ruth Wakefield at the Toll House Inn.
• The dish evolved over decades as bakers experimented with different types of chocolate and flour, eventually becoming the beloved version we know today.
• In American culture, this dish traditionally appears at family gatherings and bake sales, symbolizing comfort and home.
• While many variations exist across different regions, the authentic version maintains the balance of chewy centers and crispy edges that sets it apart from imitations.


Recipe Overview
Nutritional Information
Essential Equipment Guide
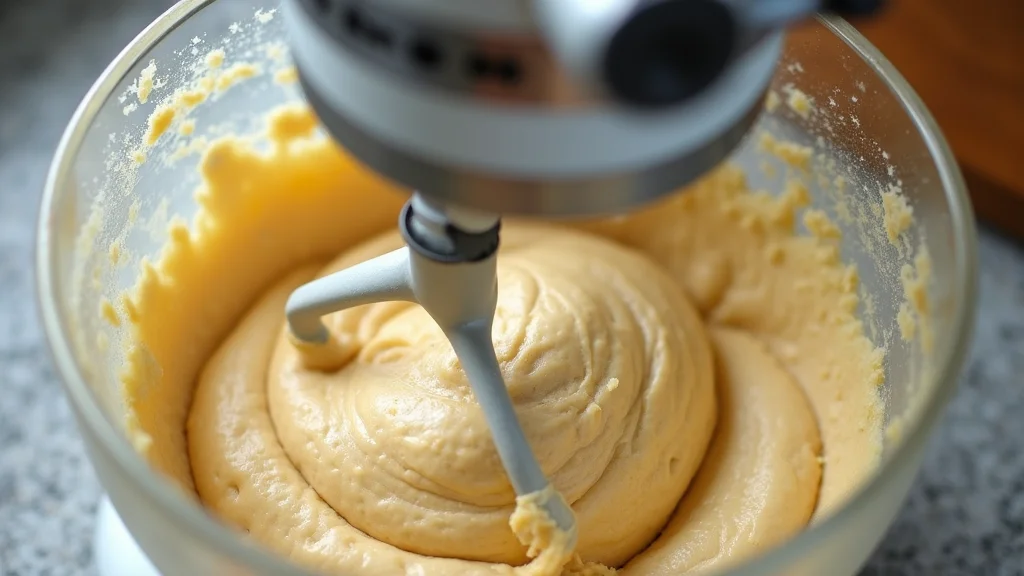
Stand Mixer: Essential for creaming butter and sugar to the perfect consistency, a stand mixer saves time and ensures a smooth, even dough. Hand mixers or a sturdy whisk can be alternatives, but look for mixers with a paddle attachment for best results.
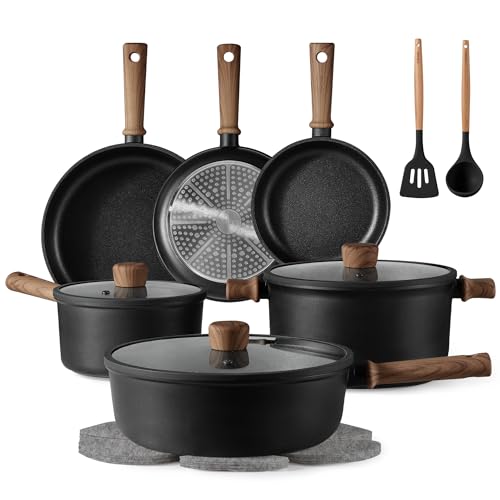
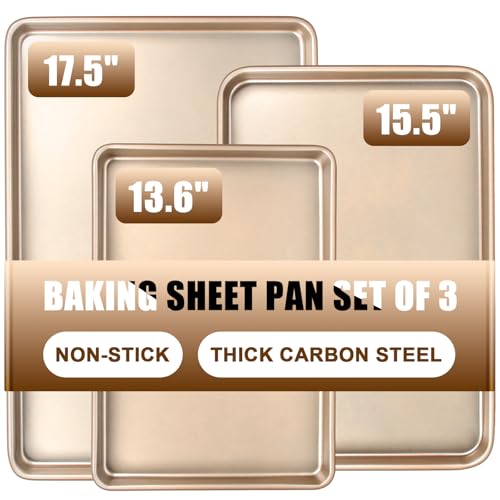
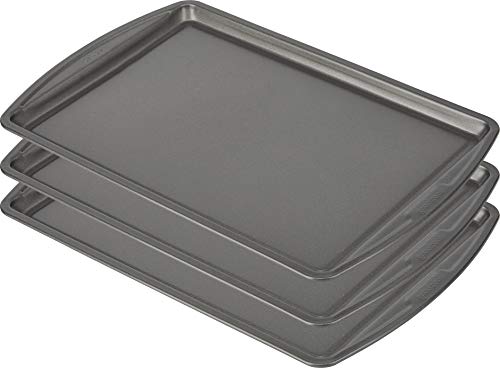
Cookie Sheet: A good quality, non-stick cookie sheet ensures even baking and prevents sticking. Alternatives include parchment paper on regular baking trays, but ensure even heat distribution.
Cooling Rack: Crucial for allowing cookies to cool evenly without becoming soggy, look for racks with a grid pattern to support cookies properly.


Ingredients
For the Dough
|
|
| Amount | Ingredient | Notes |
|---|---|---|
| 2 1/4 cups | all-purpose flour | sifted for a light texture |
| 1 teaspoon | baking soda | helps cookies rise |
| 1/2 teaspoon | salt | enhances flavor |
| 1 cup | unsalted butter | softened, for richness |
| 3/4 cup | granulated sugar | adds sweetness |
| 3/4 cup | brown sugar | adds moisture and depth |
For the Add-ins
| Amount | Ingredient | Notes |
|---|---|---|
| 2 large | eggs | room temperature, for binding |
| 2 teaspoons | vanilla extract | adds aromatic flavor |
| 2 cups | semi-sweet chocolate chips | perfectly melted chocolate pockets |
Preparation Methods
Creaming Method: This technique involves beating butter and sugar together until light and fluffy. It matters for cookie texture, ensuring a balance of chewiness and crisp edges. Use room temperature butter for best results.
Chilling the Dough: Refrigerating the dough before baking enhances flavor development and prevents cookies from spreading too much. Chill for at least 30 minutes.
Portioning with a Cookie Scoop: Using a cookie scoop ensures even-sized cookies, which bake uniformly. Look for a scoop that holds about 1.5 tablespoons of dough.


Step 1: Preheat the Oven
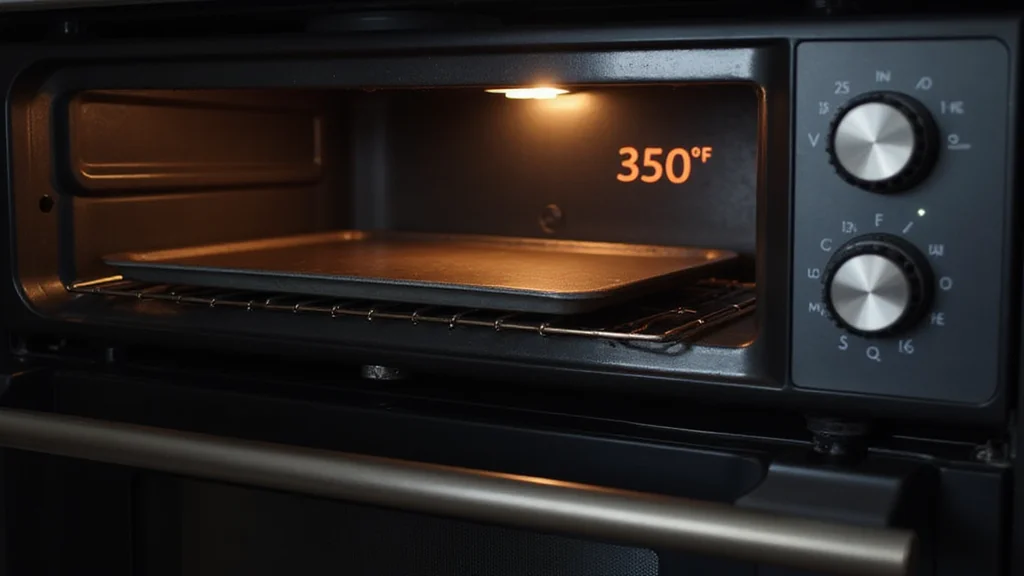
Set your oven to 350°F (175°C).
This is the optimal temperature for baking cookies to achieve a golden brown color.
Ensure your oven rack is in the middle position for even heat distribution.
Preheating ensures that the cookies bake evenly from the moment they are placed inside.


Step 2: Prepare the Dry Ingredients

In a large mixing bowl, combine the flour, baking soda, and salt.
Use a whisk to mix the dry ingredients evenly.
Look for a uniform mixture with no visible clumps.
This ensures that the leavening agent is evenly distributed throughout the dough.
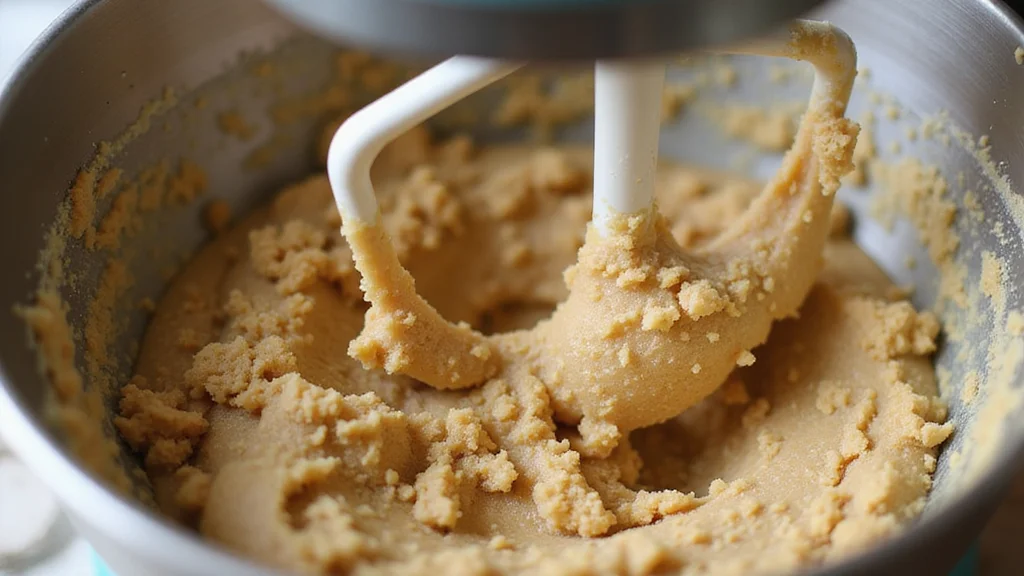
Step 3: Cream Butter and Sugars
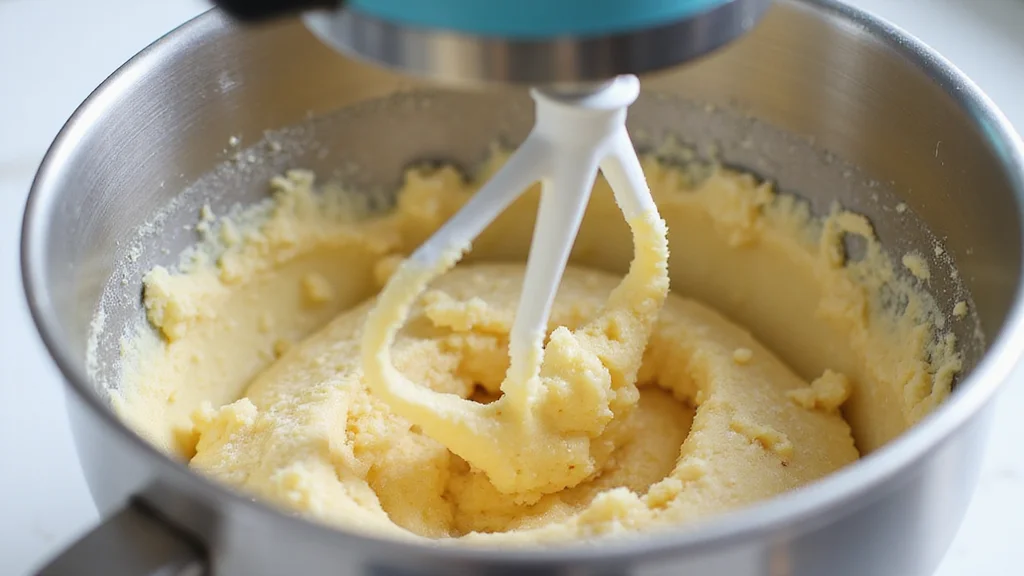
In the bowl of a stand mixer, add softened butter, granulated sugar, and brown sugar.
Beat on medium speed until the mixture is light and fluffy, about 3-5 minutes.
Look for a pale, creamy texture indicating proper creaming.
This step incorporates air, which helps achieve a light cookie texture.


Step 4: Add Eggs and Vanilla
Crack the eggs into the creamed mixture one at a time, beating well after each addition.
Add the vanilla extract and mix until combined.
The dough should be smooth and well-incorporated at this stage.
This adds moisture and flavor, binding the ingredients together.


Step 5: Combine Dry and Wet Ingredients
Gradually add the dry ingredients to the wet mixture, mixing on low speed.
Mix until just combined, avoiding over-mixing.
The dough should be slightly sticky but not overly wet.
This ensures a tender cookie, preventing toughness from overworked gluten.
Step 6: Fold in Chocolate Chips
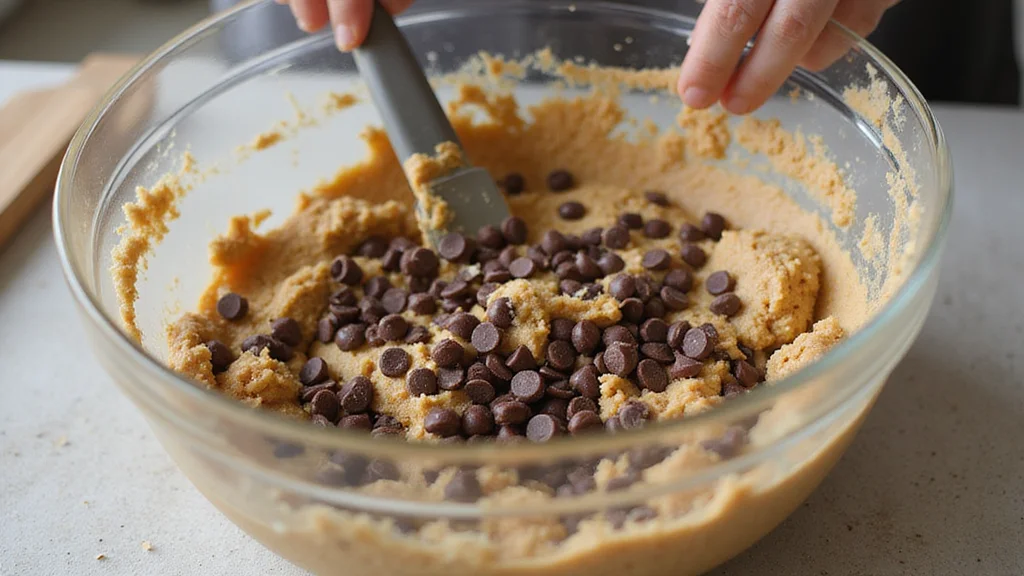
Remove the bowl from the mixer and gently fold in the chocolate chips using a spatula.
Ensure even distribution of chocolate chips throughout the dough.
Look for a dough where chips are evenly dispersed and not clumped.
This technique prevents breaking the chips and ensures they melt perfectly in the cookies.
Step 7: Chill the Dough
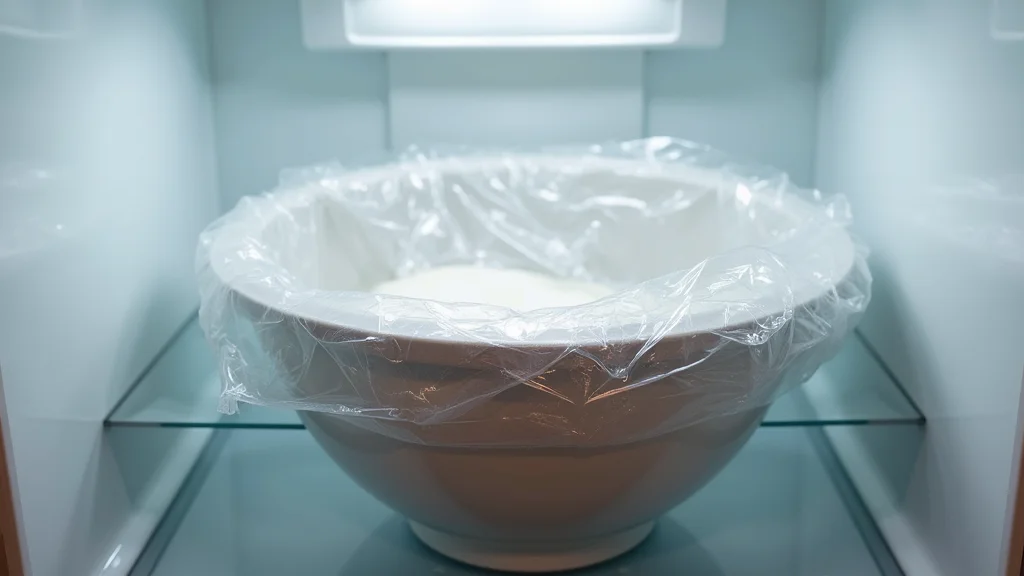
Cover the bowl with plastic wrap and refrigerate the dough for at least 30 minutes.
Chilling helps develop flavors and firm up the dough.
The dough should be cold and firm to the touch before baking.
This prevents cookies from spreading too much during baking.
Step 8: Shape and Bake Cookies
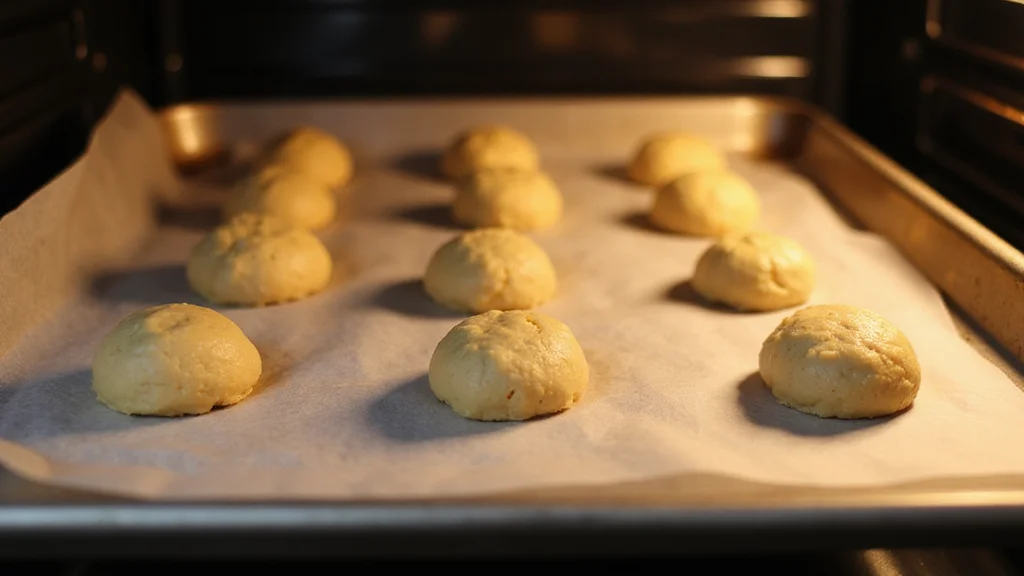
Use a cookie scoop to portion dough onto a lined cookie sheet, spacing them 2 inches apart.
Bake in the preheated oven for 8-10 minutes until edges are golden brown.
Look for edges that are set with a slightly underbaked center.
This ensures cookies remain chewy with crispy edges.


Step 9: Cool and Serve
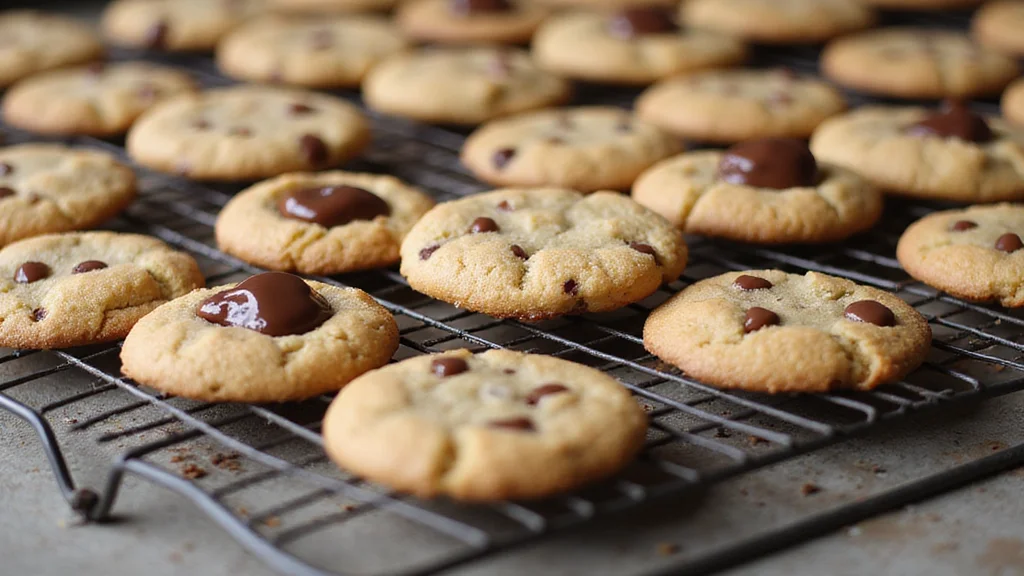
Remove cookies from the oven and let them cool on the sheet for 5 minutes.
Transfer to a cooling rack to cool completely.
The cookies should firm up as they cool, maintaining a soft center.
Cooling on a rack prevents sogginess by allowing air circulation.


Critical Timing and Temperature Guide
Oven Preheating: Preheat your oven to exactly 350°F (175°C) for consistent results. Use an oven thermometer to verify accuracy, and avoid opening the door frequently to maintain temperature.
Baking Duration: Bake cookies for 8-10 minutes, checking at the 8-minute mark for golden edges. Avoid over-baking, as cookies continue to cook on the hot sheet.
Cooling: Allow cookies to cool on the sheet for 5 minutes, then transfer to a rack. Over-cooling on the sheet can lead to overly crisp bottoms.


Pro Tips for Chocolate Chip Cookies
• Ingredient Selection: Choose high-quality butter and chocolate chips. European-style butter offers richer flavor, and premium chocolate chips melt better.
• Preparation Secret: For an extra depth of flavor, brown half of the butter before creaming. This adds a nutty, caramelized note.
• Temperature Management: Ensure eggs are room temperature to prevent curdling when mixed with butter. This helps achieve a smooth dough.
• Texture Enhancement: For a chewier texture, slightly increase the brown sugar ratio.
• Flavor Layering: Add a pinch of sea salt on top of each cookie before baking to enhance chocolate flavors.
• Make-Ahead Strategies: Freeze dough balls on a tray, then store in a zip-top bag. Bake directly from frozen, adding 1-2 minutes to bake time.
• Restaurant-Quality Finishing Touches: Gently press additional chocolate chips on top of cookies before baking for a professional look.
• Equipment Optimization: If you don't have a stand mixer, use a hand mixer with a sturdy bowl to achieve similar results.


Troubleshooting Common Issues
• Cookies Spreading Too Much: This often occurs when the dough is too warm or not chilled enough. To fix, chill the dough longer and ensure butter is not overly soft.
• Texture Too Dense: Over-mixing the dough can develop gluten, leading to dense cookies. Mix just until ingredients are combined.
• Undercooked Centers: If centers are undercooked while edges are done, the oven temperature might be off. Use an oven thermometer and adjust your baking time.
• Lack of Flavor Depth: This might be due to using low-quality vanilla extract or not enough salt. Use pure vanilla extract and a pinch of salt to enhance flavors.
• Uneven Baking: If cookies bake unevenly, it could be due to uneven dough portioning or uneven oven temperature. Use a cookie scoop for uniform sizing and rotate the baking sheet halfway through.
Variations and Regional Differences
• New York Style: These cookies are larger and thicker, often with a higher ratio of brown sugar for extra chewiness and a more pronounced flavor.
• Thin and Crispy: Popular in California, these cookies use more butter and less flour, resulting in a flat, crispy texture.
• Double Chocolate: Common in the Midwest, this variation adds cocoa powder to the dough, creating a chocolate-lover's dream.
• Nutty Delight: In the South, adding pecans or walnuts is popular, providing a crunchy contrast to the soft cookie.
Food Science Behind the Recipe
• Creaming Method: This process traps air in the butter, which expands during baking, creating a light and tender texture.
• Baking Soda Reaction: When combined with acidic ingredients like brown sugar, baking soda produces carbon dioxide gas, leavening the cookies.
• Chocolate Melting: The fat content and cocoa solids in chocolate chips determine their melting behavior, affecting the texture and appearance of the cookies.


Frequently Asked Questions
What's the most common mistake people make when preparing chocolate chip cookies? Over-mixing the dough, which can lead to tough cookies, is a common mistake. Mix only until ingredients are combined.
Can I use salted butter instead of unsalted? Yes, but reduce the added salt in the recipe to avoid overly salty cookies.
How can I make my cookies chewier? Increase the brown sugar ratio or add an extra egg yolk for more moisture and chew.
Why do my cookies turn out flat? This could be due to butter being too soft or warm. Ensure your dough is well-chilled before baking.
Is it okay to use different types of chocolate? Absolutely! Mix milk, dark, and semi-sweet chips for a complex flavor profile.
Can I freeze the dough? Yes, freeze dough balls and bake from frozen, adding a couple of minutes to the bake time.
How do I prevent my cookies from sticking? Use parchment paper or a silicone baking mat to prevent sticking and ensure even baking.
Serving and Presentation Guide
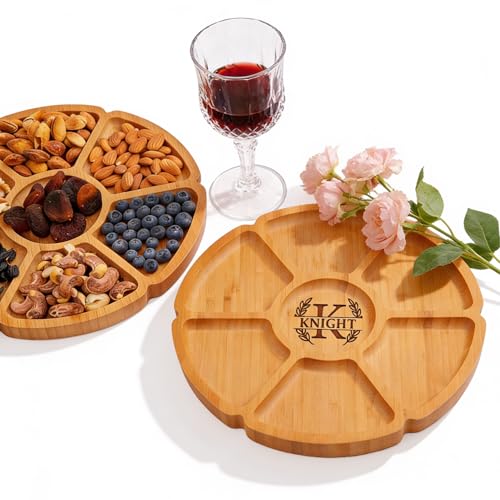
• Traditional Presentation: Serve cookies stacked on a rustic wooden board with a glass of cold milk for a classic look.
• Gourmet Presentation: Arrange cookies in a spiral on a large platter with a dusting of powdered sugar for elegance.
• Gift Presentation: Place cookies in a decorative tin lined with parchment paper, tied with a ribbon for gifting.
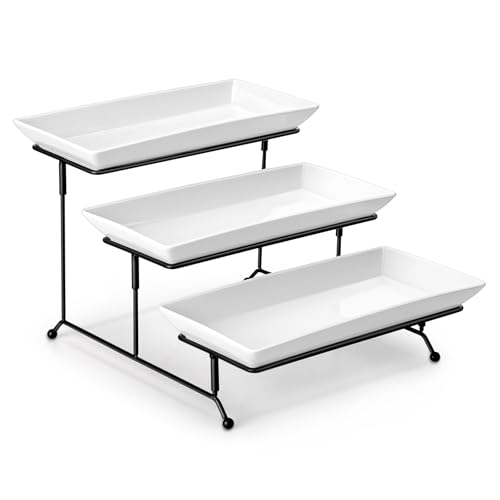
• Party Buffet: Display cookies in a tiered stand, surrounded by small bowls of different types of milk or coffee.
Conclusion

The allure of chocolate chip cookies lies in their simple yet satisfying nature.
With this recipe, you can master the perfect balance of chewy and crispy textures.
Don't hesitate to share these delightful treats with friends and family.
Happy baking and enjoy every bite of your homemade creation!