Slow Cooker Recipes: Easy Meals, Less Effort!
Family-friendly dishes for busy people — quick prep, delicious results.
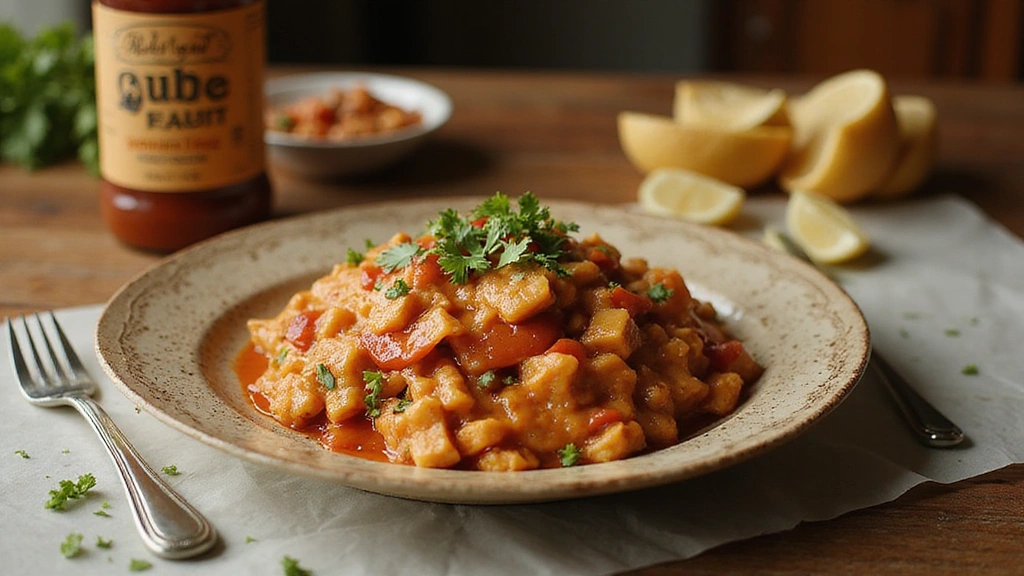
Grab yours for $4This hearty White Chicken Chili recipe delivers a creamy and flavorful experience to warm your soul.
Perfect for chilly evenings, it combines tender chicken with a blend of spices, creating a comforting and robust meal.
The rich texture and subtle heat make it a go-to dish for family dinners or casual gatherings.
I stumbled upon this recipe during a snowy winter, discovering its magic in creating warmth and joy around the table.
Whether you’re looking for a quick weeknight meal or a standout dish for a potluck, White Chicken Chili is sure to impress.
Dive into this creamy delight and savor the blend of exquisite flavors and textures.
The History and Cultural Significance
• White Chicken Chili traces its origins to the American Southwest, where it was originally created by settlers adapting traditional chili recipes.
• The dish evolved over decades as cooks began substituting chicken for beef and adding white beans, eventually becoming the beloved version we know today.
• In many Southwestern cultures, this dish traditionally appears at family gatherings, symbolizing warmth and togetherness.
• While many variations exist across different regions, the authentic version maintains its creamy texture and mild spice that sets it apart from imitations.


Recipe Overview
Nutritional Information (per serving)
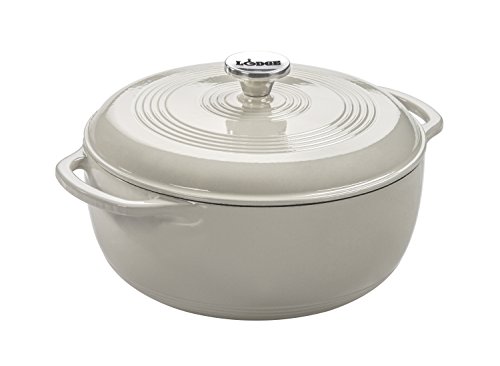
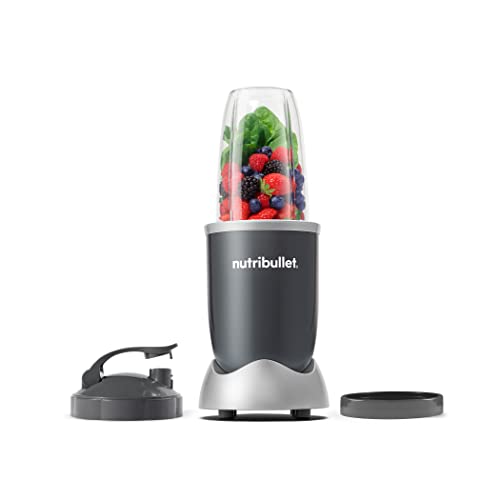
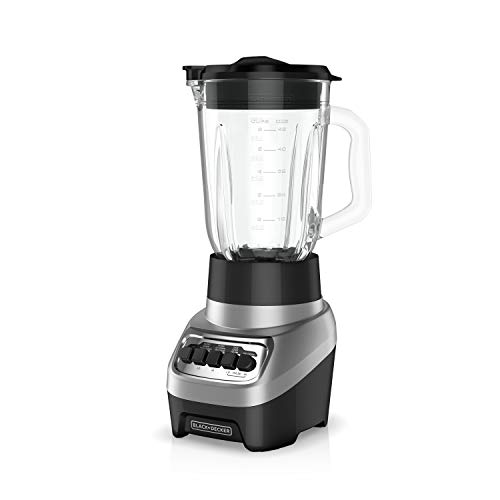
Essential Equipment Guide
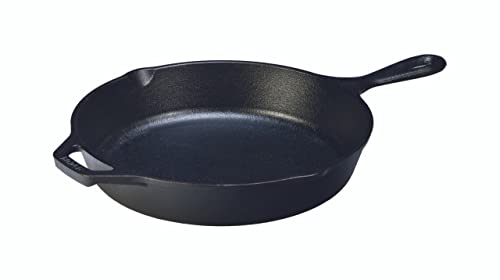
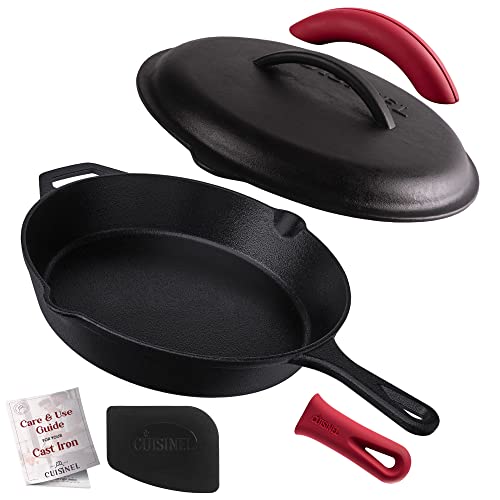
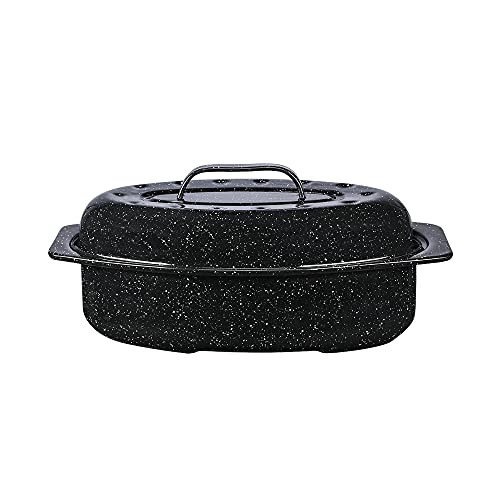
Large Dutch Oven: This heavy-duty pot is essential for achieving the right consistency and flavor depth. Its thick walls ensure even heating, preventing scorching. Alternatives include a heavy-bottomed stockpot, but ensure it has a tight-fitting lid to lock in moisture.
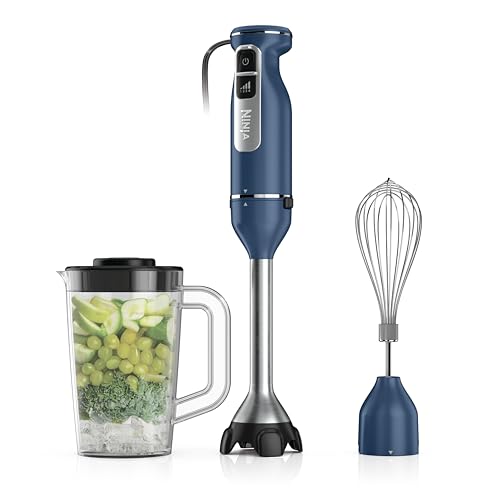
Immersion Blender: For a creamy texture without transferring hot liquid, an immersion blender is ideal. It allows you to blend directly in the pot, saving time and reducing mess. A standard blender can work, but be cautious with hot liquids.
Wooden Spoon: A sturdy wooden spoon is perfect for stirring ingredients without scratching the pot’s surface. Look for one with a long handle to keep your hands safe from steam and heat.


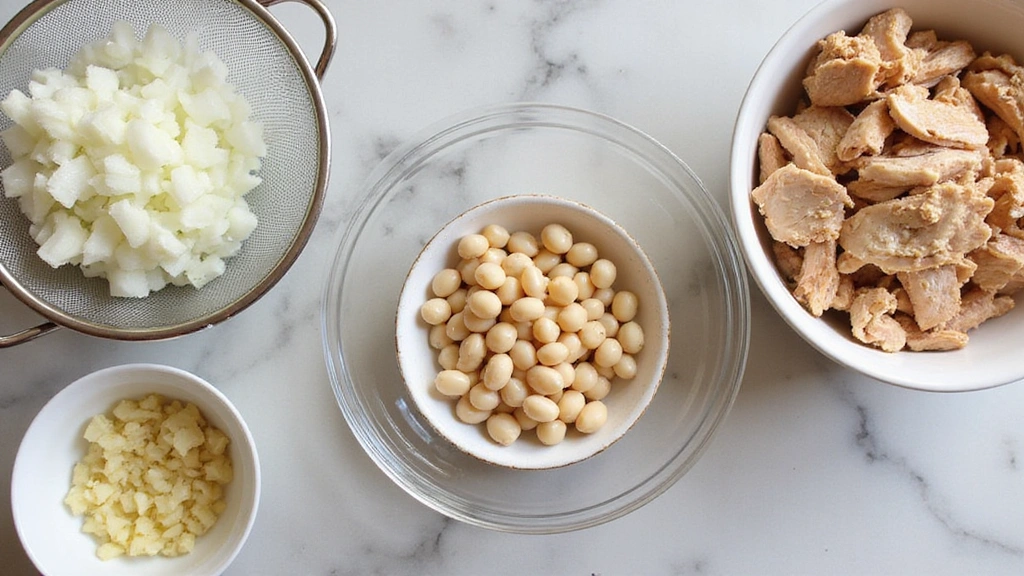
Ingredients
For the Base
|
|
| Amount | Ingredient | Notes |
|---|---|---|
| 2 tablespoons | olive oil | adds richness |
| 1 large | onion | finely chopped |
| 2 cloves | garlic | minced |
For the Chicken
| Amount | Ingredient | Notes |
|---|---|---|
| 1 pound | chicken breast | cooked and shredded |
| 4 cups | chicken broth | adds flavor |
Seasonings
| Amount | Ingredient | Notes |
|---|---|---|
| 1 teaspoon | cumin | adds warmth |
| 1 teaspoon | oregano | for depth |
| 1 teaspoon | chili powder | for mild heat |
Vegetables
| Amount | Ingredient | Notes |
|---|---|---|
| 2 cans | white beans | drained and rinsed |
| 1 can | green chilies | adds mild spice |
For Creaminess
| Amount | Ingredient | Notes |
|---|---|---|
| 1 cup | sour cream | for a creamy texture |
| 1 cup | heavy cream | enhances richness |
Preparation Methods
Sautéing: This technique involves cooking onions and garlic in oil until they are soft and translucent. It's crucial for building the flavor base of the dish. Use medium heat to avoid burning the garlic, and stir continuously.
Shredding Chicken: Properly shredded chicken absorbs flavors more effectively. Use two forks to pull the meat apart while it's still warm for the best texture. Ensure the chicken is fully cooked before shredding.
Blending: Achieving a creamy consistency without making it too smooth is key. Use an immersion blender to blend part of the soup directly in the pot. Blend in short bursts, checking the texture frequently.


Step 1: Prepare Ingredients
Chop the onion finely and mince the garlic.
Drain and rinse the white beans thoroughly.
Shred the cooked chicken breast using two forks.
Measure out all spices and keep them ready for use.
Step 2: Sauté the Aromatics
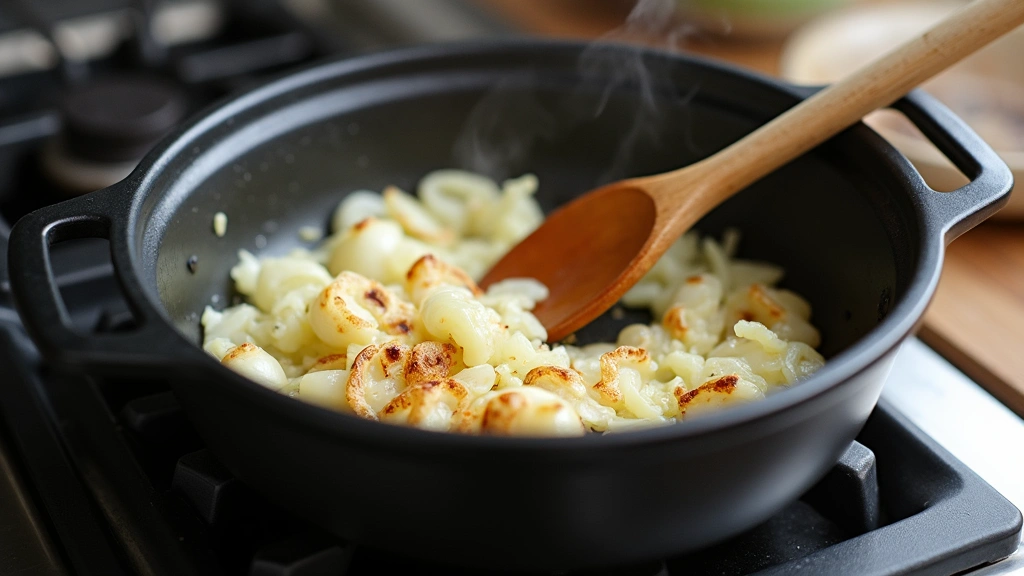
Heat the olive oil in a large Dutch oven over medium heat.
Add the chopped onion and sauté until it becomes translucent, about 5 minutes.
Stir in the minced garlic and cook for another minute until fragrant.
Ensure the garlic does not burn by stirring continuously.


Step 3: Combine the Ingredients
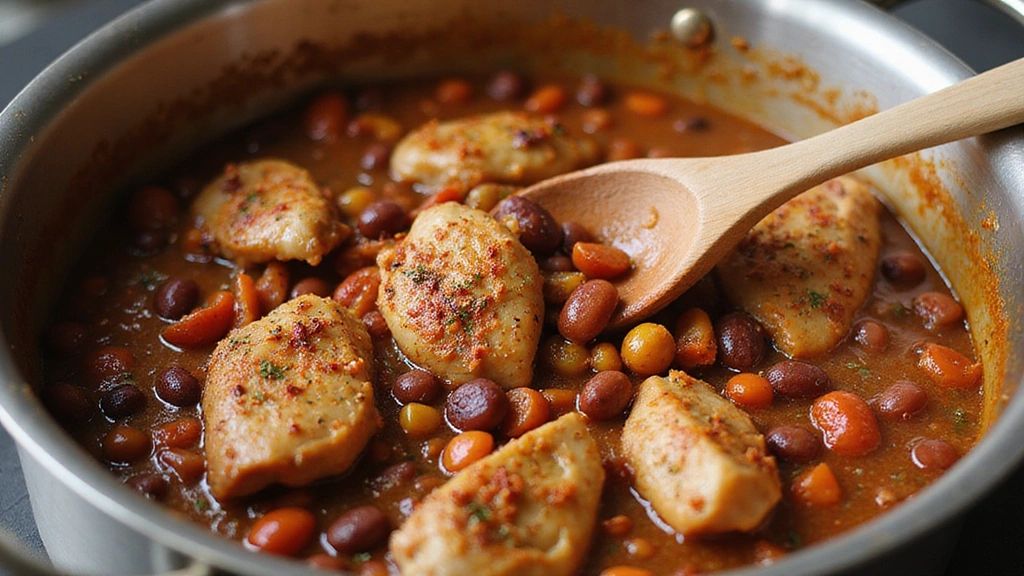
Add the shredded chicken and chicken broth to the pot.
Stir in the drained white beans and green chilies.
Sprinkle in the cumin, oregano, and chili powder.
Mix everything well to combine the flavors thoroughly.
Step 4: Simmer the Chili
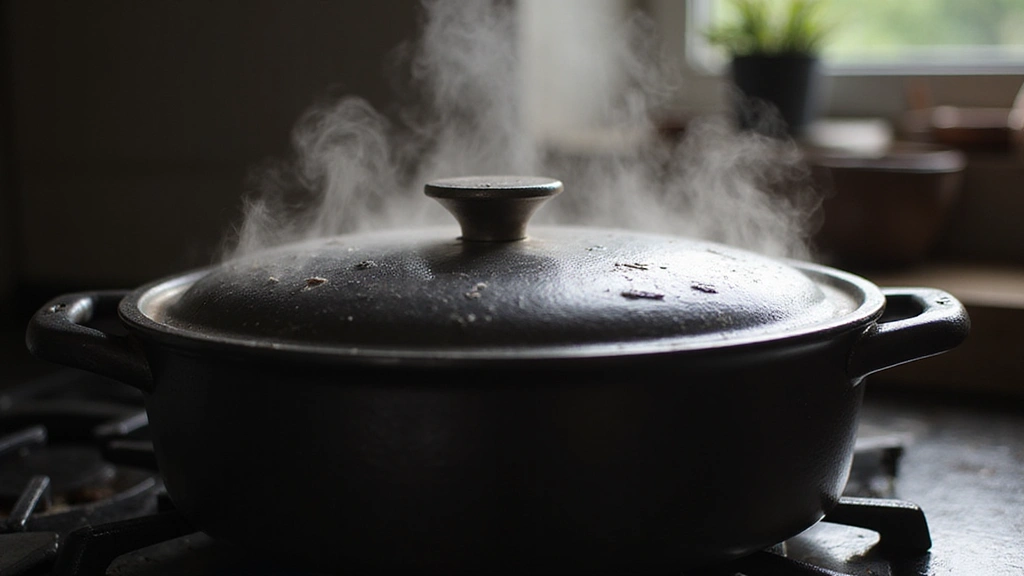
Bring the mixture to a gentle boil over medium-high heat.
Reduce the heat to low and cover the pot with a lid.
Allow the chili to simmer for 20 minutes, stirring occasionally.
Check that the flavors are melding and the texture is thickening.


Step 5: Blend for Creaminess
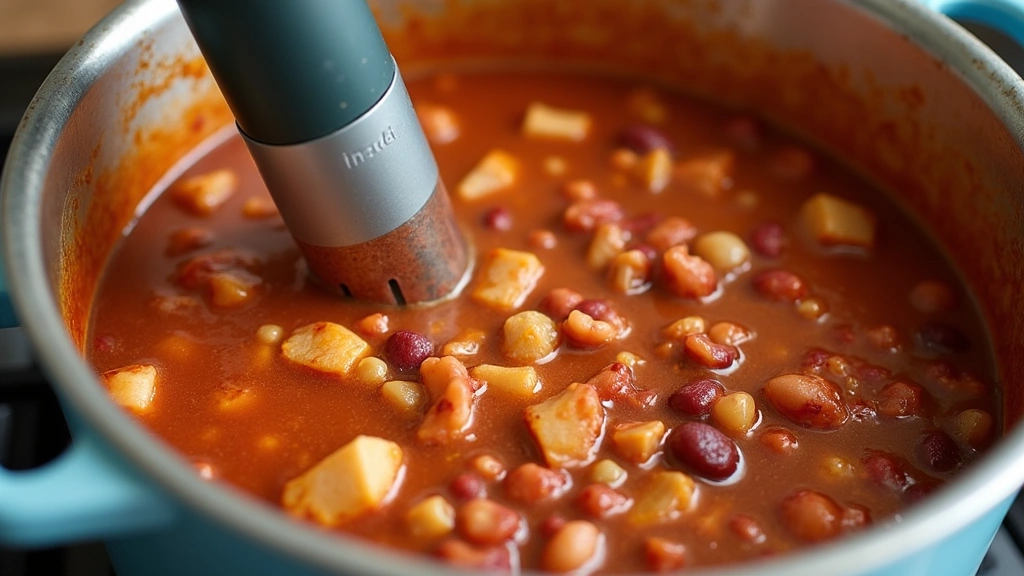
Use an immersion blender to partially blend the chili directly in the pot.
Blend in short bursts, focusing on the beans and broth.
Leave some beans whole for texture contrast.
Aim for a creamy consistency without making it entirely smooth.


Step 6: Add Creamy Elements
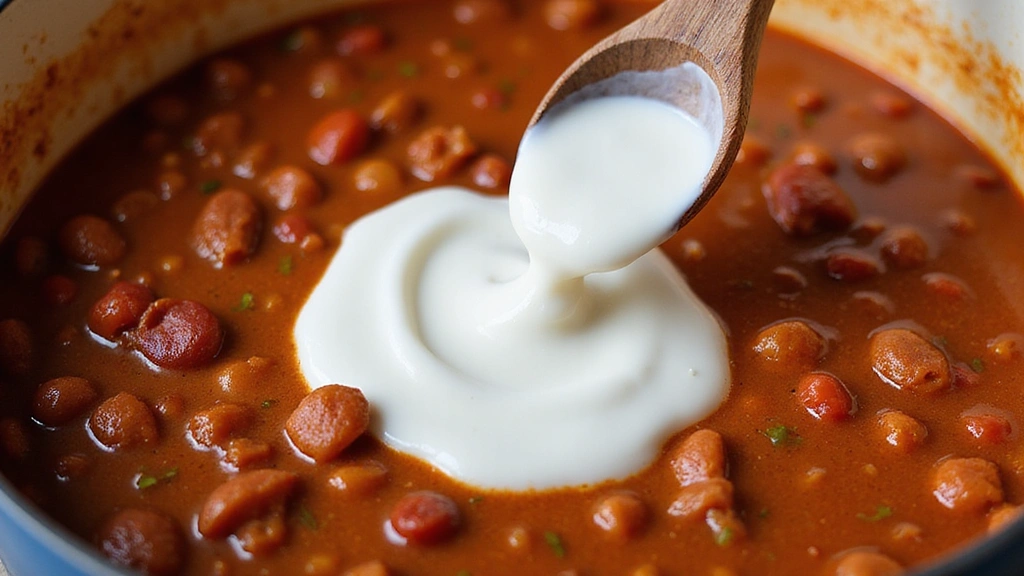
Remove the pot from heat and stir in the sour cream.
Pour in the heavy cream, mixing until fully incorporated.
Adjust the seasoning with salt and pepper to taste.
Ensure the chili is creamy but not overly thick.


Step 7: Final Taste and Adjustments

Taste the chili for seasoning, adding more salt or chili powder if needed.
Stir gently to incorporate any additional spices.
Check the consistency, ensuring it's thick yet pourable.
Adjust with a bit more broth if necessary.


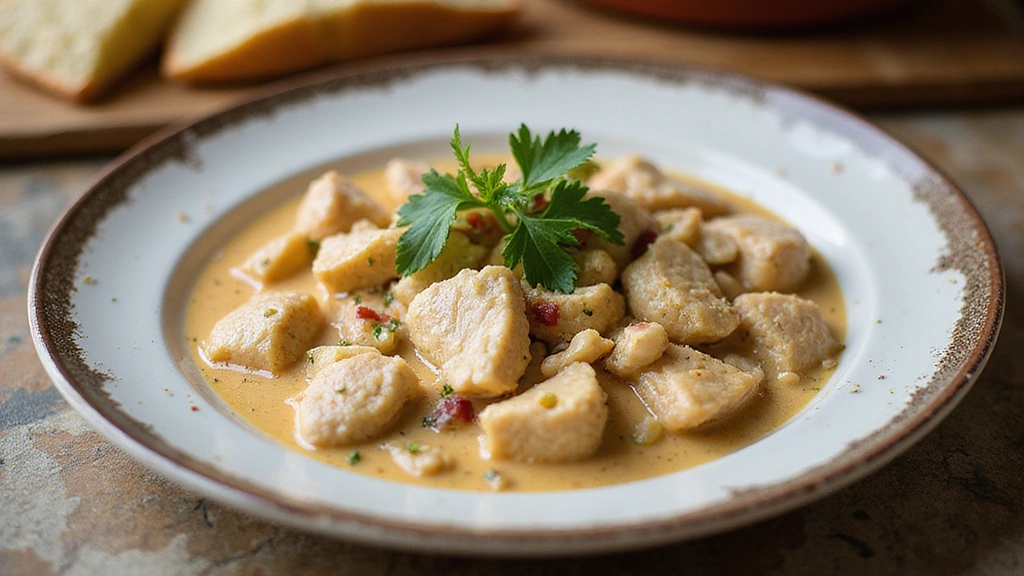
Step 8: Serve and Garnish
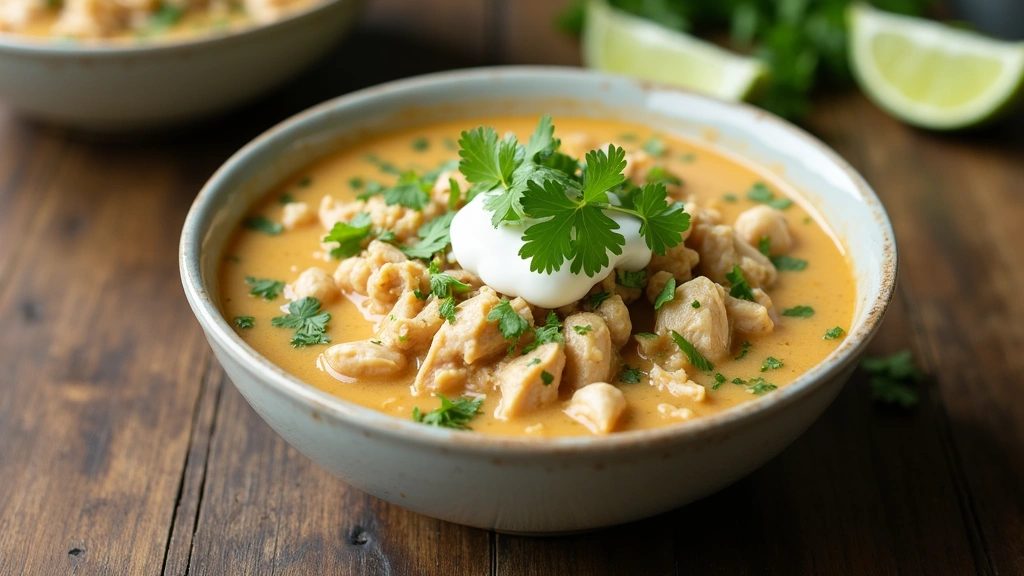
Ladle the chili into bowls for serving.
Garnish with fresh cilantro or chopped green onions if desired.
Add a dollop of sour cream or a sprinkle of shredded cheese on top.
Serve hot, with optional lime wedges on the side.


Critical Timing and Temperature Guide
Sautéing Aromatics: Sauté onions for exactly 5 minutes on medium heat until translucent, ensuring garlic does not brown and become bitter.
Simmering: Maintain a low simmer for 20 minutes, stirring occasionally. Avoid boiling, which can cause the chicken to toughen.
Blending: Blend for 2-3 minutes until desired creaminess is achieved, being careful not to over-blend, which can make the chili too smooth.


Pro Tips for White Chicken Chili
• Ingredient Selection: Choose high-quality chicken breasts and fresh spices for the best flavor. Freshly ground cumin makes a noticeable difference.
• Preparation Secret: Rest the cooked chicken for 10 minutes before shredding to lock in juices and make shredding easier.
• Temperature Management: Ensure the broth is hot before adding to the pot to maintain a consistent simmer and prevent slowing the cooking process.
• Texture Enhancement: Leave some beans whole when blending for a pleasing texture contrast that enhances the eating experience.
• Flavor Layering: Toast the cumin and chili powder briefly in the pot with onions to release their oils and deepen flavor.
• Make-Ahead Strategies: Prepare the base a day in advance and refrigerate. Reheat and add creamy elements just before serving for optimal freshness.
• Restaurant-Quality Finishing Touches: Add a squeeze of fresh lime juice to each bowl before serving to brighten flavors.
• Equipment Optimization: Ensure your immersion blender is powerful enough to handle beans and chicken for a smooth blend.


Troubleshooting Common Issues
• Chili Too Thick: If the chili is too thick, slowly stir in additional chicken broth until desired consistency is reached. Avoid adding too much at once.
• Chili Too Runny: Simmer uncovered for a few extra minutes to evaporate excess liquid and thicken the chili naturally.
• Flavors Unbalanced: If the chili tastes flat, add a pinch of salt or a dash of lime juice to enhance flavors.
• Chicken Tough: Ensure chicken is not overcooked initially. If tough, simmer in broth until tender.
• Burnt Garlic Taste: If garlic burns, remove it immediately and start with fresh garlic to avoid a bitter taste.
• Beans Undercooked: Ensure canned beans are drained and rinsed. If undercooked, simmer longer until tender.


Variations and Regional Differences
• Tex-Mex Variation: Incorporates black beans and corn for added texture and sweetness, with a heavier emphasis on chili powder and cumin.
• New Mexican Style: Uses roasted Hatch green chilies for a smoky flavor and omits beans entirely for a smoother consistency.
• Vegan Alternative: Substitute chicken with jackfruit and use vegetable broth, omitting dairy for coconut cream to maintain richness.
• Midwestern Comfort: Adds diced potatoes and cheddar cheese for a heartier, more filling version popular in colder climates.


Food Science Behind the Recipe
• Emulsification: The blending of cream and broth creates a stable emulsion, providing the dish with its characteristic rich and creamy texture.
• Maillard Reaction: Sautéing onions allows sugars to caramelize, enhancing the depth of flavor through the Maillard Reaction.
• Heat Transfer: The use of a Dutch oven ensures even heat distribution, preventing hotspots and promoting uniform cooking.


Frequently Asked Questions
What's the most common mistake people make when preparing White Chicken Chili? The most common mistake is overcooking the chicken, leading to tough, dry meat. Ensuring the chicken is cooked just until done and shredded promptly helps maintain tenderness.
Can I make White Chicken Chili in advance? Yes, you can make the base of the chili a day ahead, refrigerate it, and then add the creamy elements just before serving to keep the flavors fresh.
How can I adjust the spiciness of the chili? You can control the spice level by adjusting the amount of chili powder and green chilies, or add a dash of hot sauce for more heat.
What can I use as a dairy-free alternative for creaminess? Coconut cream or cashew cream can be used as a dairy-free substitute to maintain the creamy texture without altering the flavor significantly.
Is it possible to freeze leftovers? Yes, White Chicken Chili freezes well. Store in airtight containers for up to 3 months. Thaw overnight in the refrigerator and reheat gently before serving.
How can I fix a chili that's too salty? Add a peeled potato to the chili while it simmers to absorb excess salt, or dilute with additional broth or water.
Can I use a different type of bean? Yes, you can use cannellini beans or even chickpeas as a substitute for white beans, depending on your preference.
Serving and Presentation Guide
• Traditional Presentation: Serve the chili in deep bowls, garnished with fresh cilantro and a dollop of sour cream. Accompany with warm corn tortillas or crusty bread.
• Family-Style Serving: Present the chili in a large serving dish at the center of the table, surrounded by bowls of toppings like shredded cheese, lime wedges, and avocado slices.
• Individual Layered Presentation: Layer chili with rice in individual bowls, topping with cheese and green onions for a complete meal.
• Casual Gathering Style: Serve in a slow cooker set to warm, with toppings and garnishes laid out for guests to customize their bowls.


Conclusion
White Chicken Chili is a perfect blend of creamy textures and comforting flavors that will delight your taste buds.
With its straightforward preparation and versatile serving options, it's a dish you'll want to make again and again.
Gather your ingredients, follow the steps, and enjoy the warmth of this delicious chili with family and friends.
Your culinary journey to a satisfying meal starts now—give it a try!