The allure of Chick-fil-A’s chicken lies in its crisp coating and juicy interior.
Recreating this fast-food favorite at home means you can enjoy it any day of the week.
With this copycat recipe, you’ll achieve the perfect balance of flavor and texture that fans rave about.
Whether you’re a longtime fan or new to this iconic dish, this recipe promises satisfaction with each bite.
Prepare to impress your family and friends with a homemade version of a beloved classic.
The History and Cultural Significance
• Copycat Chick-fil-A Chicken traces its origins to the Southern United States, where it was originally created by Truett Cathy in the 1960s.
• The dish evolved over decades as secret spice blends and pressure frying techniques were refined, eventually becoming the beloved version we know today.
• In Southern culture, this dish traditionally appears at family gatherings and picnics, symbolizing hospitality and comfort.
• While many variations exist across different regions, the authentic version maintains its signature pickle brine and seasoning that sets it apart from imitations.
Recommended Products

Kosher Dill Pickle Brine: Our world famous pickle juice has always been so good you were tempted to drink it straight out of the pickle jar, so now we’ve made it available to you “straight-up”
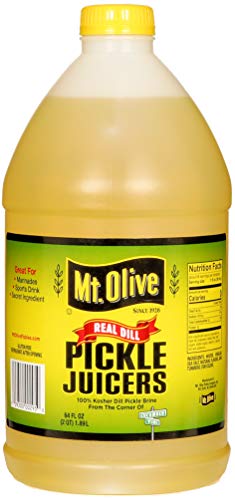
Kosher Dill Pickle Brine: Our world famous pickle juice has always been so good you were tempted to drink it straight out of the pickle jar, so now we’ve made it available to you “straight-up”

AUTHENTIC PICKLE FLAVOR: Bob's Pickle Marinade is ready-to-use dill brine delivers bold, tangy taste that transforms ordinary meals into flavorful experiences. This pickle juice marinade brings genuine dill-icious flavor to your kitchen or BBQ!


Recipe Overview
Recommended Products

PERFECT FRIED CHICKEN, EVERY TIME: With Sylvia’s tried and tested chicken seasoning mix, you can make restaurant-style crispy and crunchy fried chicken in your own kitchen- and get it right every time. Just dredge and deep-fry or shake n bake, and watch how quickly your fried chicken gets devoured! Don’t stop there- this is a great fish fry seasoning mix too, and will make everything you dredge in it taste awesome. Try it with veggies, pork chops, onion rings, and any kind of fish or poultry.

Crispy and Delicious: Whether you're a seasoned chef or a home cook, Louisiana Fish Fry’s Chicken Fry is the perfect addition to your pantry, helping you achieve crispy and flavorful fried chicken every time. Our Chicken Fry offers a delicious and convenient solution for adding flavor and a crispy crunch to your fried chicken.

Eight 4.2 oz. boxes of Kraft Oven Fry Extra Crispy Seasoned Coating for Chicken
Nutritional Information (per serving)
Recommended Products
Classic flavor for fried chicken and wings

Low Calorie, Low Cholesterol, Low Fat

Essential Equipment Guide
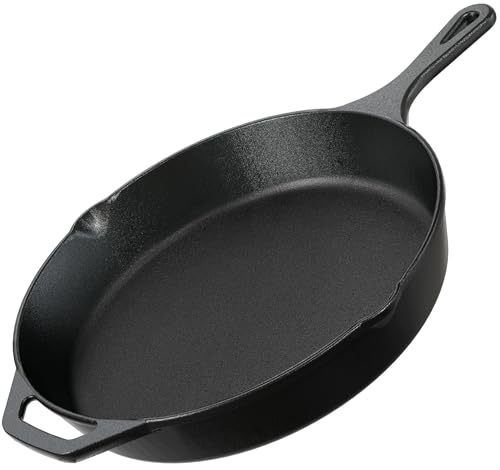
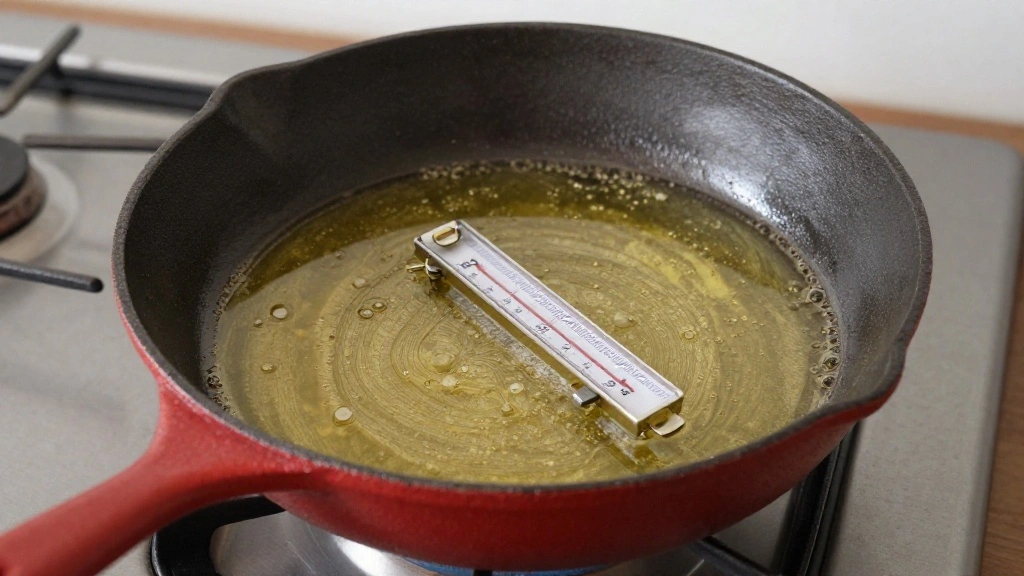
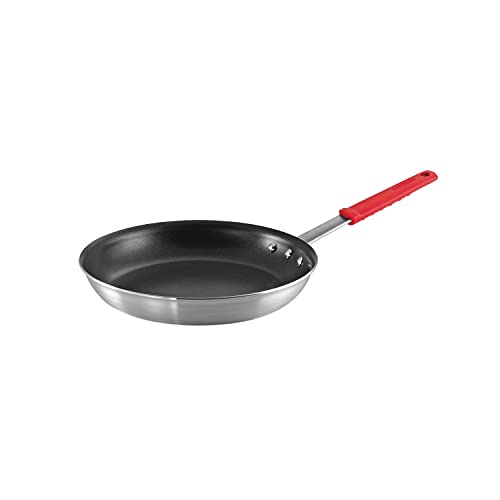
Cast Iron Skillet: A cast iron skillet ensures even heat distribution and helps achieve a crispy crust. Alternatives include heavy-bottomed pans that retain heat well. Look for a skillet with a well-seasoned surface for the best non-stick properties.
Deep Fry Thermometer: This tool is crucial for maintaining the correct frying temperature, ensuring the chicken cooks evenly without burning. If unavailable, use a candy thermometer as an alternative.
Wire Rack: A wire rack allows excess oil to drip away from the chicken, preventing sogginess. Look for a rack that fits over a baking sheet to catch drips and prevent mess.
Recommended Products
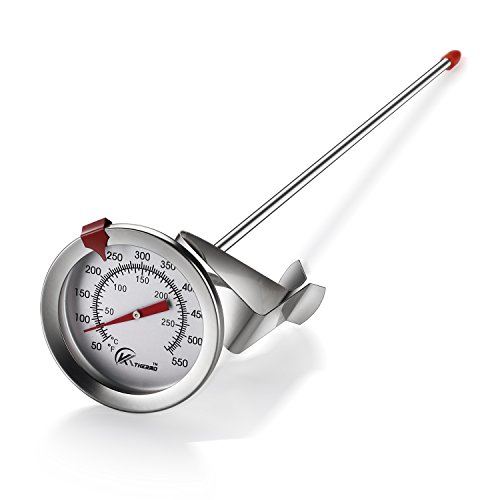
Multi-purpose: Mechanical induction, can be directly and accurately measure the oil pan, frying, barbecue temperature control.

Temperature Range: 100° to 500°F /40° to 260°C. Probe Length: 5.5-inches Dial Diameter: 2.5-inches

MULTI-PURPOSE: Mechanical induction, can be directly and accurately measure the oil pan, frying, barbecue temperature control.

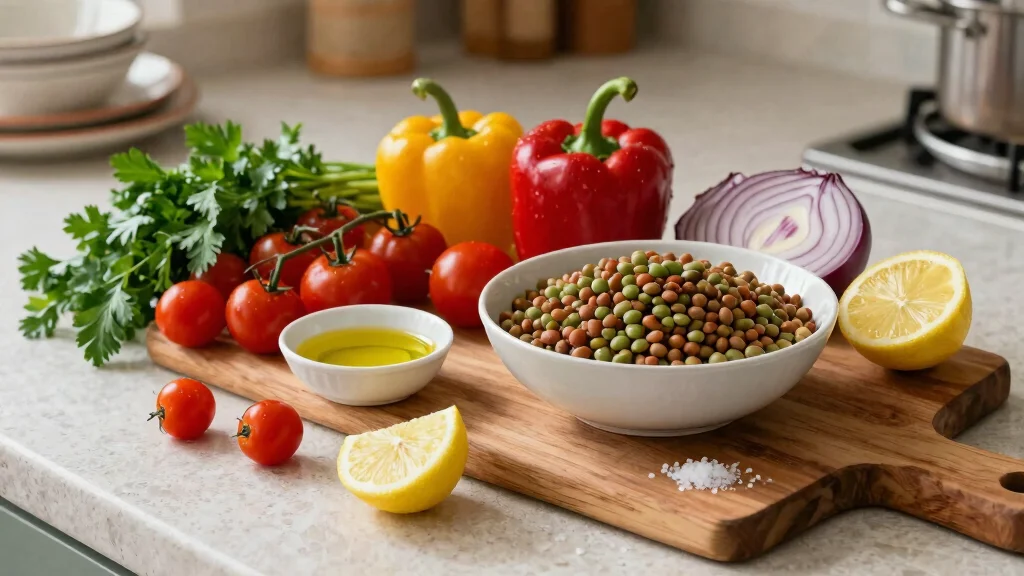
Ingredients
Recommended Products

YOUR NEW GO-TO PAN: Lodge cast iron cookware is the perfect kitchen tool for beginners, home cooks and chefs. Cast iron can handle any kitchen cooktop, oven, grill, and open flame. Crafted in America with iron and oil, its naturally seasoned cooking surface creates an easy-release and improves with use.
For the Brine
|
| Amount | Ingredient | Notes |
|---|---|---|
| 1 cup | pickle juice | adds tangy flavor and tenderizes |
| 1 cup | buttermilk | tenderizes and adds richness |
For the Coating
| Amount | Ingredient | Notes |
|---|---|---|
| 2 cups | all-purpose flour | for the crispy crust |
| 2 tablespoons | powdered sugar | balances flavors |
| 1 teaspoon | paprika | adds depth of flavor |
| 1 teaspoon | salt | enhances flavor |
| 1 teaspoon | black pepper | adds heat |
For Frying
| Amount | Ingredient | Notes |
|---|---|---|
| 1 quart | peanut oil | for frying, has a high smoke point |
Preparation Methods
Brining: Brining involves soaking chicken in a liquid solution to enhance moisture and flavor. For this recipe, the pickle juice and buttermilk brine infuse the chicken with tanginess and tenderness. Ensure the chicken is fully submerged and refrigerated for optimal results.
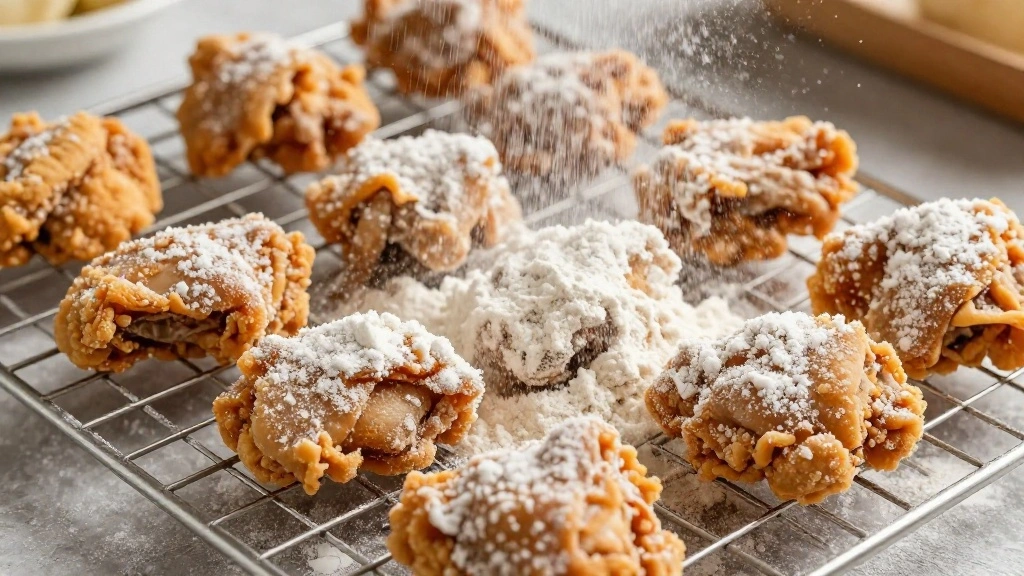
Breading: Achieving the perfect breading involves a well-balanced flour mixture that adheres well to the chicken. Press the flour mixture firmly onto the chicken to ensure an even coating that won't fall off during frying.
Deep Frying: Deep frying at the correct temperature is essential for a crispy exterior without overcooking. Use a thermometer to maintain oil temperature around 350°F. Avoid overcrowding the pan to keep the temperature consistent.


Step 1: Prepare the Brine
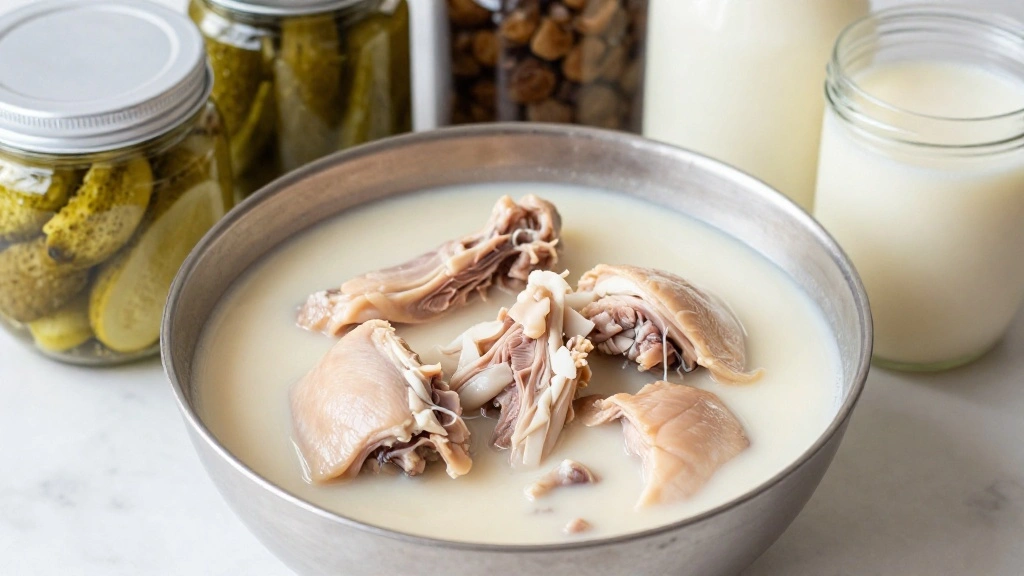
Combine pickle juice and buttermilk in a large bowl.
Stir to blend the liquids thoroughly.
Add chicken pieces and ensure they are fully submerged.
Cover the bowl and refrigerate for at least 30 minutes or up to 4 hours.


Step 2: Mix the Coating
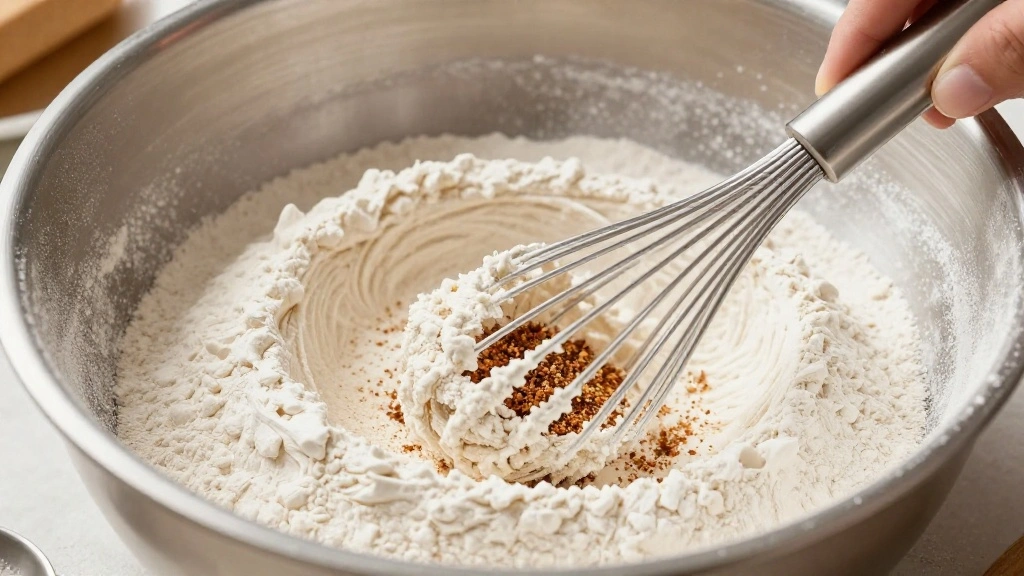
In a shallow dish, combine flour, powdered sugar, paprika, salt, and black pepper.
Use a fork or whisk to mix the ingredients evenly.
Ensure no lumps remain in the mixture.
Set aside ready for dredging the chicken.
Recommended Products

Crispy Southern-Style Chicken Breading – Delivers a crunchy, golden coating with classic Southern flavor for fried chicken, tenders, wings, and cutlets


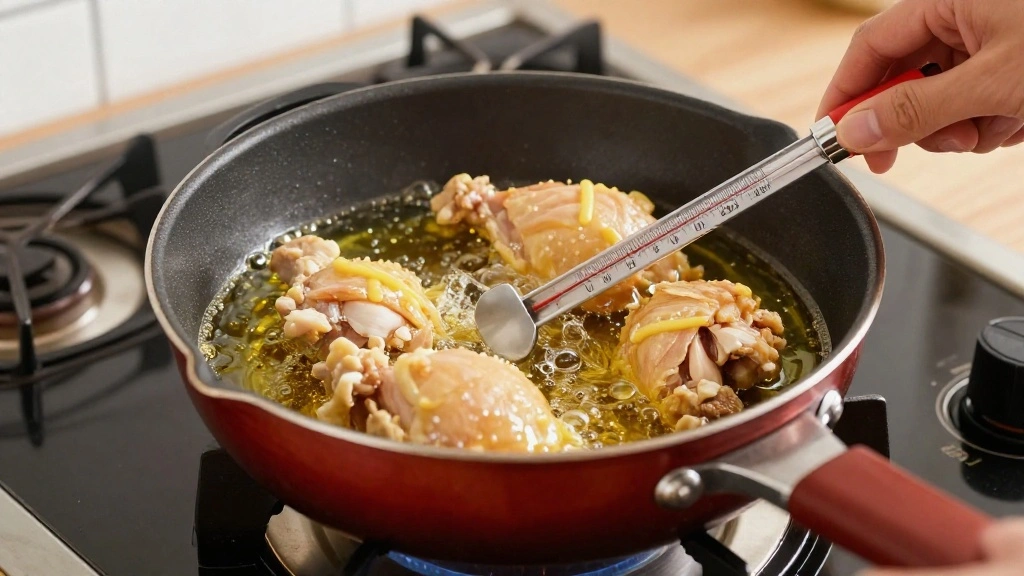
Step 3: Preheat the Oil
Pour peanut oil into a cast iron skillet or deep frying pan.
Place over medium heat and attach a deep fry thermometer.
Heat oil to 350°F, monitoring closely with the thermometer.
Adjust the heat to maintain a steady temperature.
Recommended Products
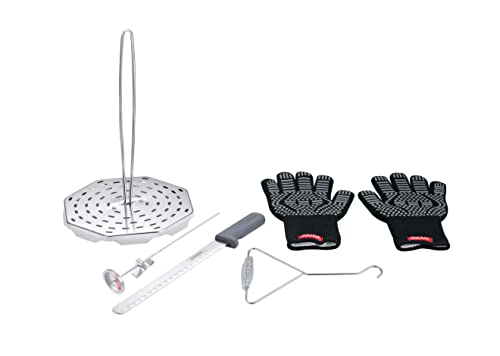
Concord's Turkey Frying Kit Includes all the accessories needed to deep fry turkey, poultry, chicken and much more

Package length :1.0"


Step 4: Dredge the Chicken
Remove chicken from brine and let excess liquid drip off.
Dredge each piece in the flour mixture, pressing firmly.
Ensure all sides are evenly coated with the flour mixture.
Place coated chicken on a wire rack to rest briefly.
Recommended Products
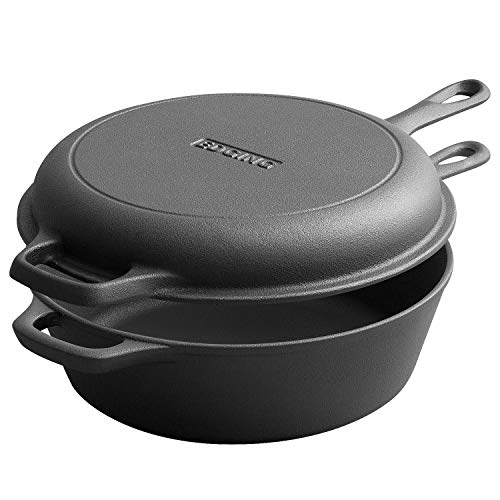
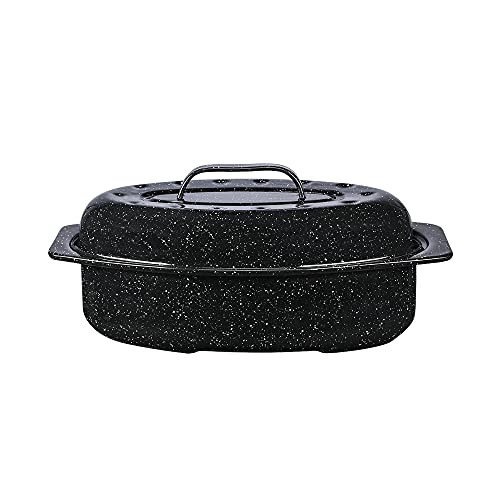
Pre-seasoned 2-in-1 cast iron dutch oven: The 2-In-1 cast iron dutch oven pot with skillet lid has been burned with vegetable oil,(no synthetic coatings or chemicals). The shallow skillet that can be used as a lid

16-in Skillet with pour spouts and helper handles

YOUR NEW GO-TO PAN: Lodge cast iron cookware is the perfect kitchen tool for beginners, home cooks and chefs. Cast iron can handle any kitchen cooktop, oven, grill, and open flame. Crafted in America with iron and oil, its naturally seasoned cooking surface creates an easy-release and improves with use.

Step 5: Fry the Chicken
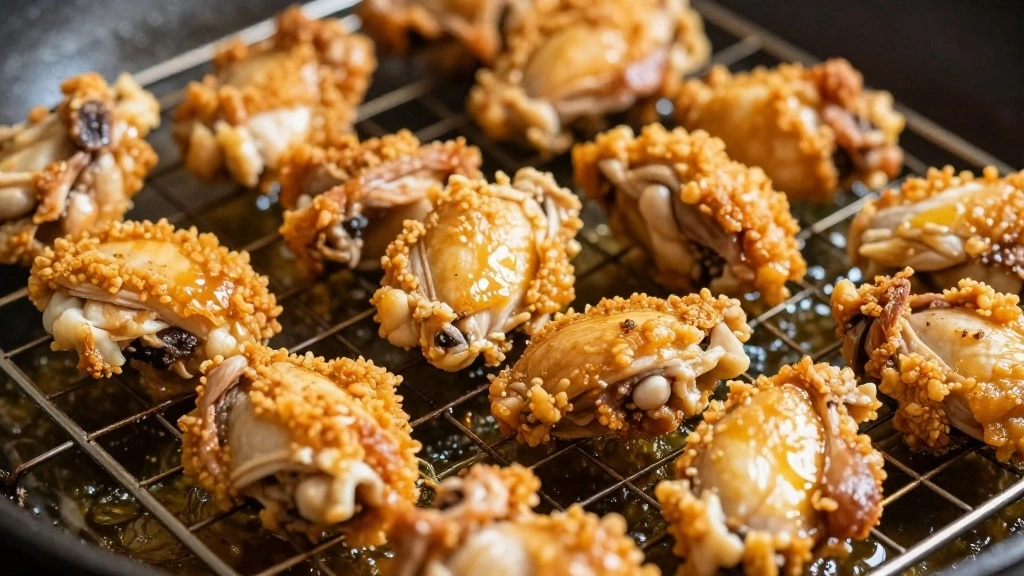
Carefully place dredged chicken into the hot oil.
Fry in batches to avoid overcrowding the skillet.
Cook each side for 6-7 minutes until golden brown and crispy.
Transfer fried chicken to a wire rack to drain excess oil.


Step 6: Monitor Oil Temperature
Use the thermometer to maintain oil at 350°F.
Adjust heat as necessary to prevent oil from cooling too much.
Monitor color and crispness of chicken as it fries.
Ensure each batch is cooked evenly for consistent results.


Step 7: Rest the Chicken

Allow fried chicken to rest on the wire rack.
This helps excess oil drain away and preserves crispiness.
Let chicken cool slightly to enhance flavor absorption.
Prepare remaining batches following the same process.


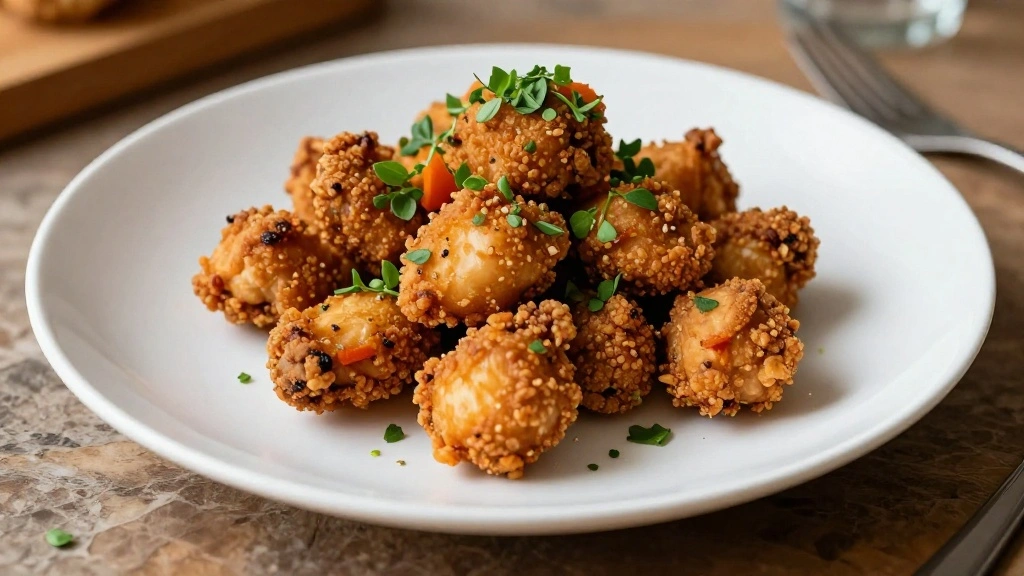
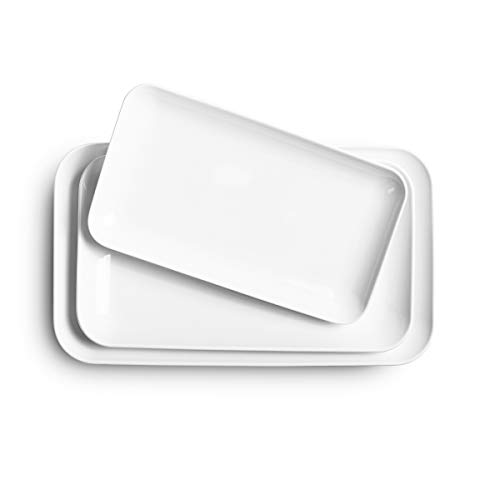
Step 8: Serve the Chicken
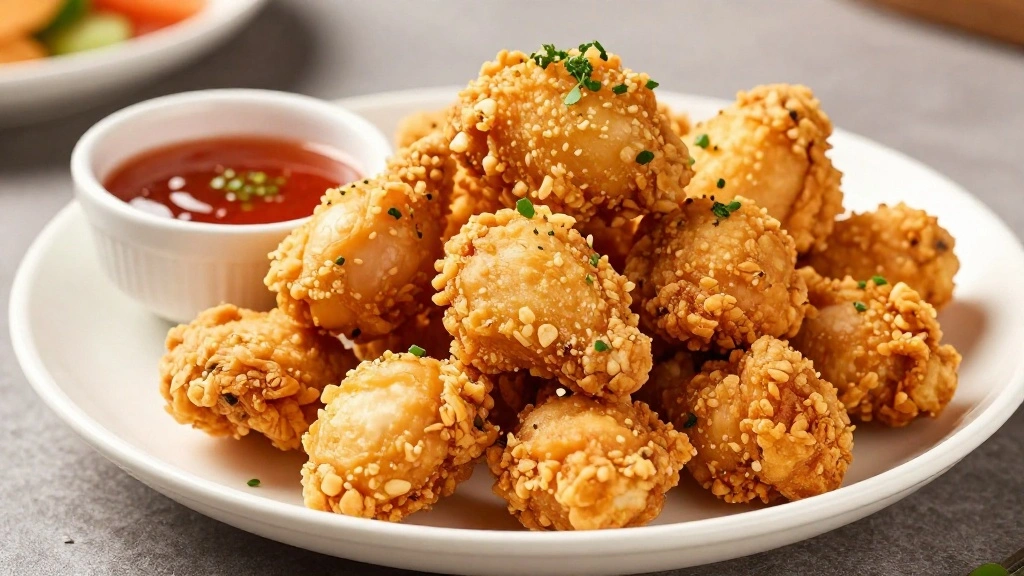
Transfer fried chicken to a serving plate.
Garnish with fresh herbs if desired for added flavor.
Serve with preferred dipping sauces or sides.
Enjoy your homemade Copycat Chick-fil-A Chicken fresh and hot.


Critical Timing and Temperature Guide
Brining Process: Brine for at least 30 minutes, ideally up to 4 hours, ensuring chicken is submerged for tenderness and flavor infusion.
Frying Process: Fry at 350°F for 6-7 minutes per side until golden; ensure oil temperature remains consistent for even cooking.
Resting Process: Allow chicken to rest for at least 5 minutes on a wire rack to drain oil and lock in crispiness.


Pro Tips for Copycat Chick-fil-A Chicken
• Ingredient Selection: Choose high-quality chicken breasts or thighs for juiciness, and ensure fresh pickle juice for authentic tang.
• Preparation Secret: Marinate chicken in the brine overnight for enhanced flavor and tenderness, often overlooked by home cooks.
• Temperature Management: Use room temperature chicken to ensure even cooking and prevent oil temperature drops.
• Texture Enhancement: Double-dip chicken in flour mixture for a thicker, crunchier crust that stands out.
• Flavor Layering: Mix a pinch of cayenne pepper into the flour for a subtle heat that complements the sweetness.
• Make-Ahead Strategies: Prepare and refrigerate the breaded chicken on a rack up to 2 hours in advance, ensuring it crisps well.
• Restaurant-Quality Finishing Touches: Garnish with fresh parsley or a sprinkle of flaky sea salt right before serving for an elevated presentation.
• Equipment Optimization: Use a heavy-bottomed skillet if cast iron is unavailable to maintain oil temperature stability.

Troubleshooting Common Issues
• Texture Too Dense: Over-breading can cause a dense texture. Ensure a light coating of flour and avoid pressing too hard when dredging.
• Flavors Unbalanced: If flavors are too strong, reduce pickle juice in the brine. Adjust salt and sugar in the flour mix for balance.
• Oil Temperature Fluctuation: If oil temperature drops, fry in smaller batches. Use a thermometer to monitor and adjust heat accordingly.
• Soggy Crust: Ensure chicken rests on a wire rack after frying to drain excess oil, preventing sogginess.
• Uneven Cooking: Use similar-sized chicken pieces to ensure even cooking times and prevent overcooking smaller pieces.


Variations and Regional Differences
• Spicy Southern Style: This version includes cayenne pepper and hot sauce in the brine for a fiery kick, popular in Tennessee.
• Buttermilk Ranch Style: Incorporate ranch seasoning into the flour mix for a tangy twist, a favorite in some Midwest regions.
• Honey Mustard Variation: Serve with a honey mustard dipping sauce, enhancing the sweetness and heat balance.
• Herb Infused Style: Add dried herbs like thyme and oregano to the brine for an aromatic flavor, common in Mediterranean-inspired versions.


Food Science Behind the Recipe
• Brining Chemistry: The salt in the brine breaks down muscle proteins in the chicken, creating a tender, juicy texture by allowing it to absorb moisture.
• Maillard Reaction: The browning of the chicken during frying is due to the Maillard reaction, which enhances flavor through complex chemical changes.
• Oil Temperature Control: Maintaining the correct oil temperature ensures the crust forms quickly, sealing in moisture and preventing oil absorption.
Frequently Asked Questions
What's the most common mistake people make when preparing Copycat Chick-fil-A Chicken? The most common mistake is not maintaining the correct oil temperature, which can lead to greasy, undercooked chicken.
Can I use a different type of oil for frying? While peanut oil is preferred for its high smoke point, canola or vegetable oil can be substituted, but may slightly alter flavor.
How long should I marinate the chicken? Marinate for at least 30 minutes, but for best results, allow up to 4 hours or overnight for maximum flavor infusion.
How do I make the chicken spicier? Add cayenne pepper to the flour mix or include hot sauce in the brine for added heat.
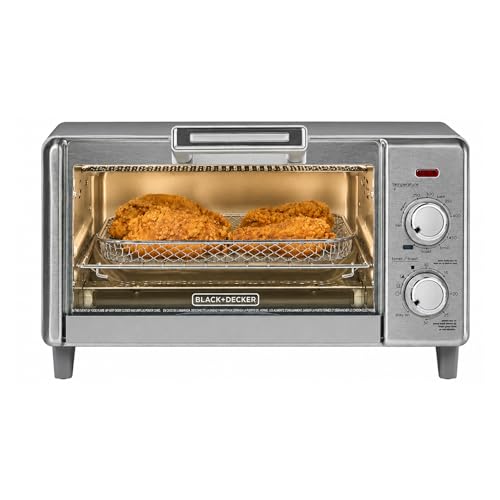
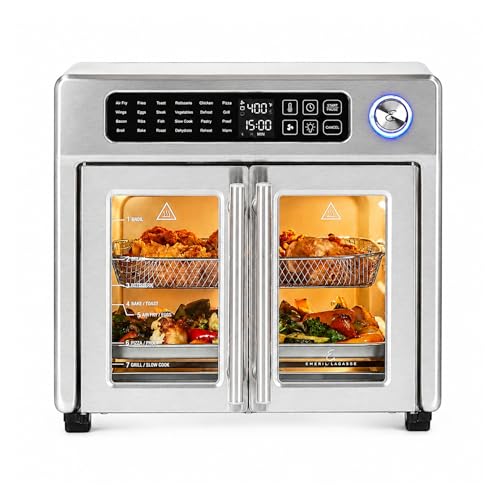
Can I bake instead of fry the chicken? Yes, bake at 400°F for 20-25 minutes, flipping halfway through for a healthier version, though it may lack the same crispiness.
What's the best way to reheat leftovers? Reheat in an oven at 350°F for 10-15 minutes to restore crispiness, avoiding microwaves which can make the crust soggy.
Is there a gluten-free option? Substitute all-purpose flour with a gluten-free flour blend for a gluten-free version.
Serving and Presentation Guide
• Traditional Presentation: Serve on a large platter with a variety of dipping sauces and pickles for an authentic feel.
• Elevated Plating: Stack chicken pieces on a bed of fresh greens, garnished with lemon wedges and herbs for a restaurant-style presentation.
• Casual Style: Serve in a basket lined with parchment paper, accompanied by fries or coleslaw for a classic fast-food experience.
• Family Style: Present chicken pieces on a large wooden board with an assortment of sides, encouraging sharing among guests.


Conclusion
With this Copycat Chick-fil-A Chicken recipe, you can bring the taste of your favorite fast-food chicken into your home kitchen.
Follow the steps closely to achieve the same crispy, juicy perfection that makes this dish so beloved.
Don't be surprised if your homemade version becomes a regular request at family gatherings.
Enjoy the satisfaction of creating a restaurant-quality meal with ease.