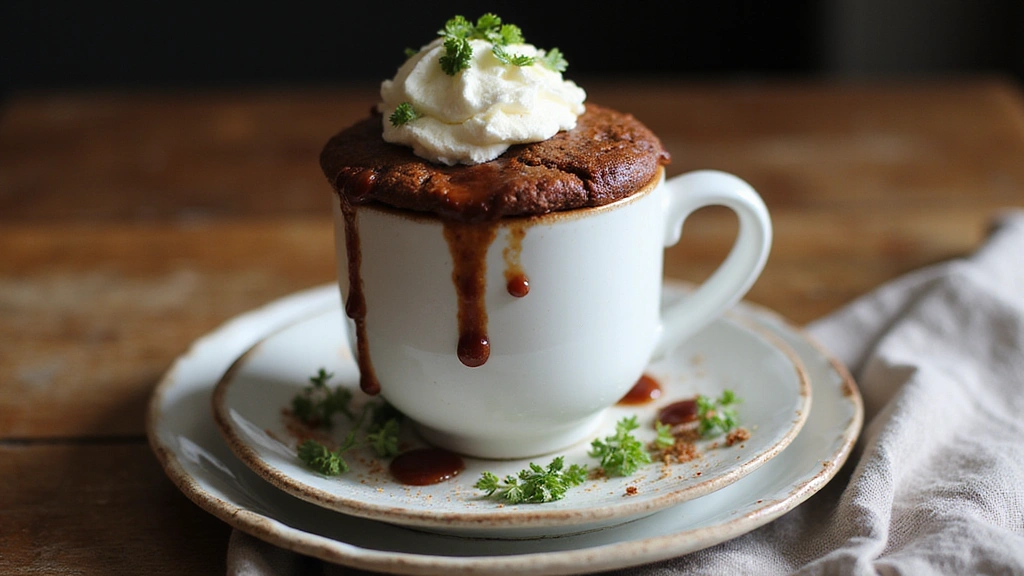

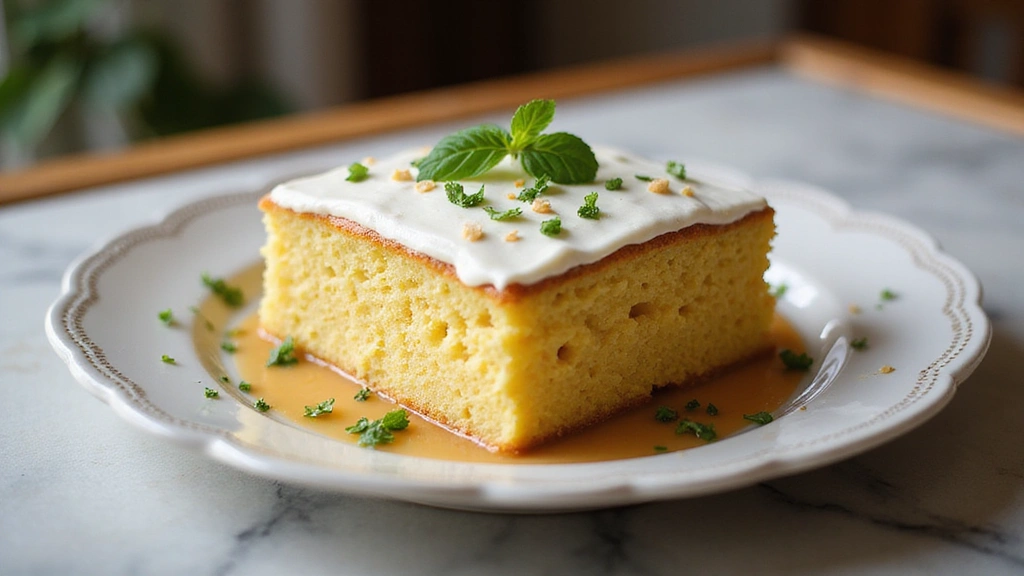
I first fell in love with Tres Leches Cake during a family gathering where its moist, milky texture left an indelible impression.
The cake, soaked in three different types of milk, offers a unique taste that is both rich and refreshing.
Its sweetness is perfectly balanced by the creaminess of the milk, creating a dessert that is both light and indulgent.
Originating from Latin America, this cake has become a staple at celebrations for its crowd-pleasing qualities.
Whether you’re a seasoned baker or a novice, Tres Leches Cake is surprisingly easy to make and always impressive.
This recipe promises a dreamy dessert that will surely become a favorite at your table.
The History and Cultural Significance
• Tres Leches Cake traces its origins to Latin America, where it was originally created by home bakers using simple ingredients.
• The dish evolved over decades as canned milk products became more available, eventually becoming the beloved version we know today.
• In Mexican and Central American cultures, this dish traditionally appears at weddings, birthdays, and other celebrations, symbolizing abundance and joy.
• While many variations exist across different regions, the authentic version maintains its signature milk-soaked texture that sets it apart from imitations.
Recommended Products
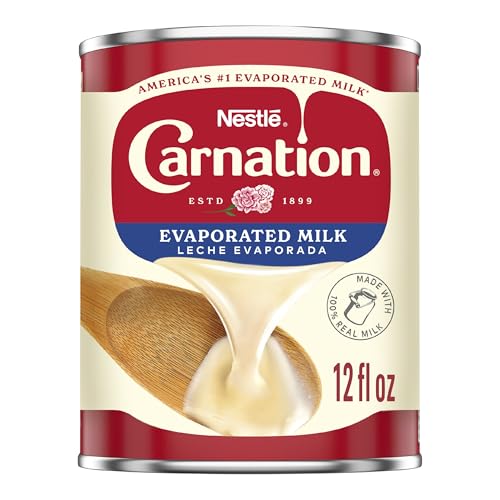
RICH AND CREAMY Nestlé Carnation Evaporated Milk is the cooking milk with added vitamin D. This can of milk is free from rBST, and is the perfect addition to all of your recipes (no significant difference has been shown between milk derived from rBST-treated and non-rBST treated cows) SNAP and EBT item in eligible states

RICH AND CREAMY Nestlé Carnation Evaporated Milk is the cooking milk with added vitamin D. This can of milk adds rich texture and has no rBST, it's the perfect addition to all of your recipes (no significant difference has been shown between milk derived from rBST-treated and non-rBST treated cows) SNAP and EBT item in eligible states

Santini Evaporated Milk.


Recipe Overview
Recommended Products

9 x 13 inch rectangular cake pan; made from aluminized steel; a mix of steel for strength and durability and aluminum for superior heat conductivity; oven safe to 450°F

FARBERWARE STRONG: This baking pan's heavy-duty construction resists warping and heats evenly to brown beautifully and help reduce hot spots

Naturals bakeware is made of pure aluminum which will never rust for a lifetime of durability. Foods bake and brown evenly due to aluminum’s superior heat conductivity.
Nutritional Information (per serving)
Recommended Products

NO MORE LOST BEATERS: The snap-on storage case that comes with the Hamilton Beach hand mixer neatly holds the 2 beaters and whisk in one easy-to-find place, reducing the chance that the attachments are lost or misplaced.

Perfect for eggs, light batters, whipped cream and more
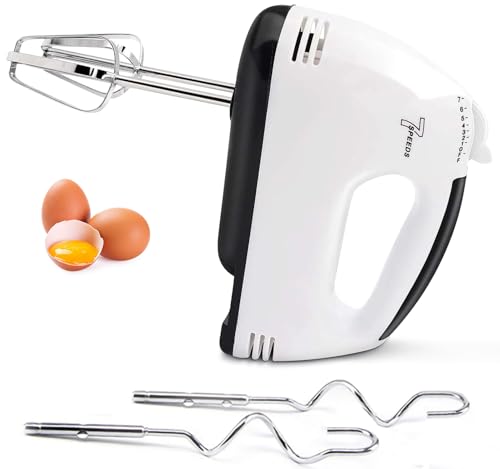
**Turbo Boost & Self-Control Speed**: Experience the power of our 7-Speed Electric Hand Mixer, designed with a Turbo Boost feature that allows you to achieve the perfect consistency for your recipes. Easily adjust speeds to suit your mixing needs with this efficient handheld mixer.
Essential Equipment Guide
9×13 Inch Baking Pan: This is crucial for achieving the right thickness of the cake, allowing it to soak up the milk mixture evenly. Alternatives include any similarly-sized pan, but avoid too deep or shallow pans which can affect texture.
Electric Mixer: An electric mixer is essential for beating the egg whites to stiff peaks efficiently, ensuring a light and airy cake. A hand whisk can work as an alternative, but it requires more effort and time.
Cooling Rack: A cooling rack helps the cake cool evenly after baking, preventing sogginess. If unavailable, a makeshift rack can be created with foil or an oven grate.
Recommended Products

HEALTHY: TeamFar round cooling rack is made of pure stainless steel, No worries about any toxic chemical substance into your food, Provide you a safer and healthier using experience

【Collapsible 4 tier Cooling Rack】 Features a sturdy construction with a collapsible & adjustable design. Geesta wire cooling rack works works well for everything, from small items like cupcakes and muffins to large pies and cakes of significant weight.
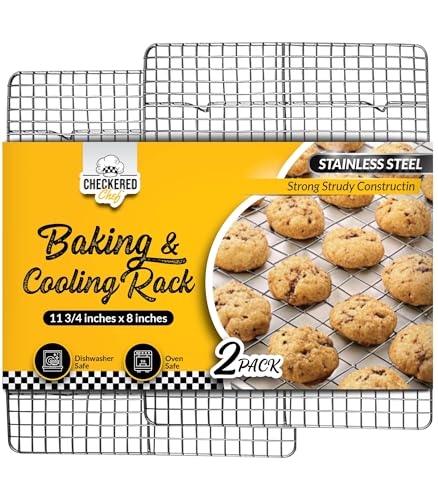
Stainless steel construction: Heavy-gauge stainless steel resists rust and corrosion across years of heavy use; no toxic coatings to flake onto food; safe for roasting, broiling, and everyday cooling tasks at high oven temperatures


Ingredients
Recommended Products

RICH AND CREAMY Nestlé Carnation Evaporated Milk is the cooking milk enriched with added vitamin D. Made with 100% real milk, free from rBST, and is the perfect addition to all of your recipes. (no significant difference has been shown between milk derived from rBST-treated and non-rBST treated cows) SNAP and EBT item in eligible states

RICH, CREAMY, DELICIOUS Nestlé Carnation Evaporated Fat Free Milk is the cooking milk with added vitamin D. This can of milk is free from rBST, and is the perfect addition to all of your recipes (no significant difference has been shown between milk derived from rBST-treated and non-rBST treated cows) SNAP and EBT item in eligible states

Product Type:Grocery
For the Cake
|
| Amount | Ingredient | Notes |
|---|---|---|
| 1 cup | all-purpose flour | provides structure |
| 1 1/2 teaspoons | baking powder | helps the cake rise |
| 1/4 teaspoon | salt | enhances flavor |
| 5 large | eggs | separated, room temperature |
| 1 cup | granulated sugar | divided |
| 1 teaspoon | vanilla extract | adds flavor |
For the Milk Mixture
| Amount | Ingredient | Notes |
|---|---|---|
| 1 can | evaporated milk | rich and creamy |
| 1 can | sweetened condensed milk | adds sweetness |
| 1/4 cup | whole milk | balances thickness |
For the Topping
| Amount | Ingredient | Notes |
|---|---|---|
| 1 1/2 cups | heavy cream | whipped for topping |
| 2 tablespoons | granulated sugar | sweetens whipped cream |
| 1 teaspoon | vanilla extract | flavor enhancer |
Preparation Methods
Beating Egg Whites: This technique involves whipping egg whites until they form stiff peaks, which is crucial for the cake’s airy texture. Use a clean, dry bowl, and ensure no yolk is present for best results.
Folding Technique: Folding is a gentle mixing method that combines ingredients without deflating the whipped egg whites. It retains the airiness of the batter, crucial for the cake's texture.
Soaking the Cake: Pouring the milk mixture over the cake while it's still warm helps it absorb the liquid thoroughly, ensuring moistness. Pierce the cake with a fork for better absorption.
Recommended Products

Bake with confidence with Wilton Aluminum Pans. Designed in the USA and made from natural anodized aluminum, this 9x13 Inch rectangular sheet cake pan delivers durability and rust-resistance, ensuring a consistent result every time.
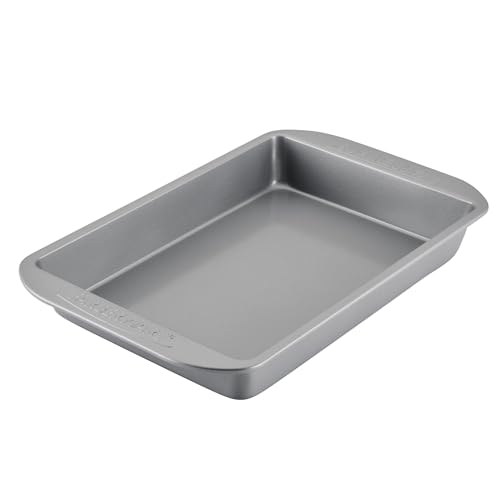
NO WARP DURABILITY: This nonstick 9x13 cake pan features heavy-duty construction that resists warping and heats evenly to brown beautifully and help reduce hot spots

9" x 13" – Versatile size for everyday baking needs


Step 1: Preheat Oven and Prepare Pan
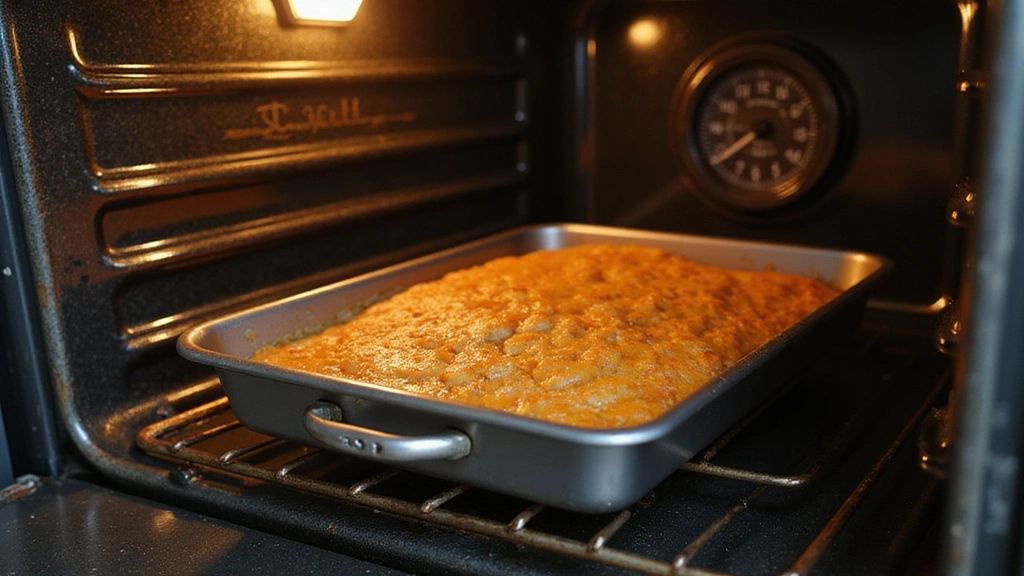
Preheat your oven to 350°F (175°C).
Grease a 9x13 inch baking pan and set it aside.
Ensure the oven is fully preheated before placing the cake inside.
Proper pan preparation prevents sticking and ensures even baking.
Recommended Products
5-SPEED HAND MIXER: The Cuisinart Power Advantage 5-Speed Hand Mixer with 220-watt motor and automatic feedback features 5 speed options and a slide control that easily shifts speeds with a single touch.

Mix ingredients for a variety of recipes from slowly stirring in chunky ingredients, like nuts or chocolate chips, at speed one to whipping egg whites or heavy cream at speed five

EASY CLEAN BEATERS REDUCE CLOGGING AND PROVIDE GREAT MIXING PERFORMANCE. Their smooth, innovative design glides through ingredients without clogging, saving you time and aggravation every time you mix.

Step 2: Mix Dry Ingredients
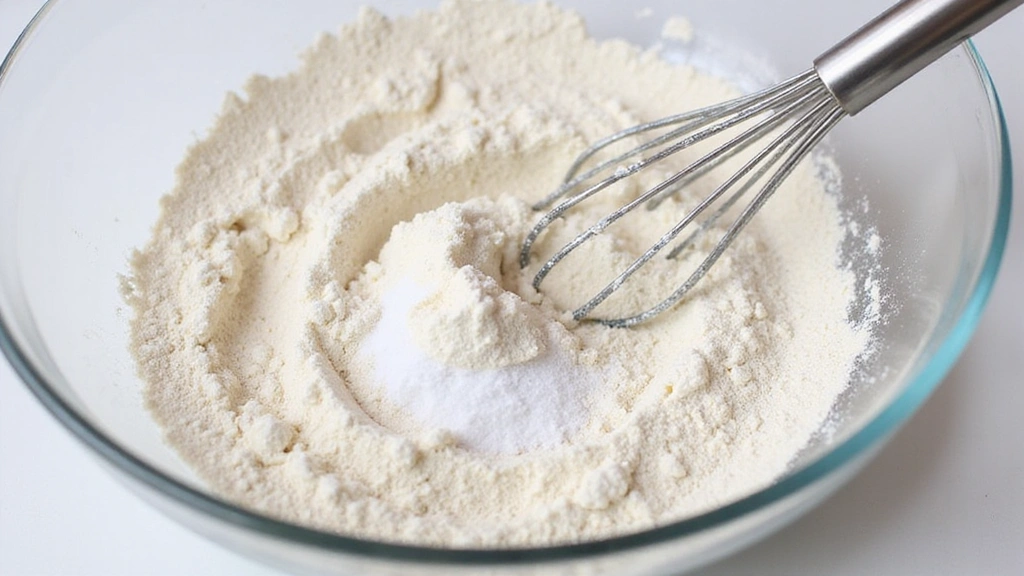
In a medium bowl, whisk together the flour, baking powder, and salt.
Mix until evenly combined and set aside.
Ensure no lumps remain in the mixture.
This step creates the foundation for the cake batter.
Recommended Products

Baking cooling rack made of heavy weight metal wire with non-stick coating, not rust.

HEALTHY MATERIAL - E-far round cooling racks are made of pure stainless steel to ensure no harmful substance into food, Rust free and healthy racks to meet your daily kitchen use

100% Solid 304 (18/8) Stainless Steel Construction - No metal platings or coatings that can chip or scratch and transfer toxins/chemicals to your food the way non-stick racks can. They also won’t rust, warp or bend.
Step 3: Separate Eggs
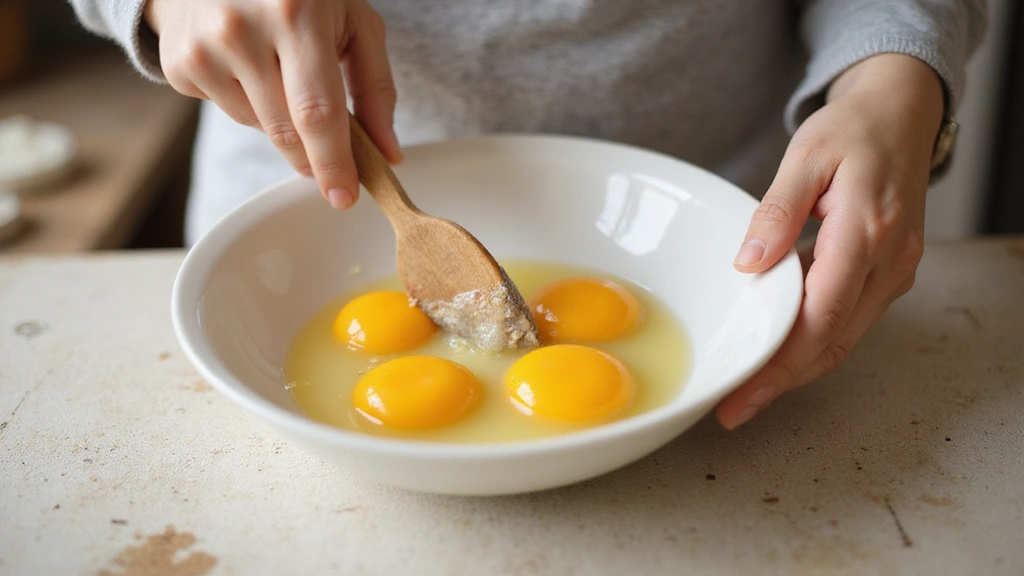
Separate the egg yolks from the whites into two large bowls.
Make sure no yolk enters the white to ensure they whip properly.
Yolks are for the batter, while whites are for adding volume.
Perfectly separated eggs are key for texture.
Recommended Products


Thrree Crowns Evaporated Liquid Milk 125g per liquid tin Low Cholesterol Evaporated Liquid Milk Because it is low in cholesterol and filled with essential vitamins and minerals to enrich your body with the right nutrients needed for a healthy and beautiful life.

THE ORIGINAL SINCE 1910 1 Sweetened Condensed Milk in the World, a family favorite since 1910 with 100+ years of know-how, Source Euromonitor International Limited, Dairy Products and Alternatives 2025 Ed. RSP all retail channels, 2024 data. Sweetened Condensed Milk defined as Condensed Milk SNAP and EBT item in eligible states


Step 4: Beat Egg Yolks
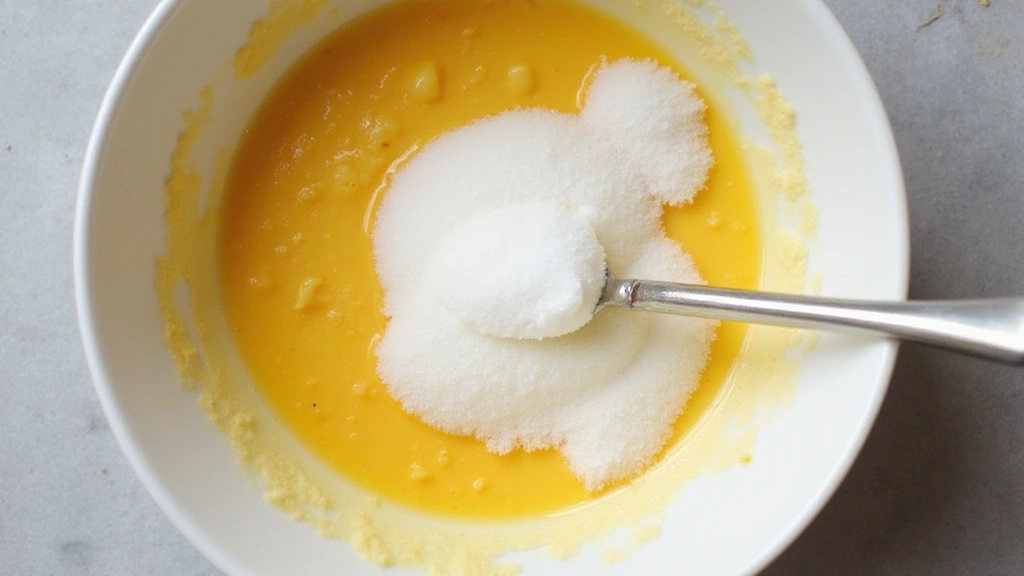
Add 3/4 cup of sugar to the yolks and beat until pale and doubled in volume.
Incorporate the vanilla extract and mix until smooth.
The mixture should be thick and ribbon-like.
This step builds the cake's richness.
Recommended Products
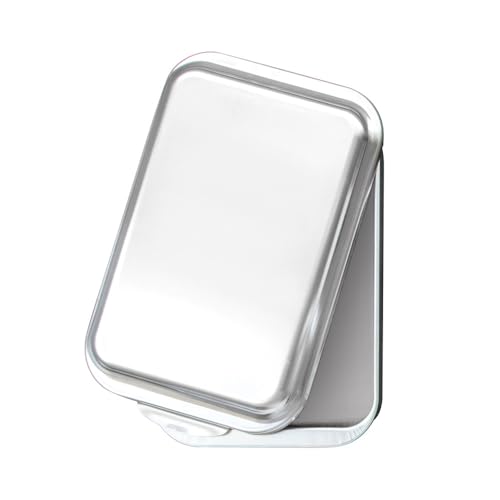
Natural aluminum commercial bakeware is made of pure aluminum which will never rust for a lifetime of durability

13 X 9-INCH BAKE & ROAST PAN: Ensures a perfect bake every time for your favorite recipes, and it is the ideal size for a full box of cake, brownie, or other dessert mixes

High-Quality Bakeware: A bakeware solution that’s beautiful, durable and easy to clean


Step 5: Beat Egg Whites
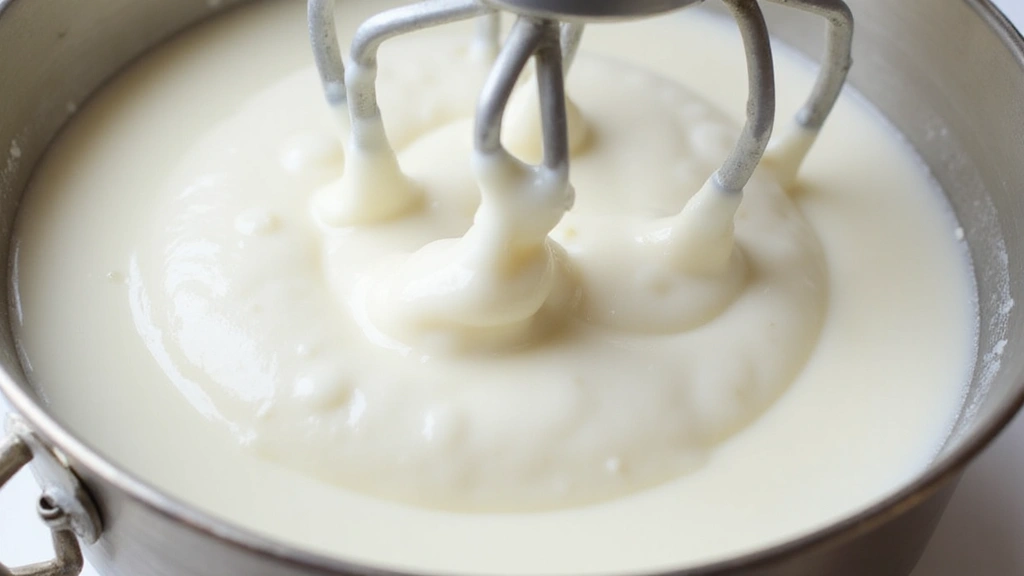
Using clean beaters, whisk egg whites until soft peaks form.
Gradually add remaining 1/4 cup sugar, beating until stiff peaks form.
The mixture should hold its shape and be glossy.
Properly beaten whites ensure a light texture.


Step 6: Combine Batter
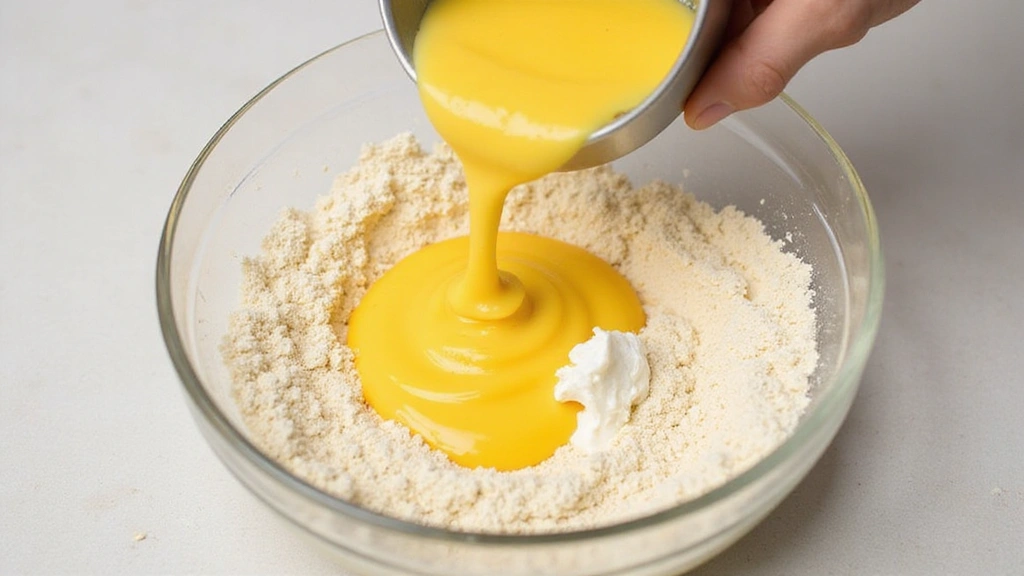
Gently fold the egg yolk mixture into the dry ingredients.
Incorporate egg whites by folding gently until no streaks remain.
Be careful not to deflate the whites.
This step combines all elements into a cohesive batter.


Step 7: Bake the Cake
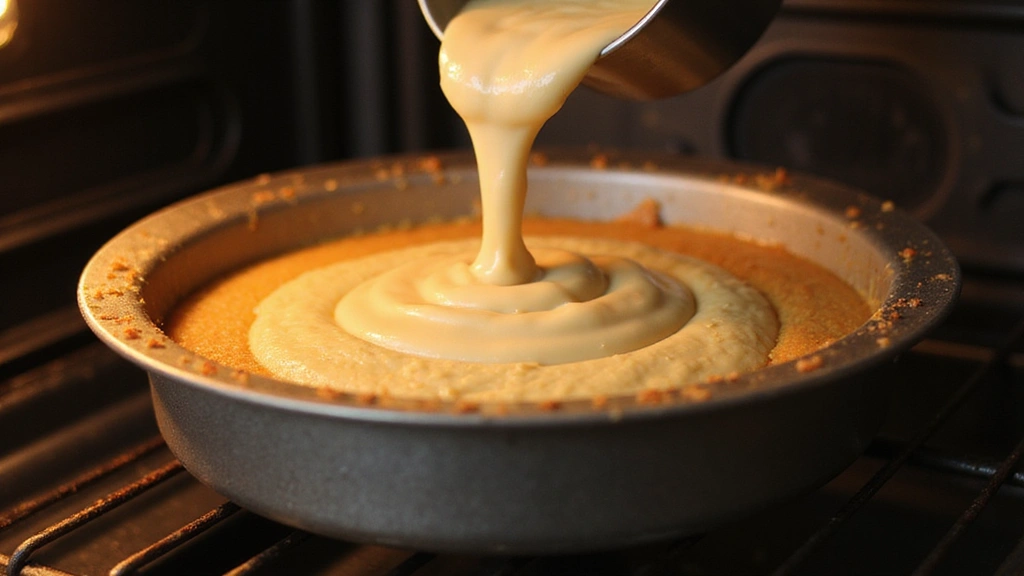
Pour the batter into the prepared pan and smooth the top.
Bake in preheated oven for 25-30 minutes, until golden.
A toothpick inserted should come out clean.
Even baking ensures the cake's structure.

Step 8: Prepare Milk Mixture
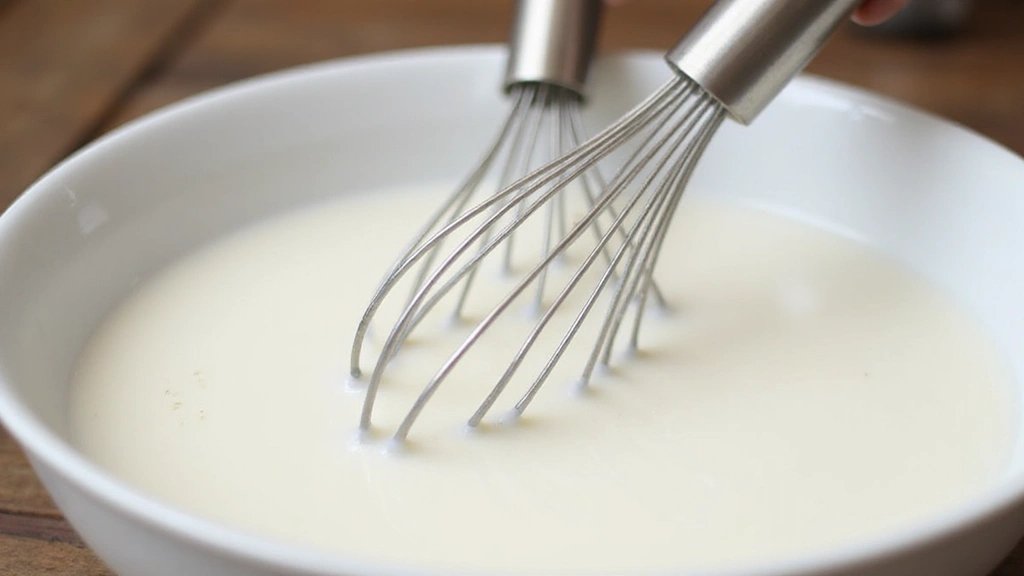
While the cake bakes, whisk together evaporated milk, condensed milk, and whole milk.
Ensure the mixture is smooth and uniform.
This blend will soak into the cake, creating its signature texture.
A well-mixed liquid ensures even soaking.


Step 9: Soak the Cake
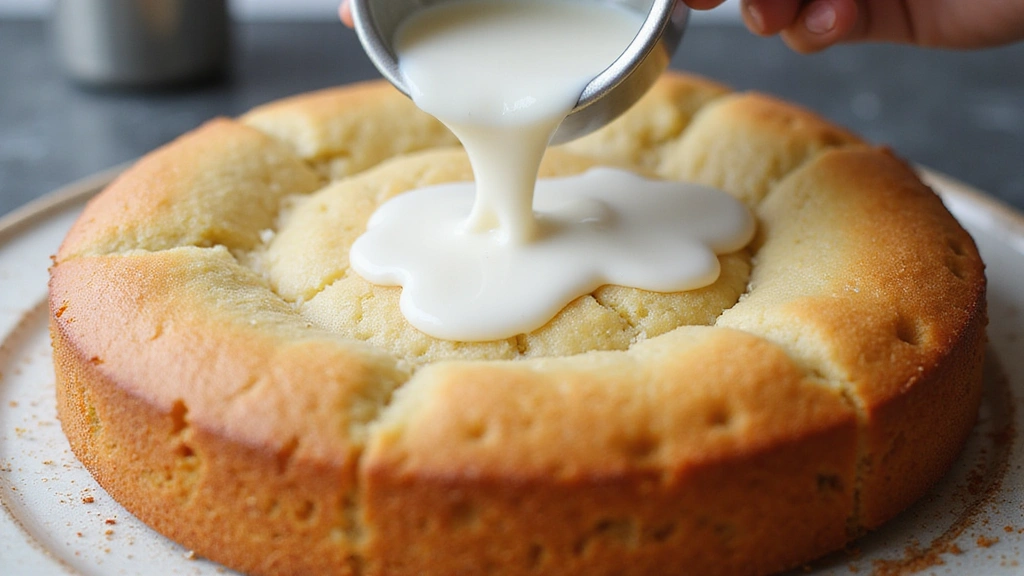
Remove the cake from the oven and allow it to cool slightly.
Pierce the surface with a fork several times.
Slowly pour the milk mixture over the cake, allowing it to soak in.
This step is crucial for achieving the moist texture.


Step 10: Whip the Cream

In a chilled bowl, whip the heavy cream, sugar, and vanilla until soft peaks form.
The cream should be fluffy and hold its shape.
This topping adds a light, creamy finish.
Properly whipped cream enhances the overall dessert.

Step 11: Frost the Cake

Spread the whipped cream evenly over the soaked cake.
Use a spatula to create decorative swirls.
Ensure the entire surface is covered.
This step adds a beautiful and delicious finish.
Step 12: Chill and Serve

Refrigerate the cake for at least 30 minutes before serving.
Chilling allows the flavors to meld and the texture to set.
Slice into squares and serve chilled.
This final step enhances the cake’s flavor and presentation.



Critical Timing and Temperature Guide
Baking the Cake: Bake at 350°F (175°C) for 25-30 minutes until golden brown with a clean toothpick test. Avoid overbaking, which can lead to dryness.
Cooling and Soaking: Allow cake to cool for 10 minutes before soaking. Soak while the cake is still warm for optimal absorption; avoid letting it cool completely before soaking.
Whipping Cream: Chill bowl and beaters before whipping for best results. Whip until soft peaks form; over-whipping can lead to a grainy texture.


Pro Tips for Tres Leches Cake
• Ingredient Selection: Use the freshest eggs and high-quality vanilla extract, as these profoundly impact the cake’s flavor and texture.
• Preparation Secret: Separating eggs while they are cold and then allowing them to reach room temperature yields better volume when whipped.
• Temperature Management: Maintain room temperature ingredients to ensure even mixing and optimal texture.
• Texture Enhancement: Gently fold ingredients to preserve the airiness of the batter, key to the cake’s light texture.
• Flavor Layering: Let the cake sit overnight in the refrigerator for the flavors to fully develop and meld.
• Make-Ahead Strategies: Prepare the cake a day in advance and add the whipped cream topping just before serving for best results.
• Restaurant-Quality Finishing Touches: Garnish with fresh berries or a sprinkle of cinnamon for a professional presentation.
• Equipment Optimization: Ensure electric mixer beaters are clean for whipping egg whites to peak perfection.


Troubleshooting Common Issues
• Texture Too Dense: This can be caused by overmixing the batter or under-whipping the egg whites. Ensure egg whites reach stiff peaks and gently fold to maintain airiness.
• Soggy Bottom: Over-soaking can lead to a soggy cake. Use a fork to prick the cake evenly soaks without pooling at the bottom.
• Cake Doesn’t Rise: Ensure the baking powder is fresh and used correctly. Also, avoid deflating the batter by folding gently.
• Flat Whipped Cream: Make sure the cream is cold, and the bowl and beaters are chilled before whipping.
• Flavors Unbalanced: If the cake is overly sweet or bland, double-check ingredient measurements, especially the sugar and milks.
• Whipped Cream Separates: Over-whipping can cause the cream to separate. Stop whipping as soon as soft peaks form.
Variations and Regional Differences
• Mexican Style: Often includes a touch of cinnamon in the milk mixture for added warmth and spice.
• Nicaraguan Version: May add rum or coconut milk for additional depth and tropical flavor.
• Cuban Twist: Incorporates a bit of citrus zest into the batter, offering a refreshing contrast.
• Venezuelan Variation: Sometimes includes a layer of dulce de leche under the whipped cream for extra sweetness.
Food Science Behind the Recipe
• Emulsification: The process of combining egg yolks and sugar creates a stable base that supports the cake's structure and texture.
• Maillard Reaction: Occurs during baking, where proteins and sugars in the batter create complex flavors and a golden-brown crust.
• Protein Denaturation: Whipping egg whites causes proteins to denature and incorporate air, crucial for the cake's lightness.
Frequently Asked Questions
What's the most common mistake people make when preparing Tres Leches Cake? Over-soaking the cake, which can lead to a soggy texture, is a frequent error. Make sure to pour the milk mixture evenly and in stages.
Can I use low-fat milk instead of whole milk? While you can use low-fat milk, it may affect the creaminess and richness of the final dish.
How long should I chill the cake before serving? Ideally, let the cake chill for at least 30 minutes, but overnight is best for full flavor development.
Can I add toppings other than whipped cream? Yes, fresh fruits, nuts, or a sprinkle of cinnamon can enhance the cake's flavor and presentation.
Is it necessary to separate the eggs? Yes, separating the eggs and beating the whites separately contributes to the cake's light and airy texture.
What can I do if I don't have evaporated milk? You can substitute with regular whole milk, though the cake might be slightly less rich.
Why is my whipped cream not holding its shape? Ensure your cream is cold and beat it to soft peaks. Over-whipping can lead to separation, while under-whipping won't hold well.
Serving and Presentation Guide
• Traditional Presentation: Serve chilled, cut into square pieces, with whipped cream spread evenly on top.
• Modern Twist: Serve in individual ramekins for a modern, elegant touch.
• Garnished Elegance: Top with fresh berries or a sprinkle of cocoa powder for added color and flavor.
• Layered Approach: Add a layer of dulce de leche or fruit compote between the cake and whipped cream for extra depth.
Conclusion
Tres Leches Cake is a timeless dessert that combines simplicity with indulgence.
With its rich, milky flavor and airy texture, it’s sure to be a hit at any gathering.
Try this recipe and discover why it's a beloved classic across cultures.
Your family and friends will be asking for seconds!