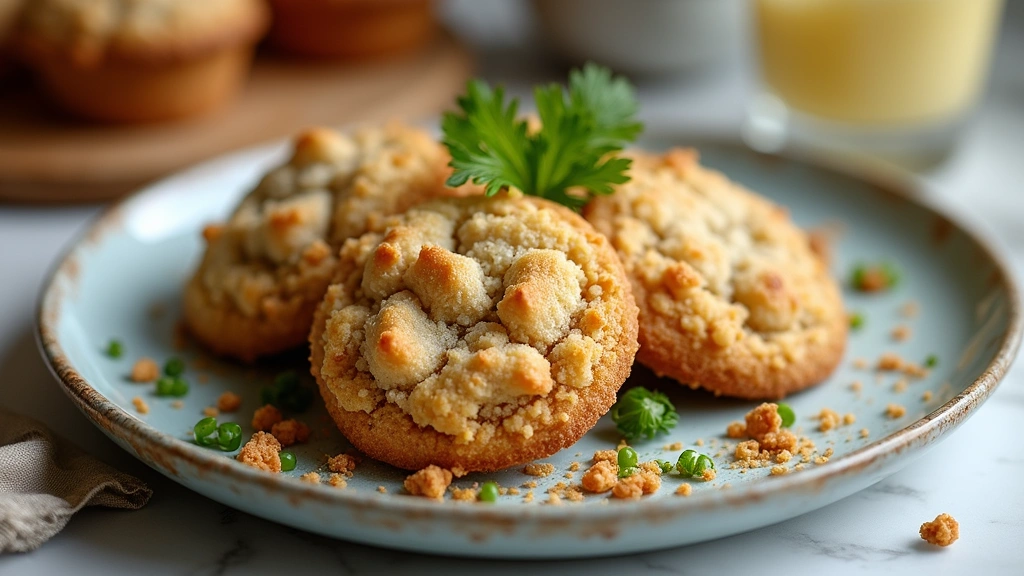
There’s something irresistibly comforting about biting into a freshly baked chocolate chip cookie, with its soft, chewy center and slightly crisp edges.
For many, this delightful treat evokes cherished memories of home and family gatherings.
The perfect balance of rich chocolate and buttery dough makes it a beloved staple in homes around the world.
As the aroma fills your kitchen, you’ll find it hard to wait for that first bite.
With this bakery-style recipe, you’ll achieve cookie perfection with ease, ensuring everyone comes back for seconds.
Whether you’re sharing with friends or indulging by yourself, these cookies promise to satisfy your sweet tooth.
The History and Cultural Significance
• Soft & Chewy traces its origins to the United States in the 1930s, where it was originally created by Ruth Graves Wakefield at the Toll House Inn.
• The dish evolved over decades as bakers experimented with different types of chocolate and baking techniques, eventually becoming the beloved version we know today.
• In American culture, this dish traditionally appears at family gatherings and holidays, symbolizing warmth and togetherness.
• While many variations exist across different regions, the authentic version maintains a balance of soft centers and slightly crisp edges that set it apart from imitations.
Recommended Products

One 15 ounce box of 12 Frozen Chocolate Chunk Cookies

This item is typically available for pickup/delivery between 10am-6pm

The scent of real butter baking in our warm ovens is unmistakable — and it represents our values. We’ve held fast to the integrity of the gourmet ingredients of these chocolate chip cookie desserts, and never sacrifice quality for shortcuts

Recipe Overview
Recommended Products

26 oz party size packages of CHIPS AHOY! Chewy Chocolate Chip Cookies (Packaging may vary)

One 14.25 oz family size package of CHIPS AHOY! Chewy Chocolate Chip Cookies With Reese's Peanut Butter Cups

CLASSIC COOKIE MIX: Chocolate chip cookies for the whole family to enjoy; each 7.5-oz. bag makes twelve (12) 2-inch cookies
Nutritional Information (per serving)
Recommended Products

#60,#40,#20, Three Size Cookie Scoops - The small one is #60 cookie scoop, hold 1 tablespoon/ 0.5 OZ; the medium one is #40 cookie scoop, hold 2 tablespoon/ 1 OZ; the large one is #20 cookie scoop, hold 3 tablespoon/ 1.5 OZ. These cookie dough scoops can make cookies in a variety of sizes.

#16 COOKIE SCOOP, 2 OZ SCOOP– The large cookie scoop is 2.3 inch/ 58MM diameter, its capacity is 4 tablespoons/ 60 ml / 2 oz. Perfect size for cupcake, Muffins, Large Cookies or Meatballs.

【MULTI USES】 #40 cookie scooper for baking, is about 2 Tbsp / 30ml / 1 oz. Diameter is 1.72 inch/44 mm. You can use it as ice cream scooper, cookie scooper, cookie dough scoop, cupcake scoop, meatball scoop, melon baller scoop, food ball maker, sorbet scoop, even as measure spoon to satisfy kinds of different needs.
Essential Equipment Guide
Stand Mixer: A stand mixer is crucial for creaming the butter and sugar to the perfect consistency, ensuring a tender cookie. While a hand mixer or even a sturdy wooden spoon can be used as alternatives, a stand mixer provides consistent results and makes the process easier.
Baking Sheets: Choose heavy-duty baking sheets to ensure even baking and prevent cookies from burning on the bottom. Alternatives like silicone mats or parchment paper can help achieve a non-stick surface.
Cookie Scoop: A cookie scoop ensures evenly-sized cookies, which is important for uniform baking. If unavailable, a tablespoon or ice cream scoop can be used, though results may vary slightly.
Recommended Products

PURE UNCOATED ALUMINUM & SUPERIOR HEAT CONDUCTION: Crafted from 100% bare aluminum with NO chemical coatings – guarantees safe, toxin-free cooking. Engineered for lightning-fast, even heat distribution (up to 30% faster than steel!) for perfectly crispy cookies, golden roasted veggies, and juicy meats every time. The aluminum baking pans are made of thick and heavy aluminum, with a heavy rolled edge making this truly "commercial-grade"that provides maximized scratch resistance

Naturals bakeware is made of pure aluminum for superior heat conductivity and produces consistently evenly browned baked goods every time.

QUALITY LARGE BAKING SHEET: Ensures a perfect bake every time for larger batches of your favorite recipes, from cookies and other desserts to sheet pan dinners


Ingredients
Recommended Products

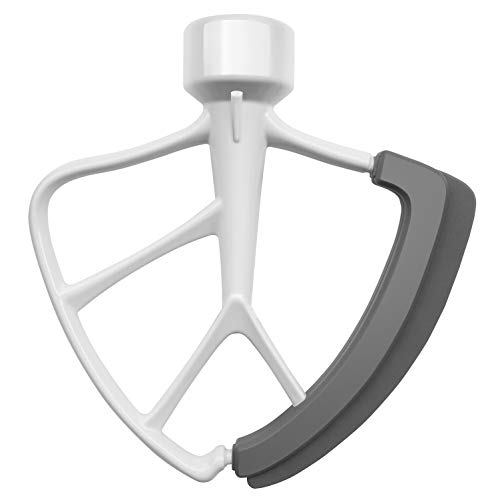
MATERAL:Made Of Die-Cast Aluminum With White Ford Teflon Coating And Silicone Flex Edge,Which Is Safer And Healthier Than a Traditional Mixer Paddle. Perfect For Healthy Cooking.Perfect For Thin Cookies Dough, Compound Butters, Pie Pastry, Creamed Frostings, Mashed Potatoes And More, But Not For Hard Dough. Do Not Use Blade In a Dry Bowl.

Patented design with curved blades for optimal mixing and creaming
✅【7 Speeds Adjustable】 This portable, compact mixer packs a punch with a high power motor and 7 different speed options ranging low to high to whip, beat or knead with even, uniform results
For the Dough
|
| Amount | Ingredient | Notes |
|---|---|---|
| 2 1/4 cups | all-purpose flour | provides structure |
| 1 teaspoon | baking soda | leavening agent |
| 1 teaspoon | salt | enhances flavor |
For the Butter Mixture
| Amount | Ingredient | Notes |
|---|---|---|
| 1 cup | unsalted butter | softened for easy mixing |
| 3/4 cup | brown sugar | adds moisture and depth |
| 3/4 cup | granulated sugar | sweetens and adds crispness |
For the Eggs
| Amount | Ingredient | Notes |
|---|---|---|
| 2 large | eggs | room temperature, binds ingredients |
| 2 teaspoons | vanilla extract | adds aroma and flavor |
For the Chocolate
| Amount | Ingredient | Notes |
|---|---|---|
| 2 cups | semisweet chocolate chips | provides rich chocolate flavor |
Preparation Methods
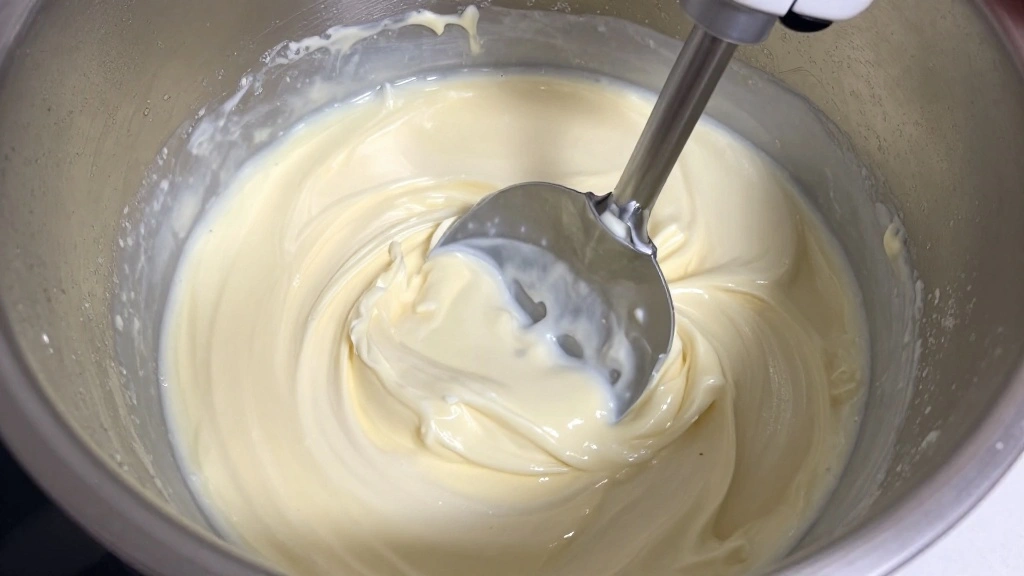
Creaming Butter and Sugar: Creaming is the process of beating sugar and butter together until light and fluffy. This incorporates air into the mixture, resulting in a lighter texture. Be patient and ensure the butter is room temperature for best results.
Proper Measuring of Flour: Fluff the flour with a spoon before spooning it into your measuring cup and leveling with a knife. This prevents overpacking and ensures accurate measurement, crucial for the right texture.
Chilling the Dough: Allowing the dough to chill before baking helps prevent spreading and enhances flavor. Aim for at least 30 minutes in the fridge for optimal results.
Recommended Products

🍪 Beautiful gift box with 20 chocolate-covered cookies: Twenty delicious gourmet chocolate-covered sandwich cookies in 5 decadent flavors; cranberry, nut crunch, coconut crunch, crushed peppermint, and rainbow chips. Bakery-fresh, ribbon wrapped, and ready to gift for anyone who loves cupcakes, donuts, desserts, and edible chocolates. From anniversary to appreciation, from college boys to company client, this beats all other foods, fruit, and flowers delivery.

Soft chocolate chip cookies: Pepperidge Farm montauk soft baked milk chocolate chunk cookies are baked with care an abundance of milk chocolate chunks


Step 1: Preheat Oven
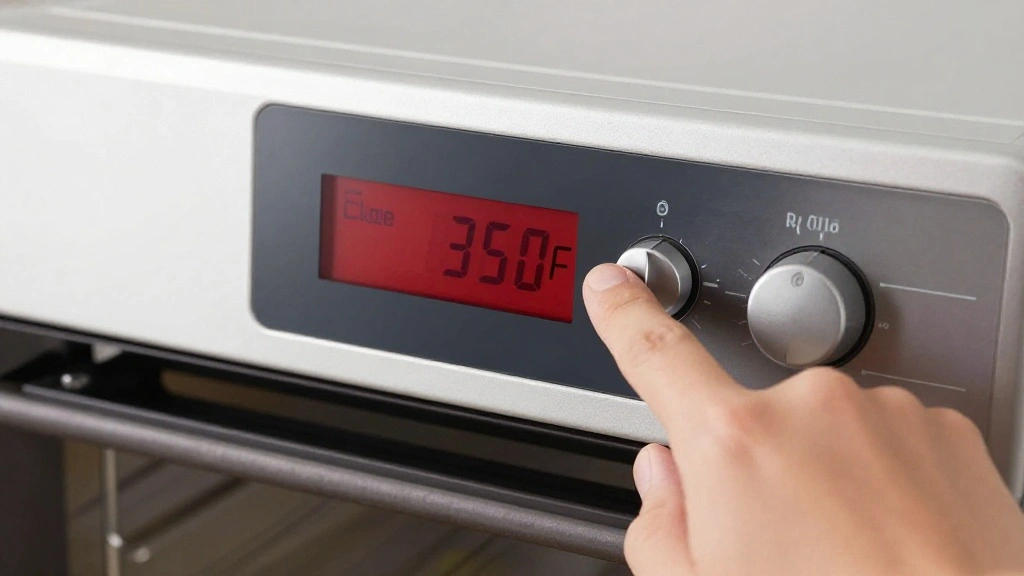
Preheat your oven to 350°F (175°C).
This ensures the oven is at the right temperature when the cookies are ready to bake.
Use an oven thermometer to verify accurate temperature.
Avoid opening the oven door frequently to maintain consistent heat.
Recommended Products

CHOCOLATE CHIP COOKIES: Delicious, mini soft baked cookies that are ready to eat; Perfect for the pantry, lunch box, or afternoon snack


CLASSIC COOKIE MIX: Peanut butter cookies for the family to enjoy; each 7.2-oz. bag makes twelve 2-inch cookies


Step 2: Mix Dry Ingredients
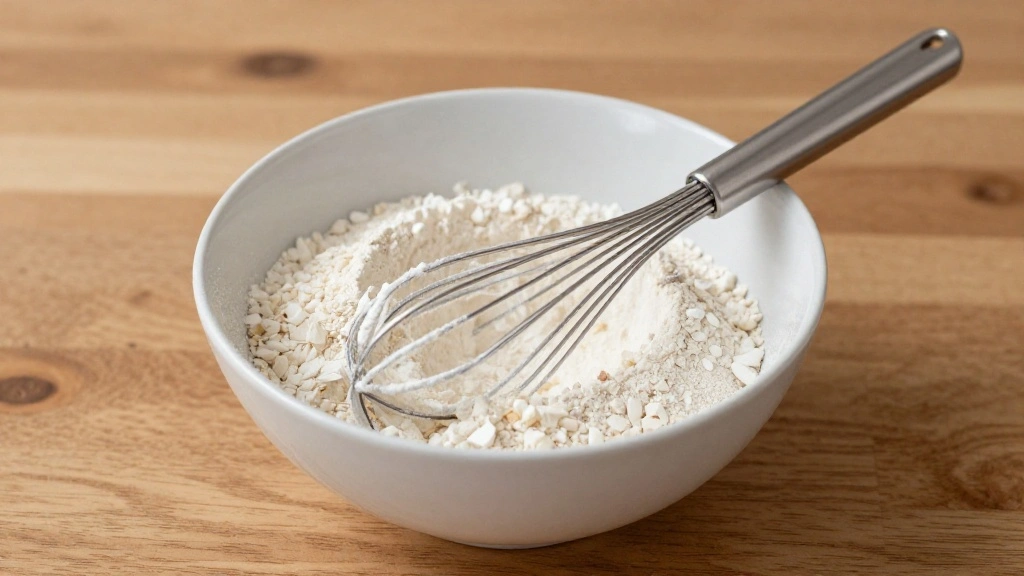
In a medium bowl, whisk together flour, baking soda, and salt.
Ensure the ingredients are well combined to distribute the leavening evenly.
Look for a uniform mixture with no visible clumps.
Use a whisk or fork to aerate the flour for better texture.
Recommended Products

【Food Grade Acrylic Material】 Made of durable acrylic, which is firm and not easy to break. The bottom of the spoon is made of soft food-grade silicone, tough and flexible to rebound. Clear look for easy to clean, hand washable and dishwasher safe.

SUITABLE SIZE, #20, #40, #60 – The cookie scoops for baking set of 3 include small, medium and large scoop. Small cookie scoop: #60 cookie scoop, 1 Tbsp/ 0.5 OZ capacity. Medium cookie scoop: #40 cookie scoop, 2 Tbsp/ 1 OZ capacity. Large cookie scoop: #20 cookie scoop, 3 Tbsp/ 1.5 OZ capacity.
Step 3: Cream Butter and Sugars
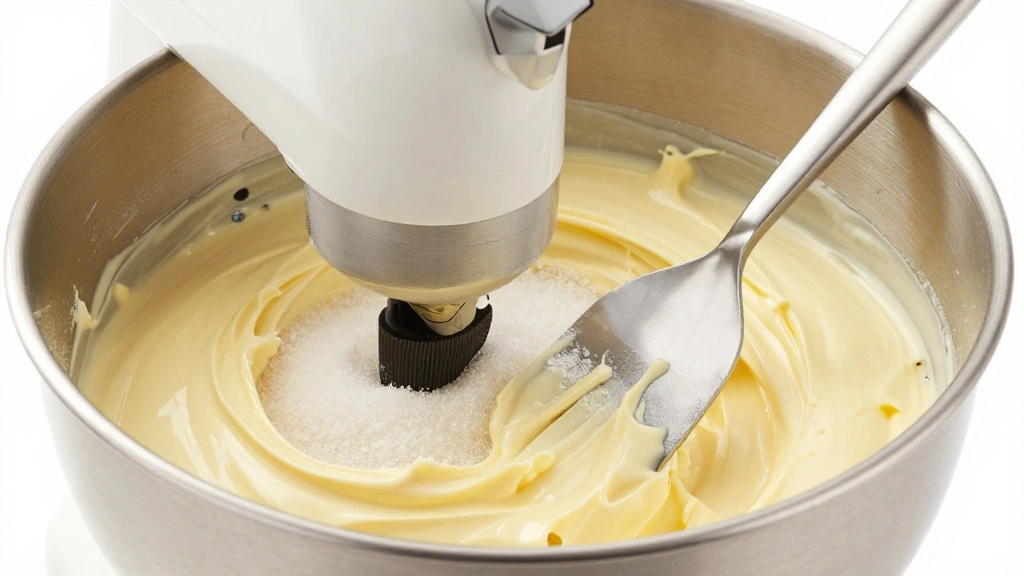
In a stand mixer, beat the butter, brown sugar, and granulated sugar until light and fluffy.
This should take about 2-3 minutes on medium speed.
The mixture should turn pale and slightly increase in volume.
Scrape down the sides of the bowl as needed to ensure even mixing.
Recommended Products

NONSTICK: Swiss-engineered heavy-duty coating allows for nonstick release when baking
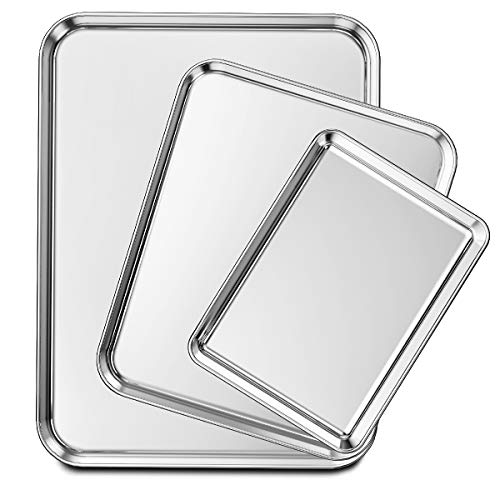
MORE WAYS TO USE: The versatile baking sheet combo includes 3 different sizes of baking sheets which designed for high performance,15.8 x 12 x 1 inch, 12.25 x 9.65 x 1 inch, and 9.37 x 7 x 1 inch. A great replacement of aluminum pans, fits most regular toaster ovens, meet most of your daily baking or roasting needs, also good to be used as serving tray, cookie sheet and more

Complete 4-Piece Baking Sheet Set:Upgrade your everyday baking with a versatile bakeware set that includes a half sheet pan, jelly roll pan, quarter sheet pan, and cooling rack. Ideal for baking cookies, roasting vegetables, cooking bacon, reheating food, meal prep, and family baking.


Step 4: Add Eggs and Vanilla
Add eggs one at a time, mixing well after each addition.
Add vanilla extract once the eggs are incorporated.
The mixture should be smooth and creamy, with no streaks of egg visible.
Ensure the vanilla is evenly mixed for consistent flavor.
Recommended Products
PERFECT KITCHPOWER BEATER REPLACEMENT : Kitchpower 4.5-5 quart flex edge beater sturdy metal alloy frame offers high stability and power for heavy mixing jobs,and durability for long-term use. Kitchpower mixer assecories is beating and whisking made easier, resulting in richer and thicker mixes. Make truly tasty pastries, bread, cake, and cookie dough.

2-IN-1 VERSATILITY - Effortlessly switch between a powerful stand mixer for heavy doughs and a lightweight hand mixer for quick tasks. This 2-in-1 design eliminates the need for two separate appliances, saving you counter space and money. Use the stand mixer for bread or cookie doughs, then detach the unit to whip cream or beat eggs by hand with the included beaters and dough hooks.

5.3QT STAINLESS STEEL BOWL: The polished 5.3-quart capacity easily handles large batches: mix dough, cake batter, and up to 9 dozen cookies with ease


Step 5: Combine Wet and Dry Ingredients

Gradually add the dry ingredients to the wet mixture on low speed.
Mix until just combined, being careful not to overmix.
You should see no visible streaks of flour, but the dough should still appear slightly lumpy.
Overmixing can lead to tough cookies, so stop once combined.
Step 6: Fold in Chocolate Chips
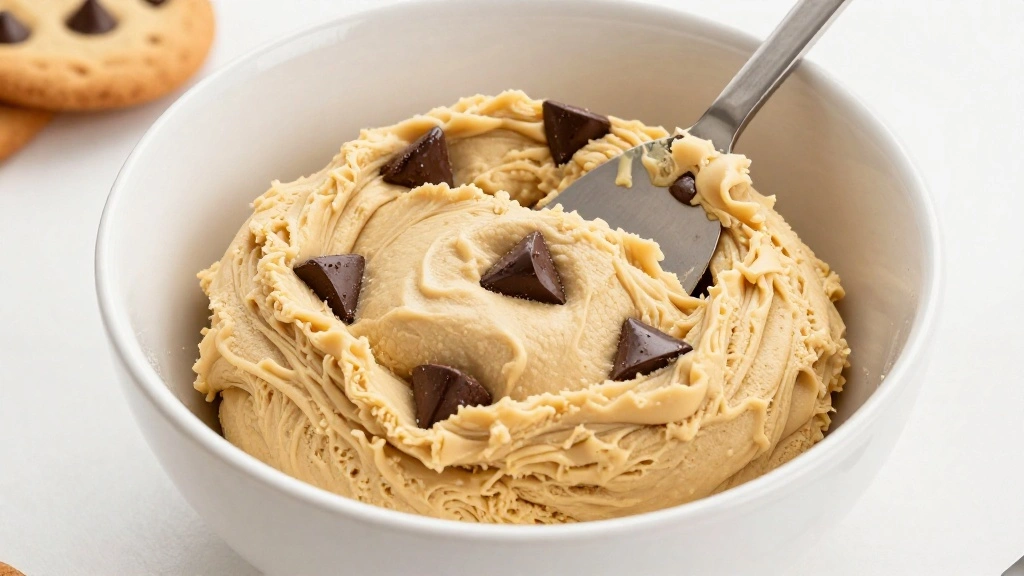
Gently fold in the chocolate chips with a spatula.
Ensure even distribution throughout the dough.
The dough should be studded with chocolate chips, with none sinking to the bottom.
Take care to fold gently to maintain dough texture.


Step 7: Chill the Dough
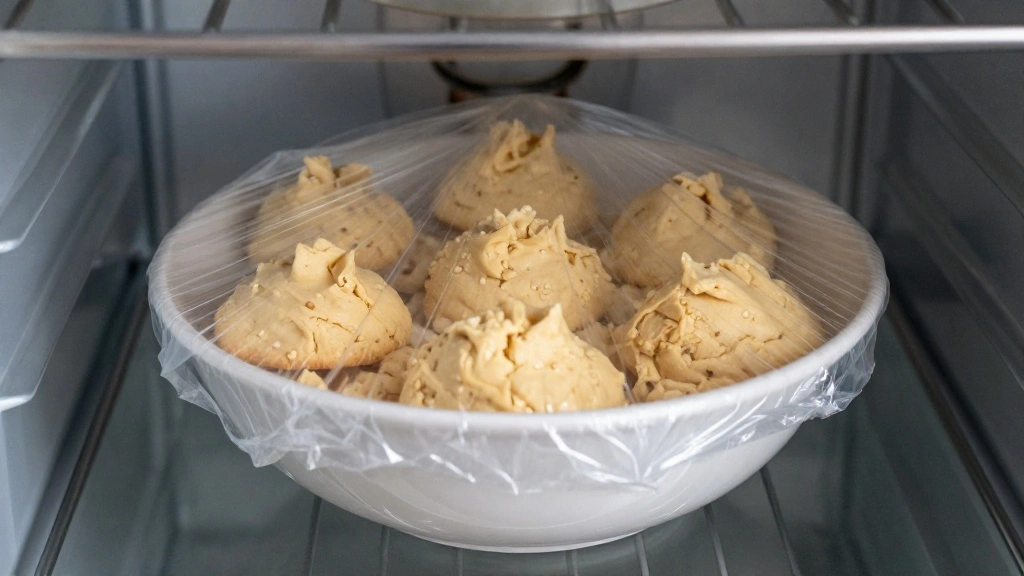
Cover the dough with plastic wrap and refrigerate for at least 30 minutes.
This step firms up the dough, preventing excessive spreading during baking.
The dough should be cold and firm to the touch before baking.
Chilling also enhances the cookie flavor for a richer taste.


Step 8: Scoop and Shape Cookies
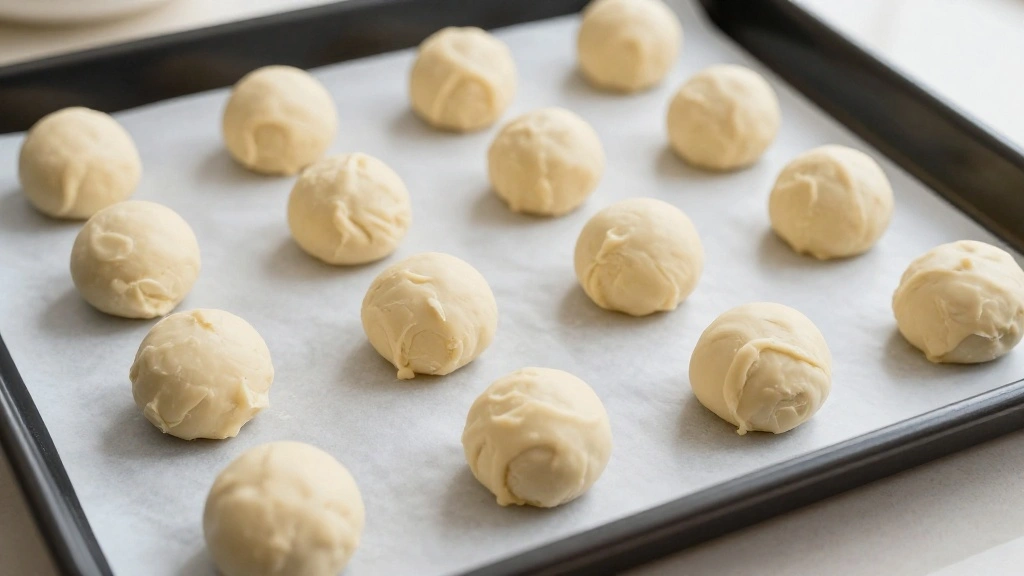
Use a cookie scoop to portion out dough onto a lined baking sheet.
Leave about 2 inches between each scoop to allow room for spreading.
Each dough ball should be uniform in size for even baking.
Gently press down on the tops to slightly flatten the cookies.


Step 9: Bake the Cookies
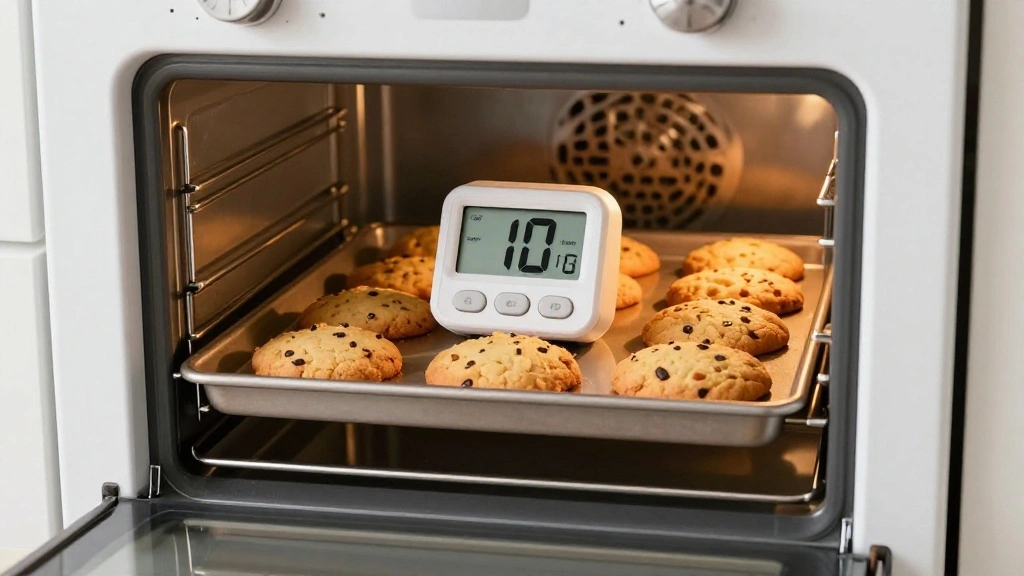
Place the baking sheet in the preheated oven.
Bake for 10-12 minutes or until edges are golden brown and centers are set.
The cookies should appear soft in the middle but firm on the edges.
Rotate the baking sheet halfway through for even baking.


Step 10: Cool and Serve
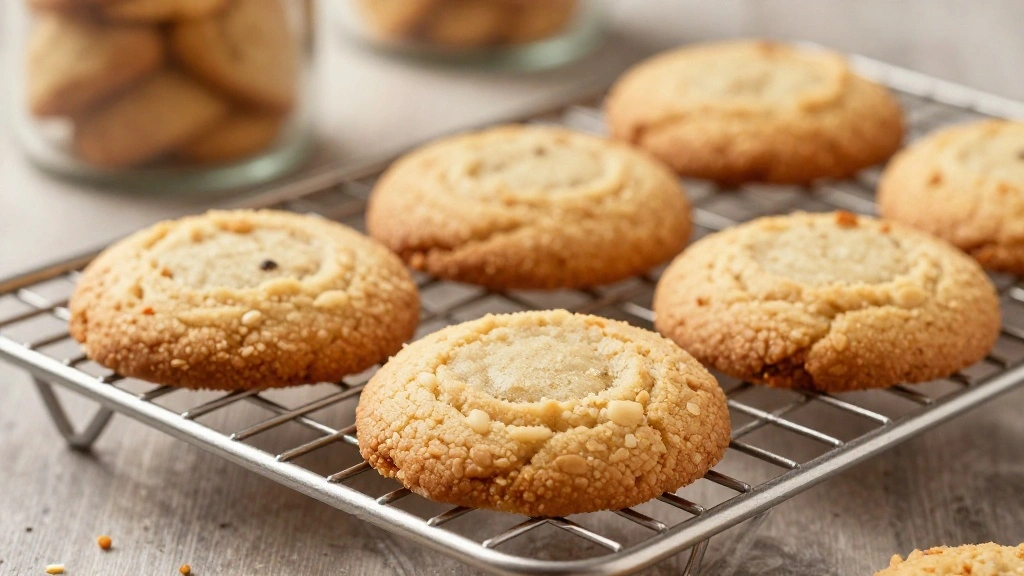
Allow cookies to cool on the baking sheet for 5 minutes.
Transfer to a wire rack to cool completely.
The cookies should be cool to the touch but still soft in the center.
Serve warm, or store in an airtight container for freshness.


Critical Timing and Temperature Guide
Baking Time: Bake for 10-12 minutes at 350°F. Look for edges that are golden and centers that are just set. Avoid overbaking as this will result in hard cookies.
Cooling Time: Allow cookies to cool on the baking sheet for 5 minutes to firm up before transferring to a rack. Too soon and they'll break apart; too long and they'll continue to bake on the sheet.
Chilling Time: Chill dough for at least 30 minutes. This step prevents spreading and enhances flavor. Skipping this can lead to flat, spread-out cookies.
Pro Tips for Soft & Chewy
• Ingredient Selection: Choose high-quality semisweet chocolate chips for the best flavor and texture. Real vanilla extract also makes a significant difference in taste.
• Preparation Secret: Allow butter to soften naturally at room temperature instead of microwaving, which can cause uneven melting.
• Temperature Management: Keep all ingredients at room temperature, especially eggs and butter, to ensure smooth mixing and even baking.
• Texture Enhancement: For extra chewy cookies, slightly underbake them, pulling them out of the oven when the centers are just set.
• Flavor Layering: Using a mix of brown and white sugar adds complexity, with the molasses in brown sugar providing depth.
• Make-Ahead Strategies: Dough can be made ahead and refrigerated for up to 72 hours. Store in an airtight container or wrap tightly in plastic wrap.
• Restaurant-Quality Finishing Touches: Sprinkle a pinch of sea salt on top before baking for a gourmet touch that enhances the chocolate flavor.
• Equipment Optimization: Use heavy-duty baking sheets to promote even heat distribution and prevent burning on the bottom.


Troubleshooting Common Issues
• Cookies Spread Too Much: This can be caused by butter that's too warm or dough not chilled enough. Ensure butter is soft but not melted and chill the dough thoroughly.
• Cookies Too Hard: Overmixing or overbaking can result in hard cookies. Mix just until combined and bake only until edges are set and centers are soft.
• Uneven Baking: Unevenly sized dough balls or improper oven temperature can cause this. Use a cookie scoop for consistency and check your oven with a thermometer.
• Lack of Flavor: Using imitation vanilla or low-quality chocolate can lead to bland cookies. Opt for real vanilla extract and good-quality chocolate chips.
• Crumbly Dough: This can occur if the flour is over-measured or the dough is too dry. Measure flour correctly and add a teaspoon of milk if dough seems too crumbly.


Variations and Regional Differences
• Double Chocolate Chip Cookies: Add 1/3 cup of cocoa powder to the dry ingredients for a chocolate-flavored dough. Use dark chocolate chips for a richer taste.
• Pecan Chocolate Chip Cookies: Incorporate 1 cup of chopped pecans for a nutty variation that adds texture and flavor.
• Oatmeal Chocolate Chip Cookies: Replace 1 cup of flour with 1 cup of rolled oats for a heartier cookie with a chewy texture.
• White Chocolate Macadamia Nut Cookies: Substitute semisweet chocolate chips with white chocolate chips and add 1 cup of macadamia nuts for a tropical twist.


Food Science Behind the Recipe
• Sugar's Role in Browning: The Maillard reaction between sugar and protein in the dough is responsible for the golden-brown color. Brown sugar, with its molasses content, enhances this effect.
• Butter's Functionality: Butter adds flavor and moisture, and its water content creates steam that helps cookies rise and become tender.
• Leavening Agents: Baking soda, when combined with the acidic components in brown sugar, produces carbon dioxide, contributing to the cookie's rise and chewy texture.
Frequently Asked Questions
What's the most common mistake people make when preparing chocolate chip cookies? The most common mistake is overbaking. Cookies continue to bake on the sheet even after being removed from the oven, so it's important to take them out when the centers are just set.
Why should I chill the dough before baking? Chilling the dough solidifies the fat, preventing excessive spreading during baking and enhancing the overall flavor.
Can I use salted butter instead of unsalted? Yes, but reduce the added salt in the recipe to compensate. Unsalted butter allows for more control over the cookie's saltiness.
How do I store the cookies to keep them fresh? Store in an airtight container at room temperature for up to a week. They can also be frozen for longer storage.
Can I use different types of chocolate chips? Absolutely! Feel free to mix semisweet, dark, milk, or even white chocolate chips to suit your preferences.
What should I do if my dough is too sticky to handle? Chill the dough longer to firm it up. If still sticky, lightly flour your hands when shaping the cookies.
Is it necessary to use a stand mixer? While not necessary, a stand mixer makes the process easier and ensures consistent results, especially for creaming butter and sugar.
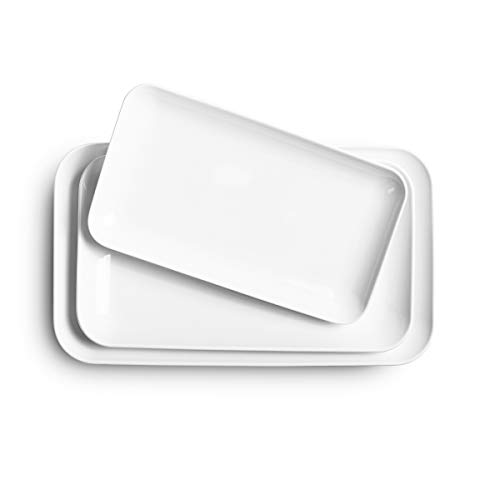
Serving and Presentation Guide
• Traditional Presentation: Serve cookies warm from the oven on a simple white plate, accompanied by a glass of cold milk.
• Casual Gathering: Arrange cookies in a basket lined with a colorful cloth for a rustic, inviting look.
• Gift Presentation: Stack cookies in a clear cellophane bag tied with a ribbon for a homemade touch.
• Party Display: Place cookies on a tiered dessert stand for an elegant, eye-catching presentation.


Conclusion
These bakery-style chocolate chip cookies are a timeless treat that never fails to delight.
Their soft and chewy texture, combined with rich chocolate flavor, makes them a favorite for any occasion.
With this recipe, you'll master the art of baking cookies that impress every time.
So gather your ingredients, preheat your oven, and enjoy the delightful process of baking these irresistible cookies.